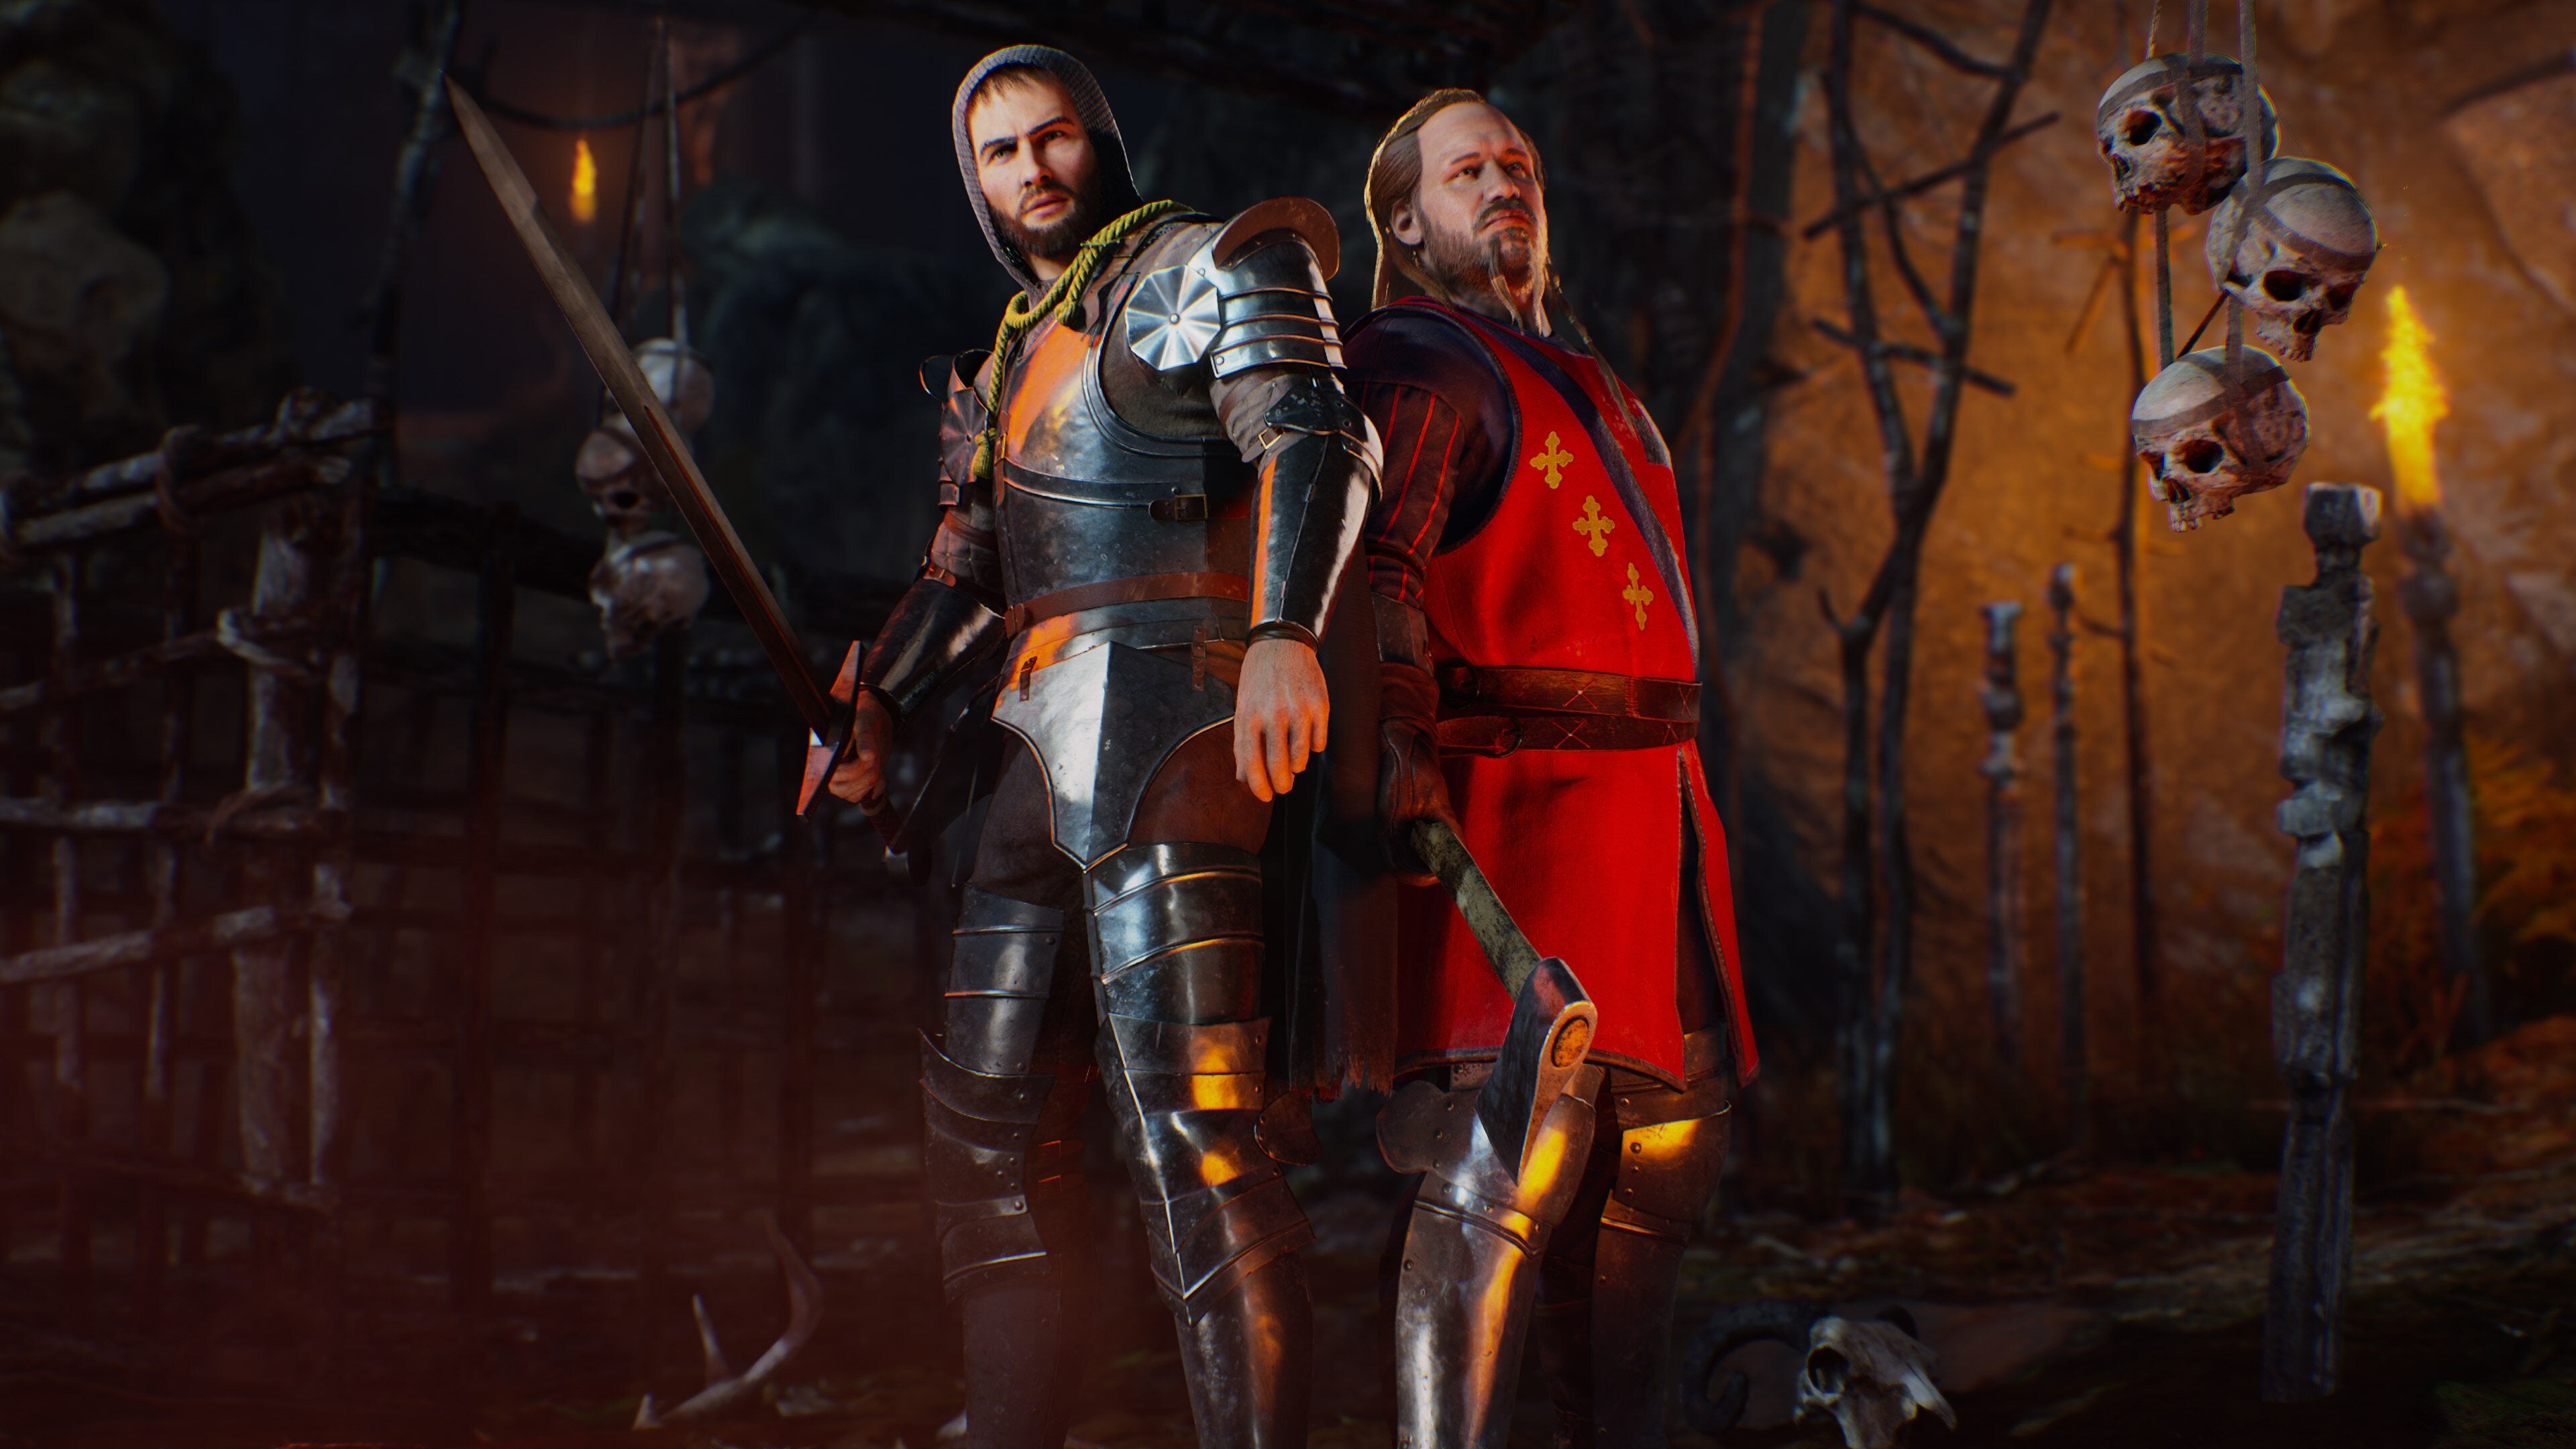
The 4v1 asymmetrical horror game isn’t without its issues, though, as we mentioned in our review. One aspect of the game that appears to have players stumped is the solo campaign. The solo campaign is made up of various missions that you must complete alone, but you will be rewarded greatly for succeeding. Namely, in the form of new survivor character unlocks. That being said, these missions aren’t as easy as taking a Kandarian Demon down as part of a team, so we’ve put together some general tips, tricks, and guidance for getting each mission in Evil Dead: The Game finished!
Evil Dead: The Game Missions - General Tips and Tricks Evil Dead: The Game Mission 1 Tips - If You Love Someone, Set Them Free… With A Chainsaw Evil Dead: The Game Mission 2 Tips - Party Down! Evil Dead: The Game Mission 3 Tips - Kill ‘Em All Evil Dead: The Game Mission 4 Tips - It’s Not Gonna Let Us Go! Evil Dead: The Game Mission 5 Tips - Homecoming King
Evil Dead: The Game Missions - General Tips and Tricks
Don’t Neglect Bonfires - As you’re playing alone for these missions, and will also have to counter multiple Deadites and scares while on your lonesome, you’re going to see your Fear levels rise a lot. A high Fear level makes you more susceptible to Demon attacks, which is the last thing you need. As you go about each mission, be sure to stop and spend a moment by a bonfire whenever your Fear begins to creep higher. Dealing With Boss Units - Every time you encounter a horde of Deadites, the chances are that a boss unit is nearby. While bashing everything and anything with your melee weapon feels incredibly satisfying in this game, it’s not the way to go about defending yourself from a boss unit and multiple Deadites. Instead, try and keep the boss unit at range and target them with a ranged weapon (unless the boss unit is a Puppeteer, then you must melee and dodge carefully). Use headshots to chip away at their health while melee attacking any Deadites that come at you. Soon enough, there’ll be few Deadites left (or none at all), and a boss unit with poor health to finish off. Clear Out Deadites First - Adding to the above, whenever facing a horde of foes, it’s always best to pick off the weaker of the pack first. Obviously, try to land ranged hits on the boss unit where you can, as mentioned above, but always prioritse clearing Deadites first. This way, you’ll eventually be able to go head to head with a boss unit without any other enemies interfering, for the most part. Get Familiar with Your Abilities - Each unit in Evil Dead: The Game, be it Demons or Survivors, will have its own abilities that can be utilised during a match. For example, Annie Knowby’s skill lets her and nearby allies deal extra ranged damage, while Lord Arthur’s will allow him and nearby allies to deal increased melee damage. You’ll want to play around these special abilities where possible, to truly make the most of your character. The same can be said for Demon units and their abilties, too. Don’t Neglect the Skill Tree - Each character in the game has their own skill tree packed with upgrades. You can purchase new upgrades using Spirit Points which are earned after every match, and by entering the Collection screen from the games main menu. These upgrades will make your character more powerful for the next match, and you don’t want to forget about them. Don’t Give Up - Missions in Evil Dead: The Game can seem a little gruelling. Considering there’s no form of checkpoint system, if you die, that’s it. You’ll have to start the mission all over again, and dying to the same Eligos over and over again can become frustrating. After a few failed attempts, the missions will get easier, especially as you will at least now know where to expect Deadites and when to use your Shemp’s Cola.
Evil Dead: The Game Mission 1 Tips - If You Love Someone, Set Them Free… With A Chainsaw
The events of your first solo mission, ‘If You Love Someone, Set Them Free… With A Chainsaw’, come from Evil Dead and Evil Dead 2. For this one, you’ll need to go about rediscovering Linda’s decapitated head to try and put yourself, Ash Williams, at peace once more. First things first, you need to be armed for what’s to come. So, you’ll need to gather all the supplies that you can find in The Knowby Cabin. Fortunately, this is where you spawn! Following this, it’s time to retrieve what’s left of Linda. Go to Bronson Cave to find her necklace and kill the Deadite Elite. This dude likes to lunge a lot and will primarily melee, so try to take them on at range with your shotgun. When you’re done with the cave, head to Lucky Valley Lodge to retrieve a shovel. You’ll now need to use this to dig up Linda’s head, but first, you need to go about gathering more supplies at the Demonic Treehouse. Don’t waste any ammo on unnecessary Deadites and retrieve some extra ammo from atop the Treehouse. Before continuing, also make sure your Fear levels are low. Once you’ve gone about gravedigging, more enemies will be on your tail, including another Deadite Elite. Clear them out and then make your way to Payne Manor. Inside of the manor, there’s going to be more Deadites and elite units to clear, but also a legendary Chainsaw and legendary Double Barrel shotgun. Kill the enemies and retrieve the weapons. Finally, return to where you started - Knowby Cabin - and make your way to the shed to finish things off. Sure enough, there are more unhappy Deadites that need slaying. Clear these out using your legendary weapons, and your first mission, ‘If You Love Someone, Set Them Free… With A Chainsaw’, is complete.
Rewards: Ash Williams (Ash vs. Evil Dead), Knowby Recording 1, and Party Down! Mission
Evil Dead: The Game Mission 2 Tips - Party Down!
When Ash Williams’ car gets stolen by a bunch of meddling kids (with the Necronomicon inside, for that matter), it’s time to hatch a plan to get it back. During this mission, Ash has a plan to collect plenty of Wiseman’s Brew and throw one hell of a party in order to lure the thieves back. Once you spawn into this mission, grab all the supplies you can from the surrounding buildings. Next, there are six different locations for Wiseman’s Brew marked on the map. You’re going to need all of these to get the party started, and the order you visit them in doesn’t matter. Every time you reach a new Wiseman’s Brew, you’re going to be swarmed with Deadites that you’ll need to clear out quickly. Repeat this six times while continually looting buildings you go past and monitoring your fear levels. With six Wiseman’s Brew to hand and plenty of Deadites put to rest, you’ll have completed the second mission, ‘Party Down!’. This mission is that straight forward!
Rewards: Funeral Attire Outfit, Knowby Recording 2, and Kill ‘Em All Mission
Evil Dead: The Game Mission 3 Tips - Kill ‘Em All
Mission 3 of Evil Dead: The Game is perhaps one of the most troubling for players. ‘Kill ‘Em All’ has you scouting out Deadites over and over, including their boss units, and it’s no easy feat. Once you’ve spawned in, loot the nearby buildings of all the supplies you can find. Ideally, you want to be grabbing as much ammo and Shemp’s Cola as possible. With supplies aplenty, your next task is to head to Faison Farm; so, find a car and commence with the journey. Here, you’re going to need to clear out multiple Deadites and their boss units. Once you’re done with them, do not forget to loot the nearby area of additional supplies and stronger weapons. The next location you need to make your way to is between Dead End and Royal Oak Cemetery. Once again, you must kill more Deadites. This horde of the undead is particularly difficult as the notorious Puppeteer Demon is at play. As we mentioned in our general tips, do not forget to pick off the basic enemies as quickly as possible while keeping the boss unit at range. Once the Deadites are gone, you can put all your attacking power into making sure the boss unit is quelled. The only issue with the Puppeteer’s boss unit, the Demi-Eligos, is that they take ranged damage like a champ and are bullet resistant. So, you’re going to have to get up close and personal with them to cause any devastating damage. Don’t get greedy though - go for your attacks and dodge theirs; if you stay too close for too long, they have a shocking attack that can have you bleeding out instantly if you’re unlucky. Patience is the most important thing you can have for this one! Finally, you need to go deal with one more horde of Deadites. These can be found by Fairview Campground, and you’ll need to take the same approach to these guys as you did with the enemies by Dead End. Be sure to gather supplies on the way, and once you fell the final few foes, this marks the end of ‘Kill ‘Em All’.
Rewards: Amanda Fisher, Knowby Recording 3, and It’s Not Gonna Let Us Go! Mission
Evil Dead: The Game Mission 4 Tips - It’s Not Gonna Let Us Go!
The woods are getting a little too crowded, so Ash has sent for his friend, Pablo Simon Bolivar to come and help. As Pablo, the ‘It’s Not Gonna Let Us Go!’ mission requires you to go about slaying even more Deadites, but there is more of an emphasis on stealth this time around. First, loot the building ahead of Pablo for supplies and a weapon. Once that’s dealt with, jump in the nearby car and travel to Fairview Campground. Clear out the Deadites here - these particular enemies are easy enough to clear out with a few punches or one headshot. Again, loot the surrounding area as you can never have enough supplies (well, until your inventory becomes full), and stand next to the Chainsaw to be trigger the next part of the mission. Now, jump back in the car, make your way to El Brujo’s Hut, and clear out the Deadites that are guarding the outside of the hut. Then, go inside and grab El Brujo’s Amulet - you’re going to need it. After collecting this amulet, you’ll be alerted that you can now sneak up on Deadites, and this is were being stealthy comes in. Once you’ve finished up at El Brujo’s Hut, make your way to the Railway Loop area on the map. It might be tempting to fight Deadites as you go from A to B, but keep quiet and preserve your supplies for what’s to come. Although, some of the enemies will know of your presence anyways; clear these Deadites out, ignore any others that are not alerted, and collect the machete. Continue towards the next marker on your map, only clearing out the Deadites that are aware of you, and not the others, so that you can save resources where possible. You’ll find Ash’s possessed hand, which will then be uncooperative and make its way to Dead End. You can actually pick it up here (as well as lots of supplies), but again, be wary of Deadites. Next, you need some gas to get the car up and running, so make a stop at Jake’s Gas N’ Go. It’s quite a long journey to the station, and using stealth here is at the upmost importance! You can avoid every fight at this station if you do so. After that, your next stop is Wadesboro Junkyard. Stealthily make your way to the checkpoint to retrieve some more gas. Next, head to Shockley Auto for the final portion. You’ll have to deal with yet another Puppeteer elite unit when you get here, however, you’ve just done this in Mission 3, and they’re nowhere near as tough as the boss unit! Remain patient once more, and you’ll no doubt kill this Puppeteer quicker than the last one.
Rewards: Pablo Simon Bolivar, Knowby Recording 4, and Homecoming King
Evil Dead: The Game Mission 5 Tips - Homecoming King
Somehow, Lord Arthur has ended up in the wrong part of time and space. For the ‘Homecoming King’ mission, it’s your task to help him return to the safety of his own kingdom. As Arthur, loot Lucky Valley Lodge and the surrounding buildings of supplies and a weapon. More specifically, opt for the shovel. Once you’re armed, jump in a nearby car and go to the location that is marked on the map, slightly north of Fishing Village. Once you get here, there’s a dozen Deadites, but don’t deal with them all at once. These enemies will continually spawn in an effort to stop you collecting the Kandarian Dagger. Keep out of their way, smacking away at any who dare attack you with the shovel, and grab the Kandarian Dagger as quickly as possible. When you’ve acquired it, there’ll be a new marked location, The Krowky Cabin, to go to. Jump in the car again and make your way to this location. You’ll need to grab the Necronomicon here, and this time, kill the horde of Deadites rather than ignoring them to the best of your ability like before. It also might be tempting to loot the Lumberjack Axe from the corpse inside The Krowky Cabin, but don’t do it. You don’t need it, and looting it resurrects the corpse; this is an unnecessary fight. Once you kill all of the ’living’ Deadites at the cabin, you’ll be able to acquire more ammo and an epic Crossbow from the dead elite unit. Next, hop in a car again and make your way to the Sewer Treatment Plant to retrieve even more supplies and a legendary Crossbow. Be careful here, as a storm will be coming and a dark fog will be closing in on the map that you must avoid. From the plant, quickly head to the next marked location on the map to reach Fryingpan Tunnel. You now need to head inside to meet Evil Ash, but you will not be able to try and kill him yet. Instead, you need to fend off and kill the skeletons that are attacking him. If the enemies swarm you, perform melee finishers repeatedly to make yourself immune to damage from the others temporarily. Then, leave the cave and make your way to Payne Manor and clear out the Guardians and enemies here. You’ll then be able to retrieve Arthur’s Fabled Sword before heading to the next location that’s marked on the map. At this location, you’ll also need to kill the Pit Deadite. They’re a pain in the ass, but use your legendary Crossbow and heavy attacks using your sword to counter him. Shortly after that, you’ll then be tasked with killing Evil Ash and the various Deadites he’s got to help him. The key to this fight is simply preventing Evil Ash from summoning further Deadites. Prioritise clearing the Deadites out first, but whenever you see that Evil Ash is attempting to summon more, attack him to stop him from doing so. Once all of the Deadites are dead and gone - literally - you can focus your efforts on attacking Evil Ash and ensuring no more Deadites try come between your battle. Once you finally fell Evil Ash and co., you’ve completed the fifth mission, ‘Homecoming King’.
Rewards: Lord Arthur, and Knowby Recording 5
That’s all there is to Evil Dead: The Game’s missions for now, although, we can see that there is more coming soon… Whether this will unlock a new, unnamed character or not, we don’t know yet, but we’ll update this space when more missions are available! While I recommend wearing headphones and listening out for Deadites while playing, have you checked out Method Man’s latest track, created especially for Evil Dead: The Game?


