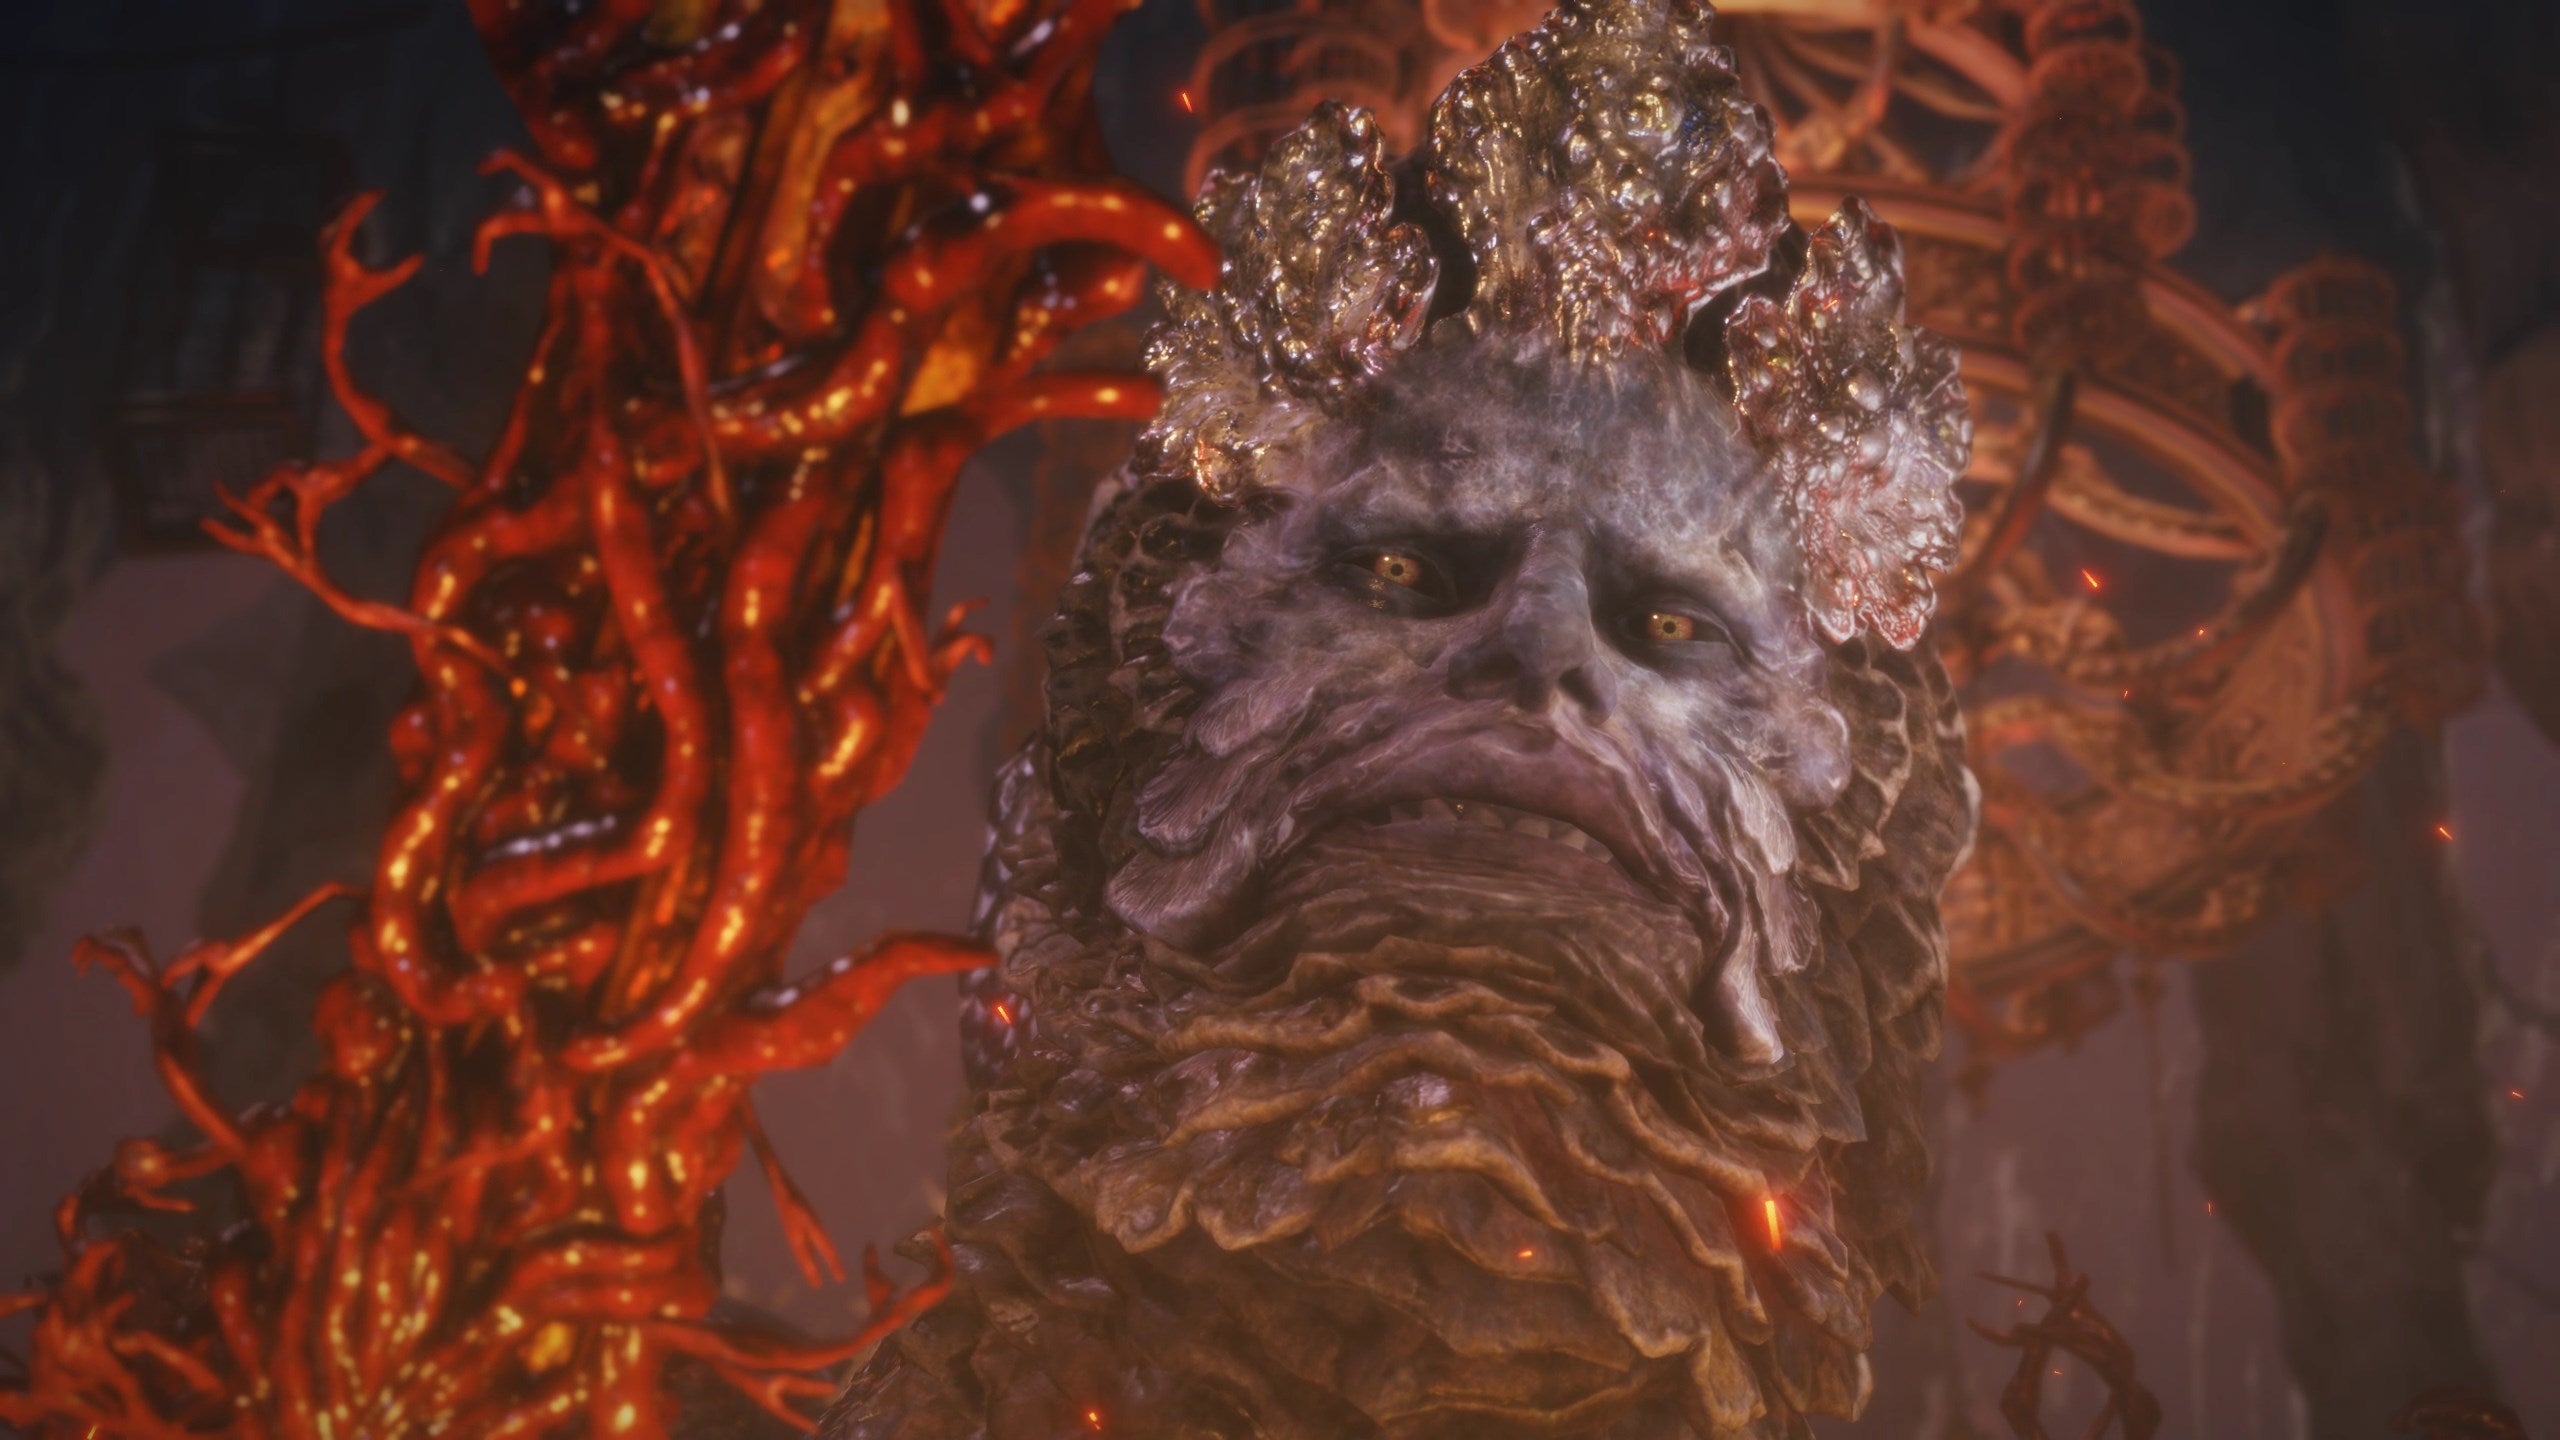
To get to the fight, we have a full Elden Ring Volcano Manor quest walkthrough page. But if you’ve made it to fighting Rykard, there’s no going back. Mt. Gelmir, and by extension Volcano Manor, are meant to be visited towards the end of the game. If you see the quest through to its end, or decide to skip it altogether, you can access the manor and come face to face with Rykard, Lord of Blasphemy – and his God-Devouring Serpent form before that. This particular boss fight doesn’t really have any bearing on which Elden Ring ending you get, but the associated quest may have locked you out of some of them, considering it’s an assassination chain that targets key NPCs. But seeing as you can skip all that and head straight to the Legacy Dungeon that houses Rykard, we’re not going to get into those details here.
When should you fight Rykard, Lord of Blasphemy and God-Devouring Serpent in Elden Ring?
Rykard, Lord of Blasphemy lies at the end of Volcano Manor, an area close to Leyndell, the Royal Capital. You should head there after you’re done with the Leyndell business, and that includes defeating Godfrey, the First Elden Lord (Golden Shade), eliminating Morgott, the Omen King and opening the gate to the Forbidden Lands. Rykard, Lord of Blasphemy is a demigod Shardbearer, and his Great Rune has a very useful trait for aggressive players, if you decide to equip it. That said, Rykard – and his God-Devouring Serpent form - is an optional boss, so feel free to return later if you think the area is too challenging for you when you first arrive. You should attempt the boss fight at around character level 100-110, but – as we’re about to explain – your weapon’s upgrade level doesn’t actually factor into this one.
How to make the Rykard, Lord of Blasphemy and God-Devouring Serpent fight easier in Elden Ring
We continue to be on team summon your Spirit Ashes for every boss fight in Elden Ring. And why not? It’s an advantage the game offers, and as you’ve hopefully noticed by now, these boss fights are often balanced around summoning. In this particular case, a ranged summon will do wonderfully against Rykard. Regular summons are admittedly less necessary here, given the nature of the fight, but it doesn’t hurt to have the boss’ gaze directed away from you. However, if you’ve grabbed it from your adventures in Nokron, the Eternal City, the Mimic Tear summon is easily the best option here. As we’ll get into in a moment, it doubles the game-given bonuses your character receives during the fight and makes it much easier.
How to beat Rykard, Lord of Blasphemy and God-Devouring Serpent in Elden Ring
This is what’s known as a gimmick fight, in that there’s only really one clear way of taking down the boss (both forms) that developer FromSoftware intended. If you’re a Soulsborne veteran, this fight will likely remind you of the Yhorm the Giant boss fight in Dark Souls 3. In both cases, you’re given a weapon specifically designed to defeat that boss. As you enter the arena, you’ll see a corpse on your left holding up a weapon. This is the Serpent-Hunter Great Spear, which you should immediately pick up and equip. It does not require any specific stats to wield, but it might raise your overall equip load to ‘heavy’, depending on what armour/other weapons you’re carrying. We recommend getting rid of your shield and just two-handing the Serpent-Hunter Great Spear. This weapon has a unique skill that requires a fair bit of FP juice, so consider changing your Flask distribution before the fight to bring more Cerulean Flasks into it. You’re going to need them.
Rykard boss fight phase one (God-Devouring Serpent)
The first phase of this fight is the easiest. That said, both phases are similar in that the boss will never leave his lava pool, making it hard for you get close and land consistent damage.
This is why you picked up the Serpent-Hunter Great Spear. The weapon not only has solid reach to allow you attack the boss from a safe distance, its Ash of War skill creates a blade of light, extending its damage and reach even further.
The God-Devouring Serpent boss doesn’t actually activate as soon as you enter the arena, so feel free to spend a few seconds familiarising yourself with the Serpent-Hunter’s move set in safety before you make your way to the boss. The weapon’s skill takes a few seconds to charge up, for instance, which could get you hit in the middle of the fight if you’re not anticipating it.
Do not be tempted to stand in the magma pool and get closer to speed up the fight. Stay at a distance and keep using the Serpent-Hunter’s reach to your advantage. There are only really three attacks the God-Devouring Serpent does in this phase, almost all of which are easy to anticipate and avoid.
The serpent will try to strike you, and bite you. The wind-up for both of these moves is long enough that you can see them coming and simply roll into them to exploit your brief invincability and avoid them. Just be mindful not to start your weapon’s skill as the boss lands its multi-hit combos. You can still attack it normally with the Serpent-Hunter, even without using the FP skill.
Given the serpent’s size, it’s best to try and remain at a distance in order to keep it in the frame and be able to better anticipate its attacks. This will get more challenging as the fights goes on because the neck will start moving wildly, but it is manageable.
The boss will occasionally spew poison, another attack that’s easy to avoid by rolling backwards out of the puddle. If you do get hit, keep some Neutralizing Boluses or anti-poison Incantation on hand. You also need to watch out for a multi-hit spinning swipe. That, too, is easy to avoid by simply staying back, or rolling through each swipe.
The most dangerous move in this phase is a jaw slam that spawns spouts of lava wherever it lands, allowing the boss to effectively extend its fire damage range.
If you stay locked onto its head, your attacks will more easily stagger it, letting you land damage uninterrupted. This will actually organically happen during the fight, assuming you can keep up the offensive to deplete its super armour.
Finally, the serpent has a grab attack where he will extend its jaw towards you to catch you. It’s not very damaging, even if you get caught, but you can simply roll away at the last minute when you see its head retracted to start the grab animation.
Rykard boss fight phase two (Lord of Blasphemy)
Phase two starts when you deplete the entirety of the serpent’s health bar. At that point, Rykard, Lord of Blasphemy will reveal his true form. All phase one attacks will remain, with the addition of a sword Rykard will pull out. The sword adds a number of wide swings and swipes to this phase, all of which are slightly delayed. Dodge just before you’re hit, towards the direction the attack is coming from. The timing can be difficult to predict, just try not to get faked out. The real threat in this phase is the arena itself, as falling rocks and debris will be common, creating mini-pools of lava and making your screen significantly busy. Rykard will also perform a jump attack that splashes lava towards you upon landing. Once again, stay back and poke him between his moves. Consistent damage, particularly to the head, will break his super armour, giving you more time to deal damage. However, his head will land inside the magma pool around him when that happens, so don’t be tempted to get close. Rykard has a second phase in this form, which triggers upon depleting 50% of his health. This is the hardest/most annoying phase of the fight. In this phase, Rykard is going to spawn flaming skulls that will track you and explode. You can only really bait the explosion and quickly dodge away, as you won’t be able to outrun them. All the while, Rykard will continue his normal attacks, so try to be mindful of where his sword is so you don’t get hit as you try to dodge the flaming skulls. Do not get back on the offensive until all skulls are off the board. You can tank a couple of them blowing up near you, but a large group will kill you in a single explosion no matter how much HP you have. This is where the Mimic Tear summon comes in the most useful, since it will continue to spam powerful attacks while you’re preoccupied with saving your own skin. Get lucky enough and you will emerge victorious soon enough.
How to restore the power of Rykard, Lord of Blasphemy‘s Great Rune in Elden Ring
With Rykard’s Rune in your position, it is now time to power it up so you can equip it. Rykard’s Rune can only be powered up at the Divine Tower of West Altus, located south-west of Leyndell, the Royal Capital. Depending on how well you explored Lyndell before defeating Rykard, you may or may not have arrived at this particular Divine Tower on your own. The Divine Tower of West Altus is hidden behind a number of illusory walls, and can only be reached after defeating the Onyx Lord boss who protects the tower’s approach. To enter this area, you must first locate the Sealed Tunnel, which sits west of the Leyndell wall, towards the very south of the lake that borders that side of the wall. Starting at the Outer Wall Phantom Tree Site of Grace, head straight east until you find a cliff. Jump the gap and continue heading down to safely reach the pond with the Land Squirts and turtles. Follow that pond south and you’ll see the entrance to the Sealed Tunnel. Inside, there are four illusory walls you’ll have to hit to explore deeper into the tunnel. The first illusory wall is right behind the chest in the first area. Take the elevator down and continue straight ahead after it stops to reveal the second wall. Keep going until you see the corpse with the item on it; the wall behind it is the third. Follow the branch leading east, then drop to the branch to your left and continue through the entrance on the eastern wall. Your path will be blocked by a few horizontal tree stumps, drop down below and watch out for the explosive traps. The final illusory wall is behind the stack of boxes on the south wall (but watch out for one final trap). Make your way to the bottom and you’ll find the boss arena. Defeat the Onyx Lord and you’ll gain access to the Divine Tower of West Altus. We have a wealth of other helpful boss fight tips like this one in our mega Elden Ring guide. If you made it this far into the game, why not see how you can easily defeat Starscourge Radahn? If you’re looking for a level boost, these are the best Rune farming locations in Elden Ring.

