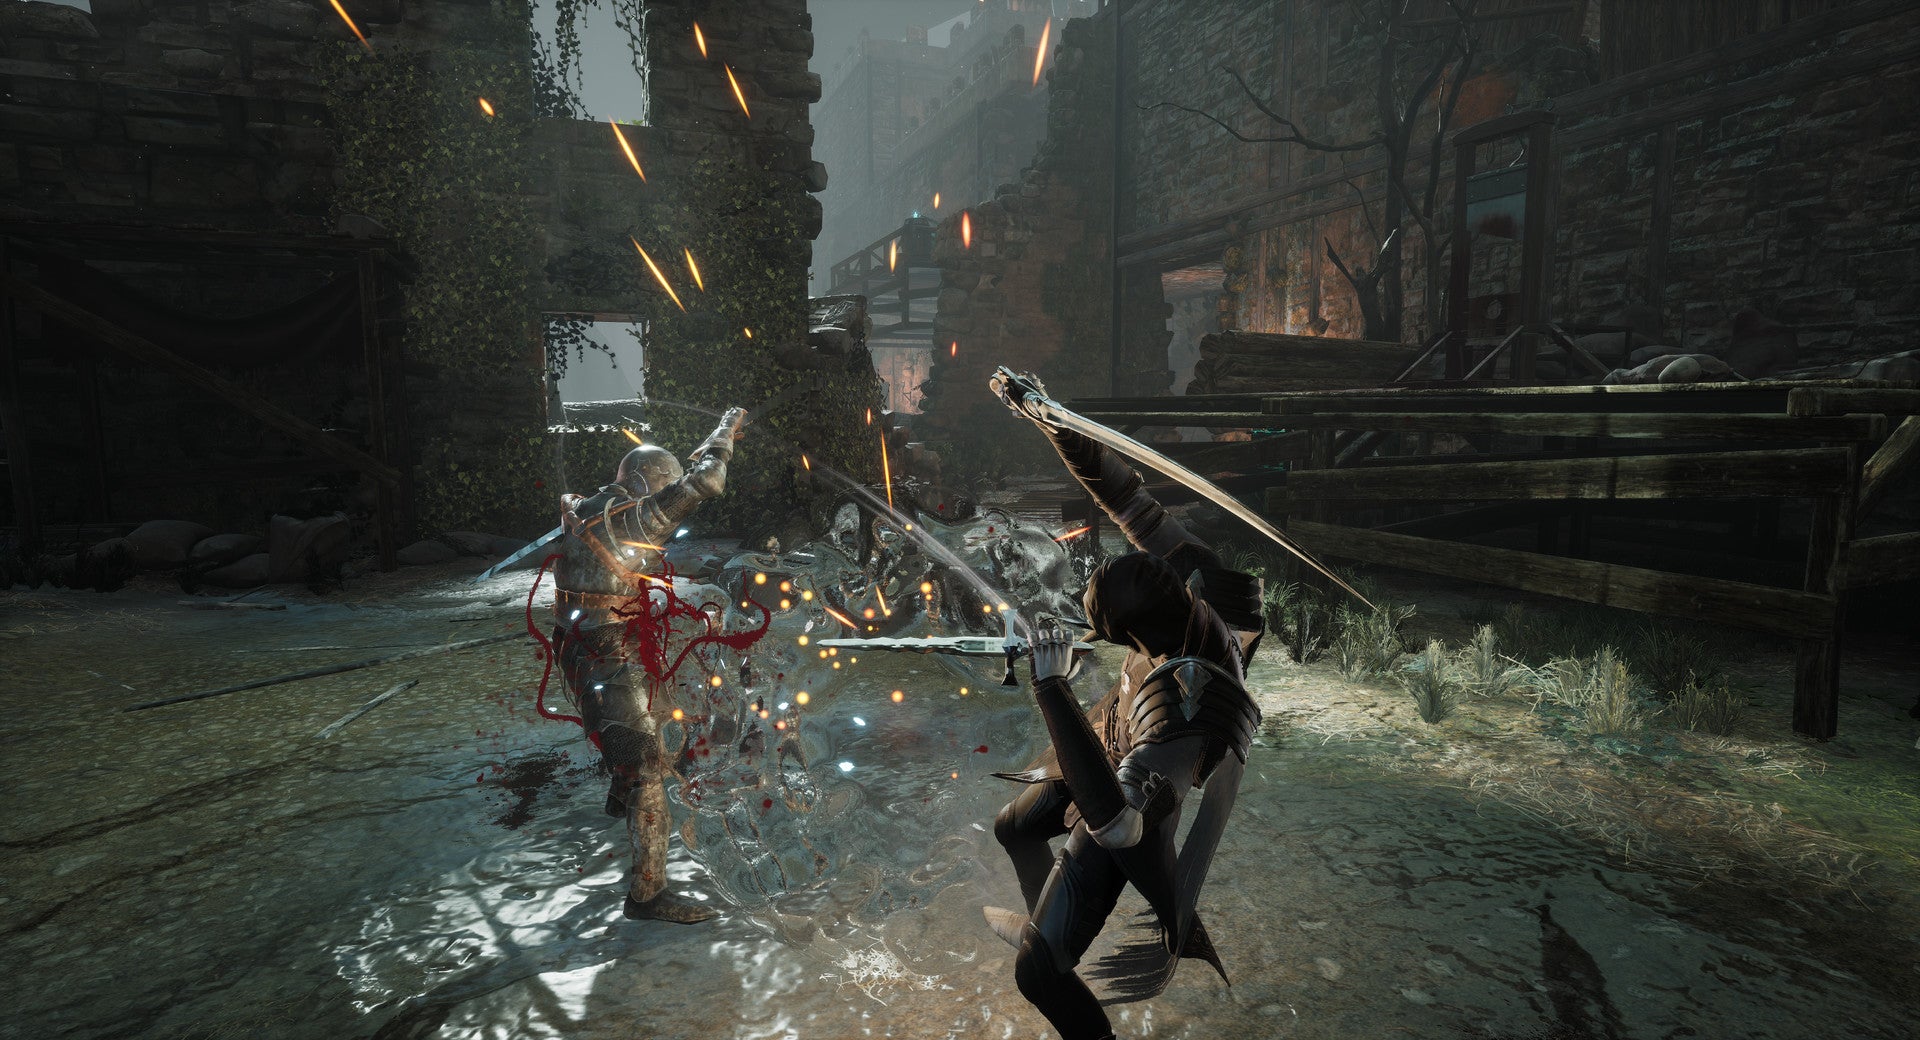
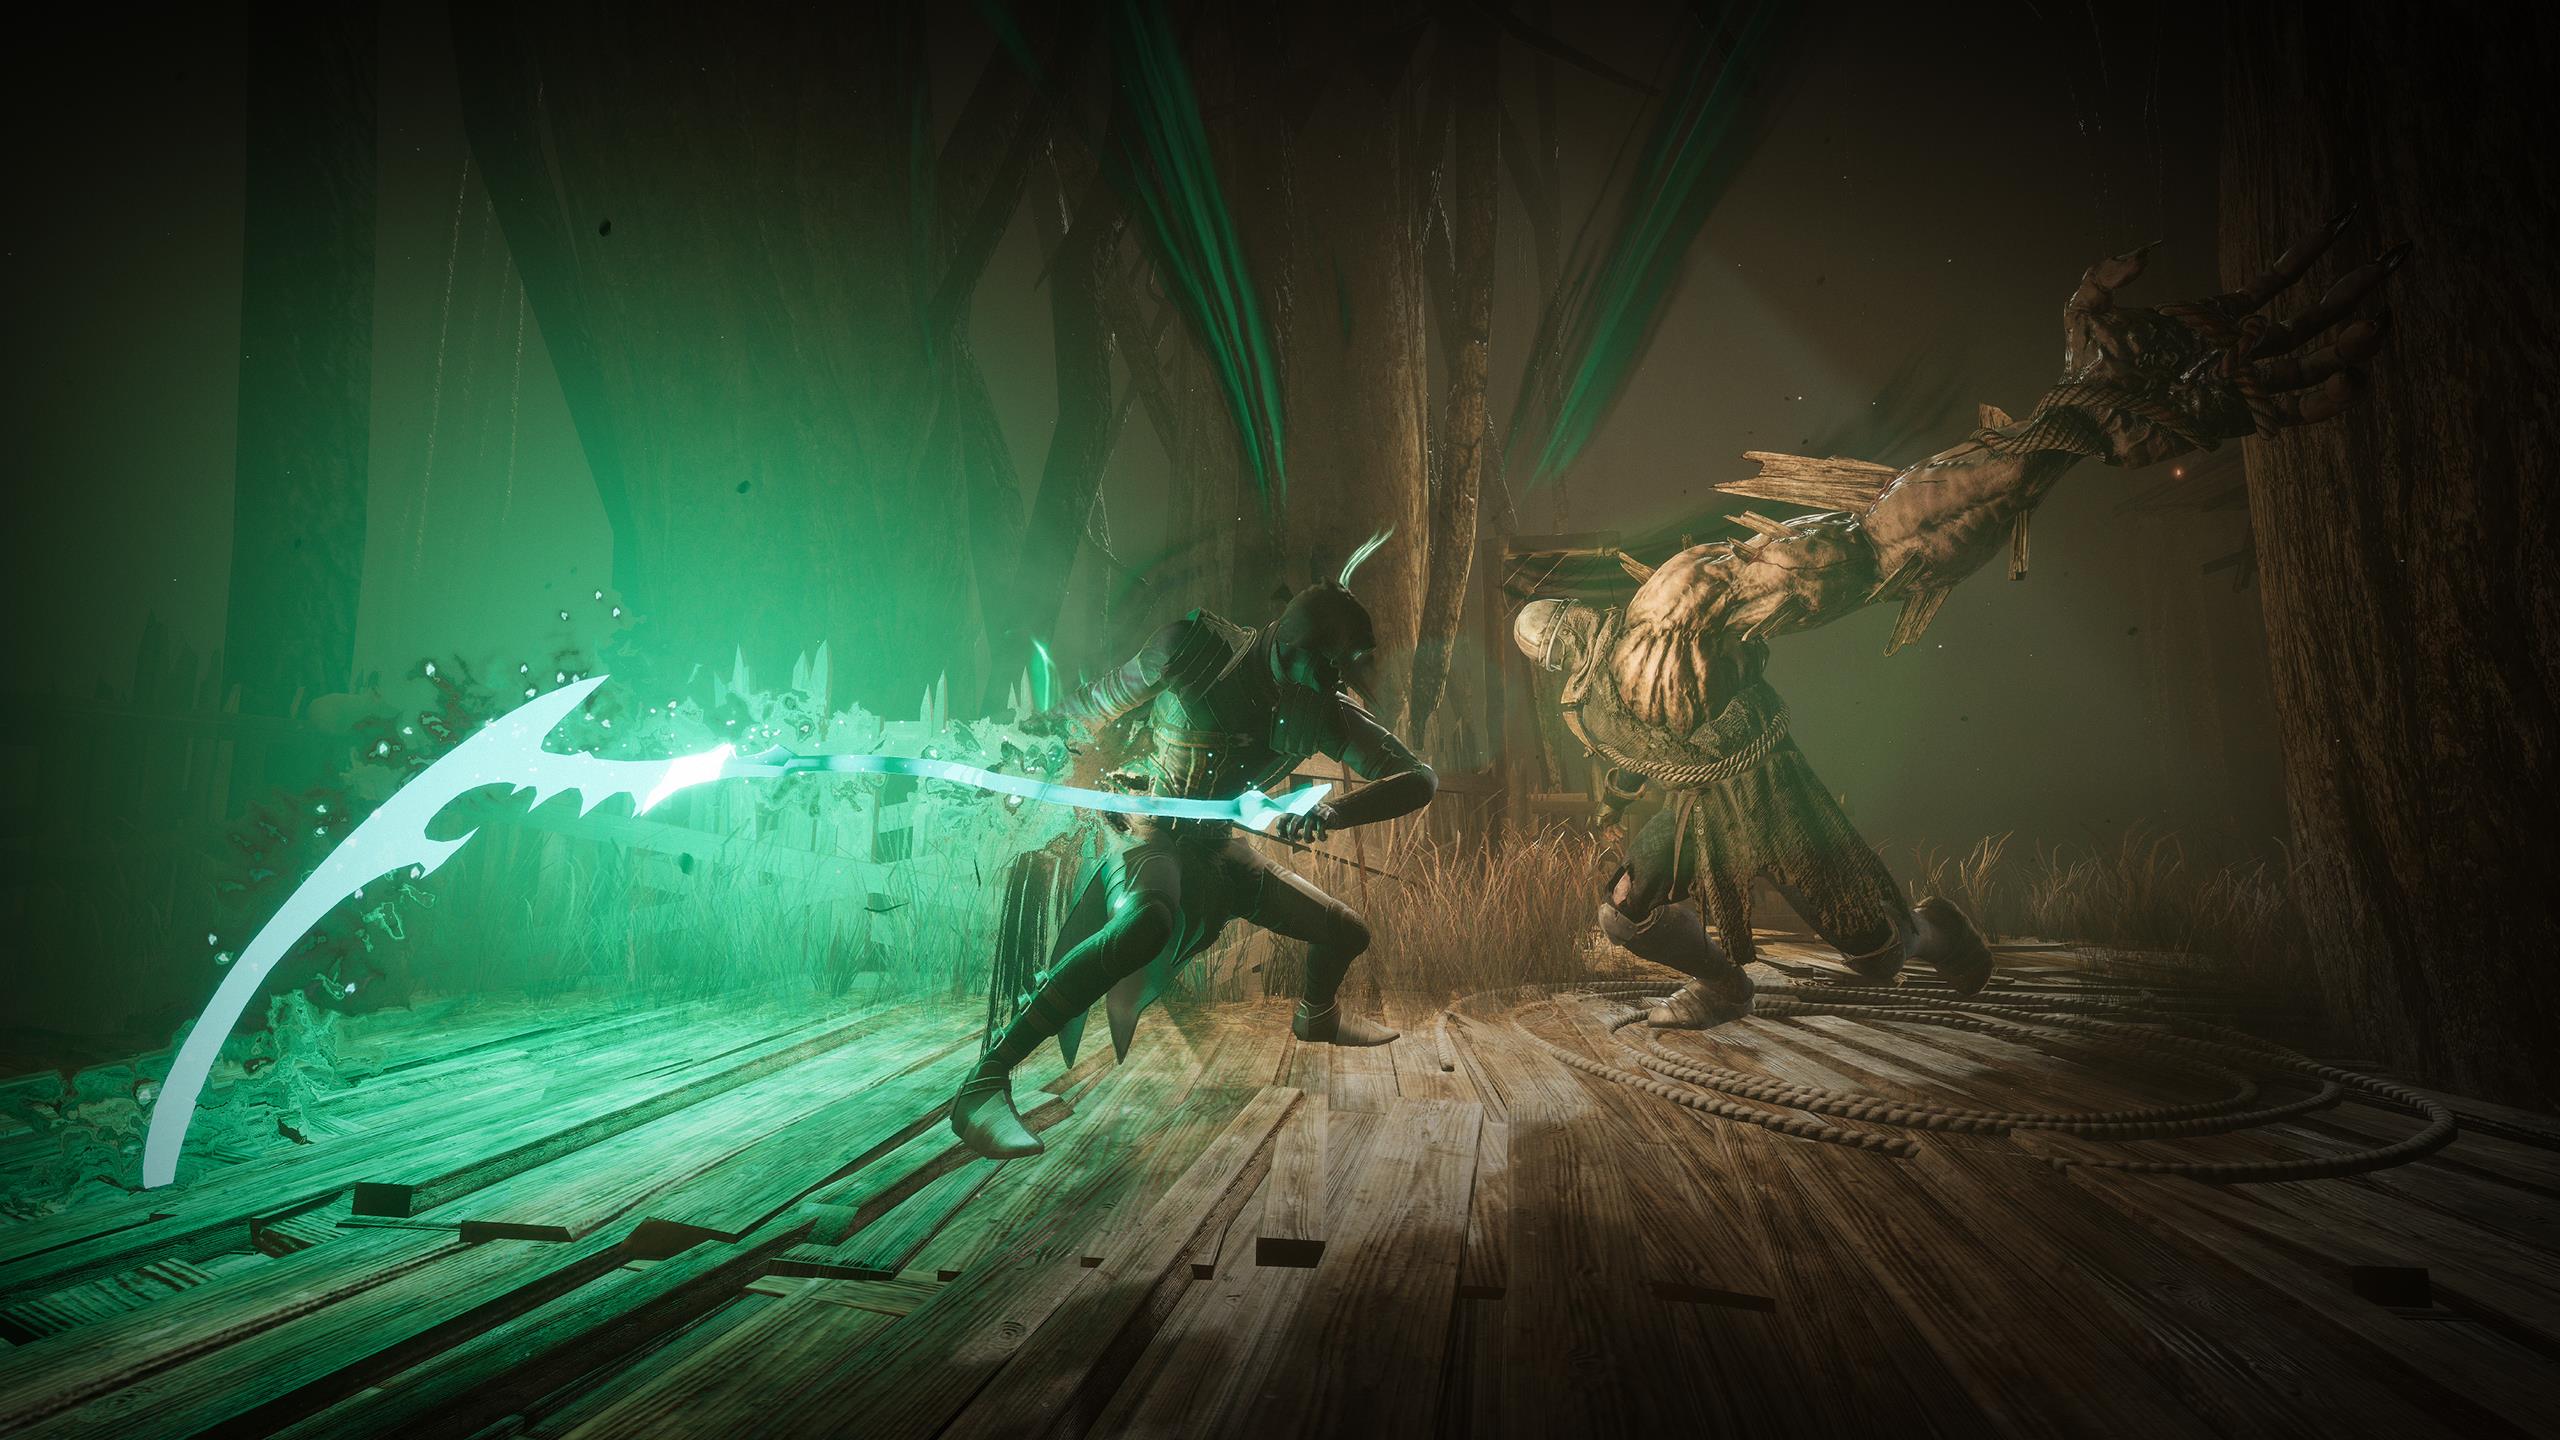
Thymesia is operating on a bit of a budget, so while the main mechanics are fairly simple and well-explained, much of that depth is tucked away in menus. It’s worth taking the time to dig through some of them to see how it all works. But if you can’t be bothered, we’ve put together a few brief gameplay tips to help you better understand what’s going on, highlight mechanics that are easy to miss, and generally let you make the most out of Thymesia. Here goes.
How do you block? You need to unlock it immediately!
This is one of those instances where you’re probably going to ask ‘Who thought that was a good idea?’ Well, the developers of Thymesia put the ability to block in the game, but didn’t tell anyone about it. In fact, the game’s tutorial talks about parrying and explains how to do it, then moves on to a different mechanic. Well, you can block in Thymesia, you’ll just need to unlock it. Under Talents, head to the Deflect section. From there, you’ll see the Defence option. It takes one talent point to unlock blocking, and you can invest more into the branch to upgrade its effectiveness. Holding the block button will reduce oncoming damage, but it won’t negate it entirely. Even a fully-upgraded block will still “leak” some damage onto you. Holding block also prevents you from moving, so you can’t treat it as a shield and hold it as you enter a room, for instance. As compromised as a it is, we’d still say it’s worth getting – even if just the basic version. As you’ll see, many of the enemies you’re going to run into move so quickly you won’t be able to dodge every one of their attacks, so you may as well tank some of that damage.
You can make the parry window more generous, but you probably shouldn’t
Keeping up with the upgrade theme, Thymesia lets you tweak the parry mechanic to fit your playstyle. You can choose from two versions, but selecting one locks you out of the other. Before we get into the explainer, you should know that parrying works differently in Thymesia compared to other Souls-likes. Rather than staggering the enemy and opening them up for an attack, a parry simply transfers some of the enemy’s damage back to them. Each branch in the Talent tree is made up of three nodes, progressively improving the parry. The first route lets you widen the window to land it, but reduces the amount of damage transferred back to the enemy on a successful parry. The other tightens the parry window - making it more challenging to land – and instead ups the damage reflected back onto the enemy. Now that you know what it does, you should probably save your points and forget about parrying. As discussed, the simple fact that a successful parry doesn’t interrupt the enemy in the way you want it to makes it almost useless. Why worry about timing and all that when you could just avoid the attack altogether by dodging – or blocking?
Get the long dodge, not the short one
Once you get into the Talent tree, you’ll find that there are two different dodge types you can spec into. The short one is essentially an expanded version of the default dodge you start with, and it simply adds a second dodge. It doesn’t carry a lot of speed, and travels a short distance.
The long dodge, too, lets you dodge twice, but the second has a longer reach, which is great when you want to avoid long-winded enemy attacks. It’s slightly slower than the short dodge, but we’ve found it to be worth it, especially when fully-upgraded.
Each dodge type can be upgraded once to add a defensive buff at the end of it, but the animation length and its reach does not change. You should definitely spend some time experimenting with which works best for your playstyle, though you’ll probably find the long one to be most useful.
Both branches can be found under the Dodge tab. It costs a single Talent point to unlock each of the nodes, meaning two points can fully-upgrade either.
Talent points are unlocked every time you level up, but they’re capped at level 25.
Healing Execution is an essential upgrade
By default, you start Thymesia with an Execution, which lets you approach a stunned enemy and finish them off after their health has been depleted. But that same move can be upgraded to give you back some health and Energy on each execution. As you make progress in the game, enemies will get more challenging, and levels become more porous. You’re likely to run out of healing items before you can rest at another Beacon (bonfire), so whatever HP you can leach off enemies is crucial. You can increase the amount of health and Energy gained after every execution by upgrading to the second level of the ability, and it’s one you should also acquire.
You can re-spec specific nodes or all of the Talent tree at will
As the title suggests, Thymesia lets you refund your Talent point investments at any point in the game, no item necessary. You can do so for individual nodes (and the entire thing), which is helpful when you want to try out a different branch, or when you feel you’ve over-invested and could use that point elsewhere. This also means that your build is effectively fluid, as you can pretty much try out different moves, buffs etc. at any point in the game. This can only be done at a Beacon, however, which is Thymesia’s version of a bonfire. Re-speccing is a welcome option here for a variety of reasons, not least of which that the number of Talent points you earn is finite, regardless of how many levels you continue to gain. You will only earn points up to level 25, and there are more than 25 upgrades to unlock, so you’ll have to be mindful. You can continue levelling up past 25, which will boost a few separate stats, but no more Talent points can be grinded out.
Wait for enemies to finish their attack chains before getting into it
One of the few things you’ll immediately notice in Thymesia is its enemy attack animations. It often feels like there’s no rhyme or reason for what’s interruptible, what has super-armour, and what gains extended reach on the last hit. Beyond all of that, enemies in general move rapidly in this game. Though start-up animations may be slow, expect them to switch between stances and moves faster than you can react. You can take your time and figure out which of their moves are safe to punish, but you should probably wait until the chain is finished. One or two attacks is all you need, just keep an eye on the Plague meter and capitalise on the green bar before it turns back to white.
Throw a Feather their way if you can’t get close
Feathers in Thymesia aren’t all that useful in dealing Plague damage, and we might even say that they’re unreliable as a way of interrupting enemy critical attacks. But what they are very useful for is simply preventing enemies from regenerating their HP (white bar) and healing their wounds. If you see their bar flashing and you can’t get close enough to land a hit (for whatever reason), throw a Feather or two at them to stop them from healing back up. Feathers regenerate over time, and you can both increase the number you can carry, and speed up the regeneration process under the Talent tree. That may not be necessary, however, if you only use them to interrupt healing. You can also use Feathers to interrupt certain ranged attacks. These don’t have the green-tinged critical cue, either. Simply time it to stop the animation from starting until you can get close.
Get familiar with the different potion options
Thymesia has three healing options for you to equip. This being a Souls-like, it’s best to think of them as different kinds of Estus Flasks – though you can only carry one at a time. You start with the basic one, but the other two unlock as you make progress through the game. Each option is designed for a particular playstyle. The first/default offers the largest healing amount, but is slow to use. The second turns instant heals into slow regeneration. The third is the fastest to use, but offers the lowest amount of healing. By upgrading each potion (more on that below), you can up the number you can carry, and add more to their ingredient slots. Ingredients are upgrade materials that let you further shape their effects. You won’t be able to overcome each potion type’s inherent limitation, however, but you will be able to make them more potent. You can switch between the different potions at any Beacon, and you should definitely consider flipping to the third option when dealing with ultra-aggressive bosses, even if it doesn’t do a lot of healing. With that in mind, be mindful of where you spend potion upgrade materials. Unless you’re willing to grind, you won’t be able to fully-upgrade all three potions, so use what you have wisely.
It’s worth playing side missions
Side quests in Thymesia open up once the area’s main mission has been finished. Aside from adding more value to your purchase, side missions let you explore areas you may not have had access to during your initial run. This means you’ll earn new items and unlock new lore. While you may not be intrigued by the narrative, learning about the bigger picture actually has gameplay implications because it will help you make a decision at the end of the game and pick your ending. Beyond that, playing side missions gives you access to a whole lot of upgrade materials. There are several of these you can get your hands on, but the most important is Alchemy Enhancers, which drop from tough, mini-boss-like enemies. Those are used to upgrade your potions (see above) – increasing the number of uses and ingredient slots. They’re worth the grind. You also earn potion ingredients, which let you alter the behaviour of any of the potions you can carry, or boost their effectiveness. You can even target-farm Skill Shards to upgrade your Plague Weapons by going after enemies who wield them. Main and side missions can be repeated as often as you want. If you’re specifically going after a certain item/ingredient, consider unlocking and upgrading the Luck branch in the Strategies tree. This will increase your item drop rate, and seeing as you can re-spec anytime, it’s worth transferring those Talent Points there before the grind.

