Skulls in Halo Infinite are deviously hidden cranial collectibles that unlock cheats and modifiers for your adventure. They’re very difficult to track down, but once you’ve scouted enough locations, they offer a whole new way to experience the Zeta Halo world. There are 12 Halo Infinite Skulls in total - 7 are found in the open world, 5 inside of missions - but be prepared to look hard. Each Skull unlocks a different modifier, a kind of cheat, that changes your experience in Halo Infinite. They are:
Boom - Doubles explosion radius Cowbell - Increases physics acceleration from explosions IWHBYD - Makes rare enemy dialogue more common Fog - Disables your motion tracker mini-map Blind - Removes HUD elements Famine - Weapon pickups from enemies have half ammo Black Eye - Your shield only recharges when you hit something with melee Thunderstorm - Upgrades rank of enemies Catch - Enemies throw more grenades Mythic - Increases enemy health Grunt Birthday Party - Grunt headshots are extra fun Bandana - Unlimited ammo and grenades
While it is very possible to find them all before you finish the game for the first time, many of the Skulls are much easier to access using a flying vehicle. This means you will either have to steal a Banshee from the Banished after they appear following “The Sequence” mission, or wait until you get your own Wasp in the post-game.
How do I turn on Skulls in Halo Infinite? Halo Infinite Skull locations First Skull location Warship Gbraakon Foundation Skull Location The Tower IWHBYD Skull Location Fog Skull Location Blind Skull Location Famine Skull Location Black Eye Skull Location Thunderstorm Skull Location Catch Skull Location The Command Spire Skull Location Repository Skull Location Silent Auditorium Skull Location
How do I turn on Skulls in Halo Infinite?
Because of the Halo Infinite’s structure, you can’t just enable Skulls whenever you feel like it. First, return to the game’s main menu, then select “Load Game” rather than “Continue”. This will give you the option to activate Skulls rather than just throw you straight into your last save.
Halo Infinite Skull locations
Finding Skulls in Halo Infinite is very difficult and will require not just an inquisitive disposition, but mastery of your grappleshot and, often, a flying vehicle. The easiest flying vehicle to comandeer is a Banshee, which starts to be used by the Banished following the story mission: “The Sequence”. Once you spot one, grapple onto it to steal it, then fly to where you need to go.
First Skull location Warship Gbraakon
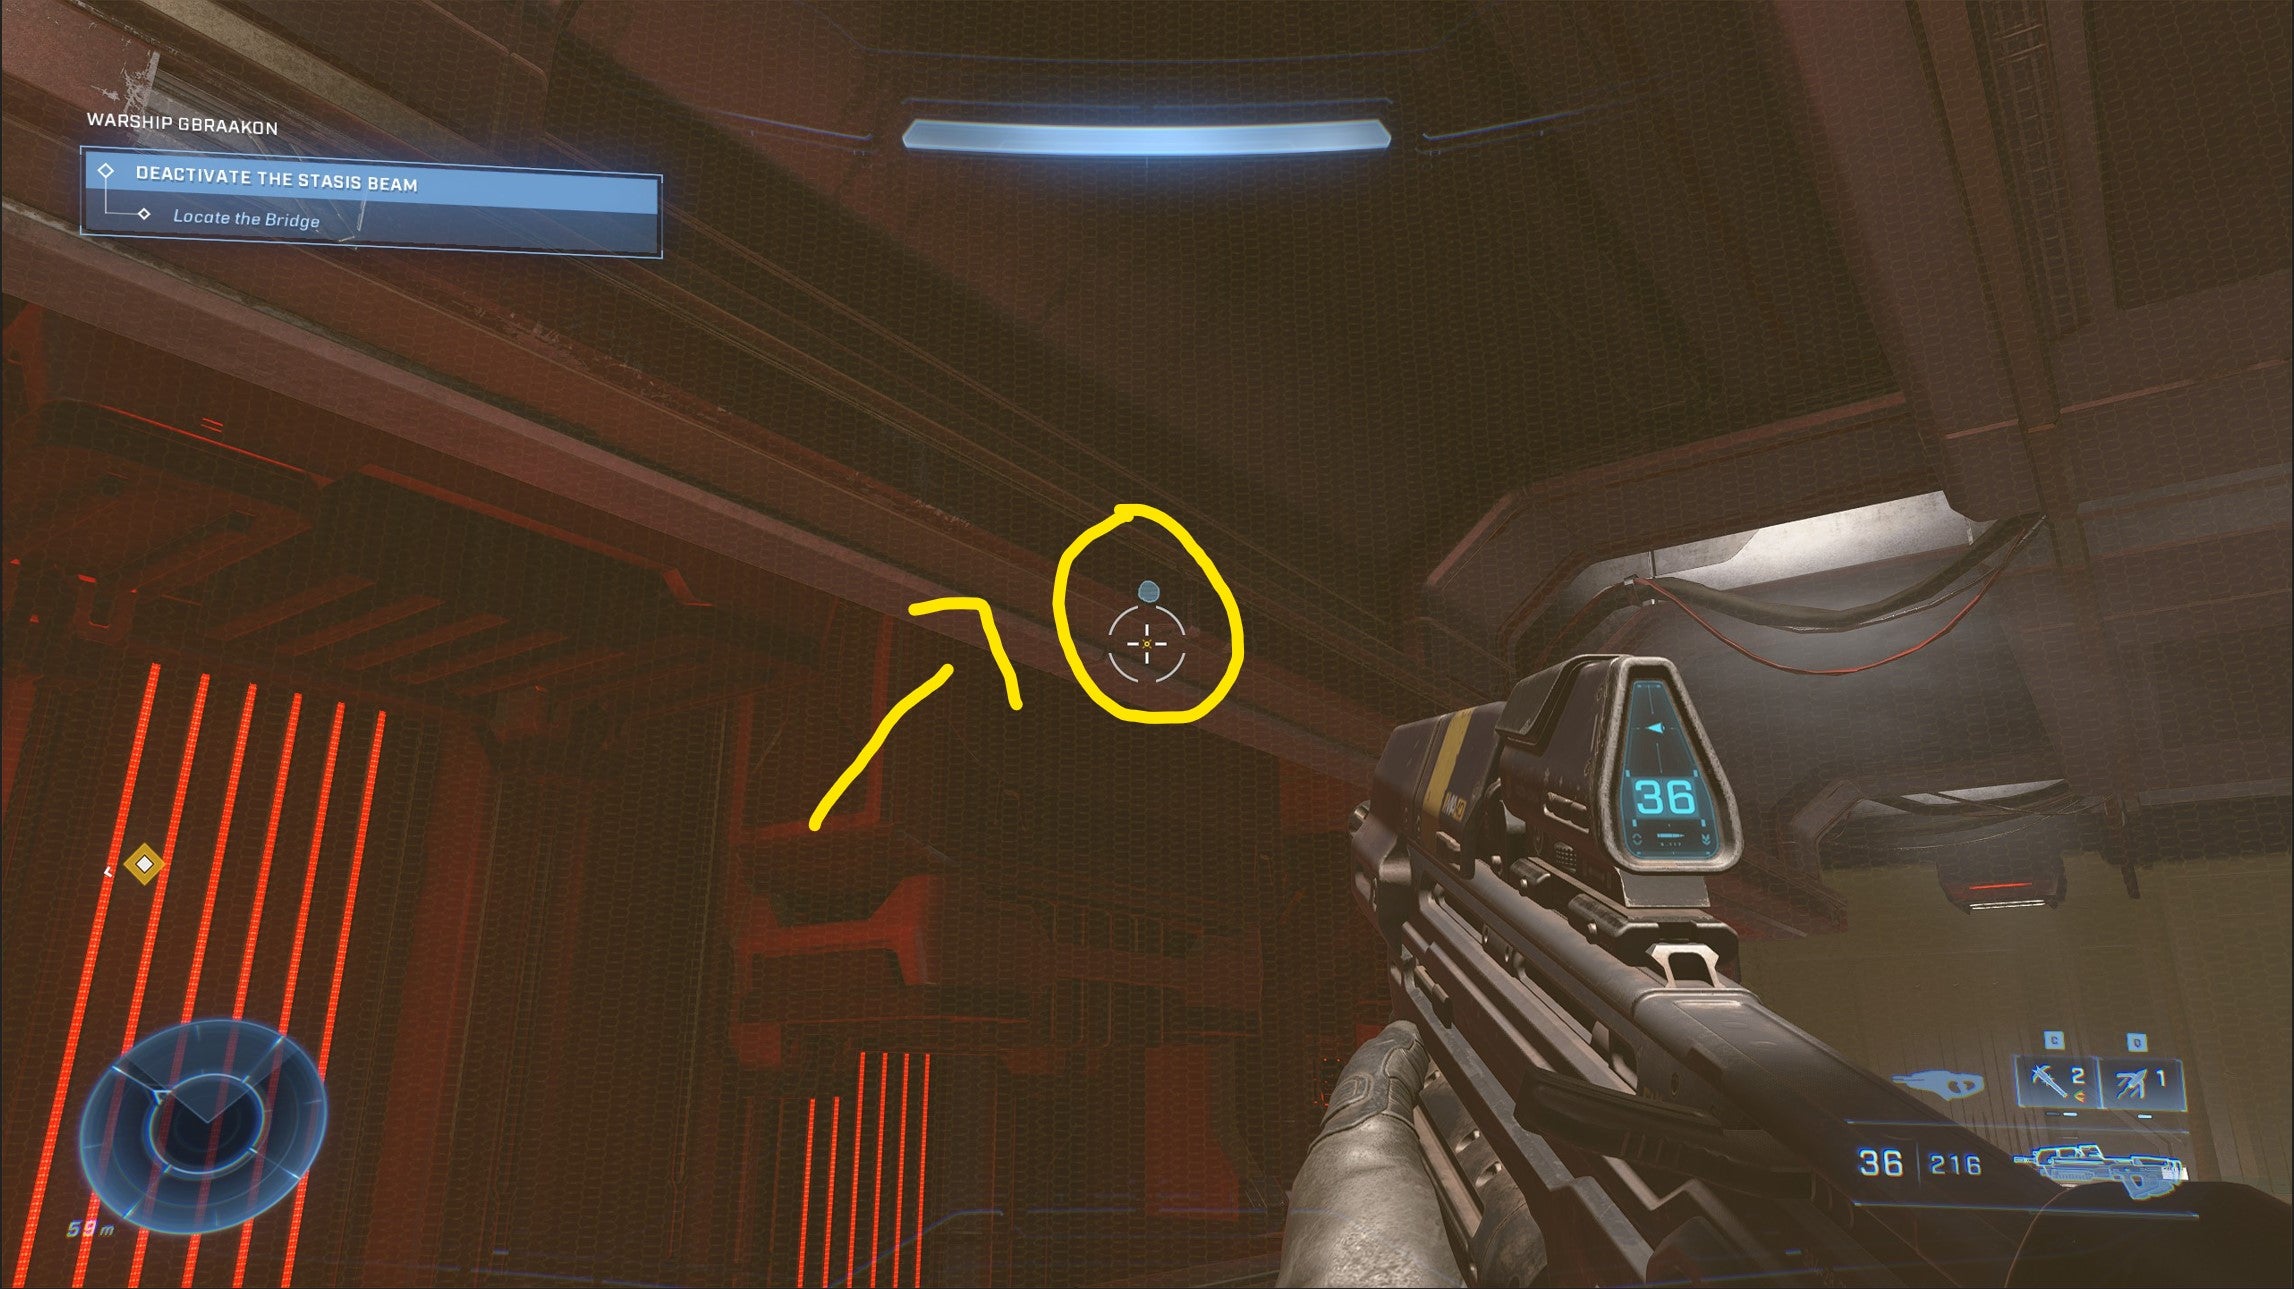
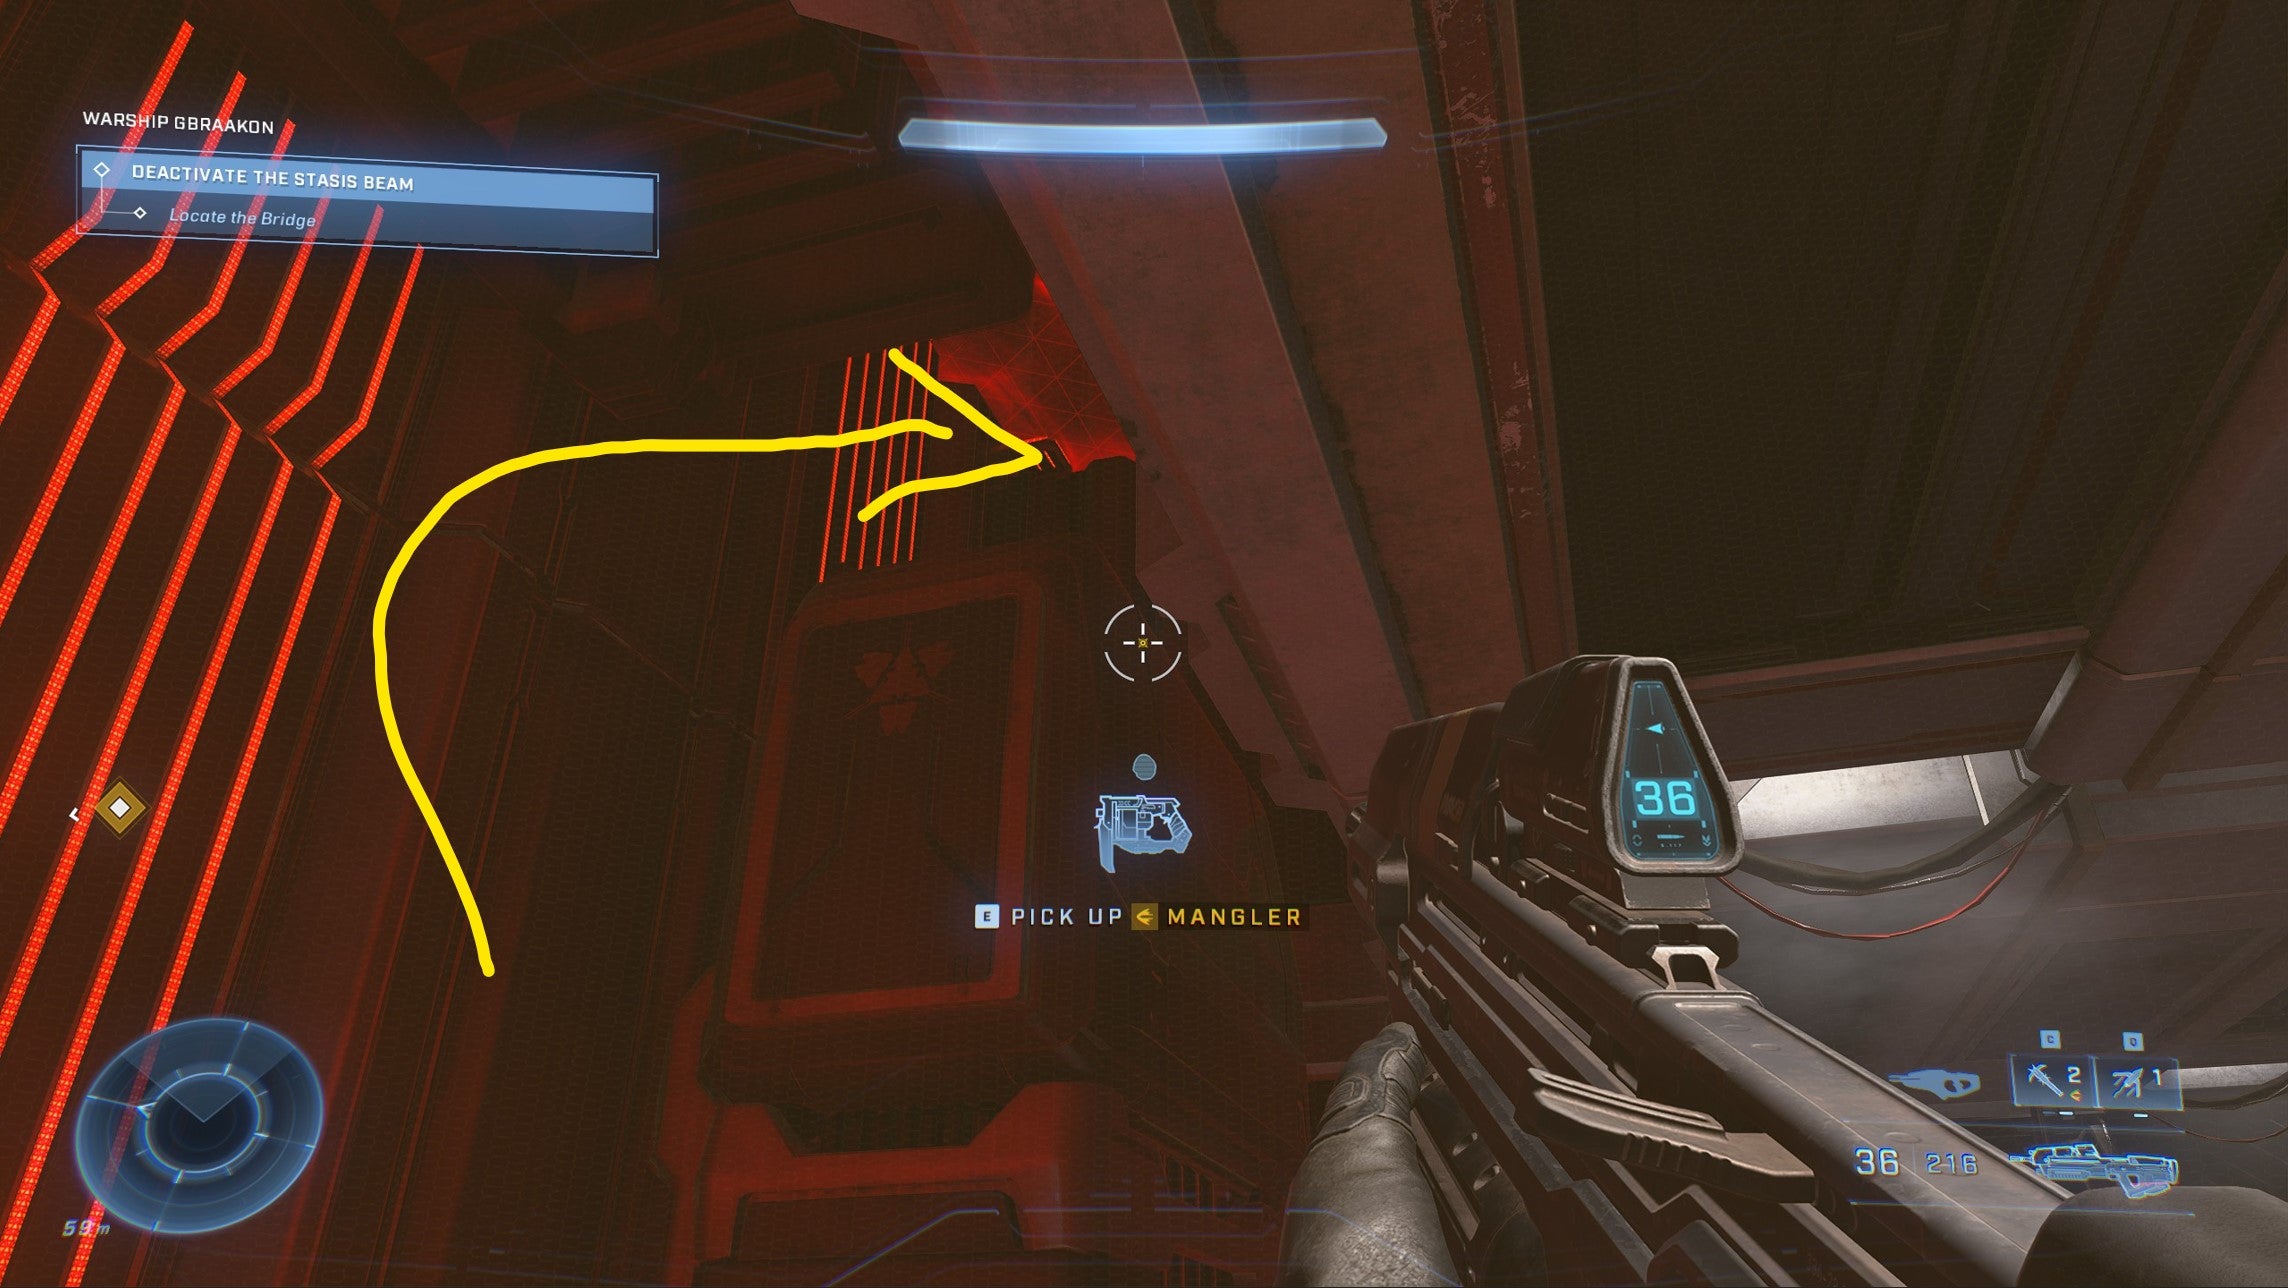
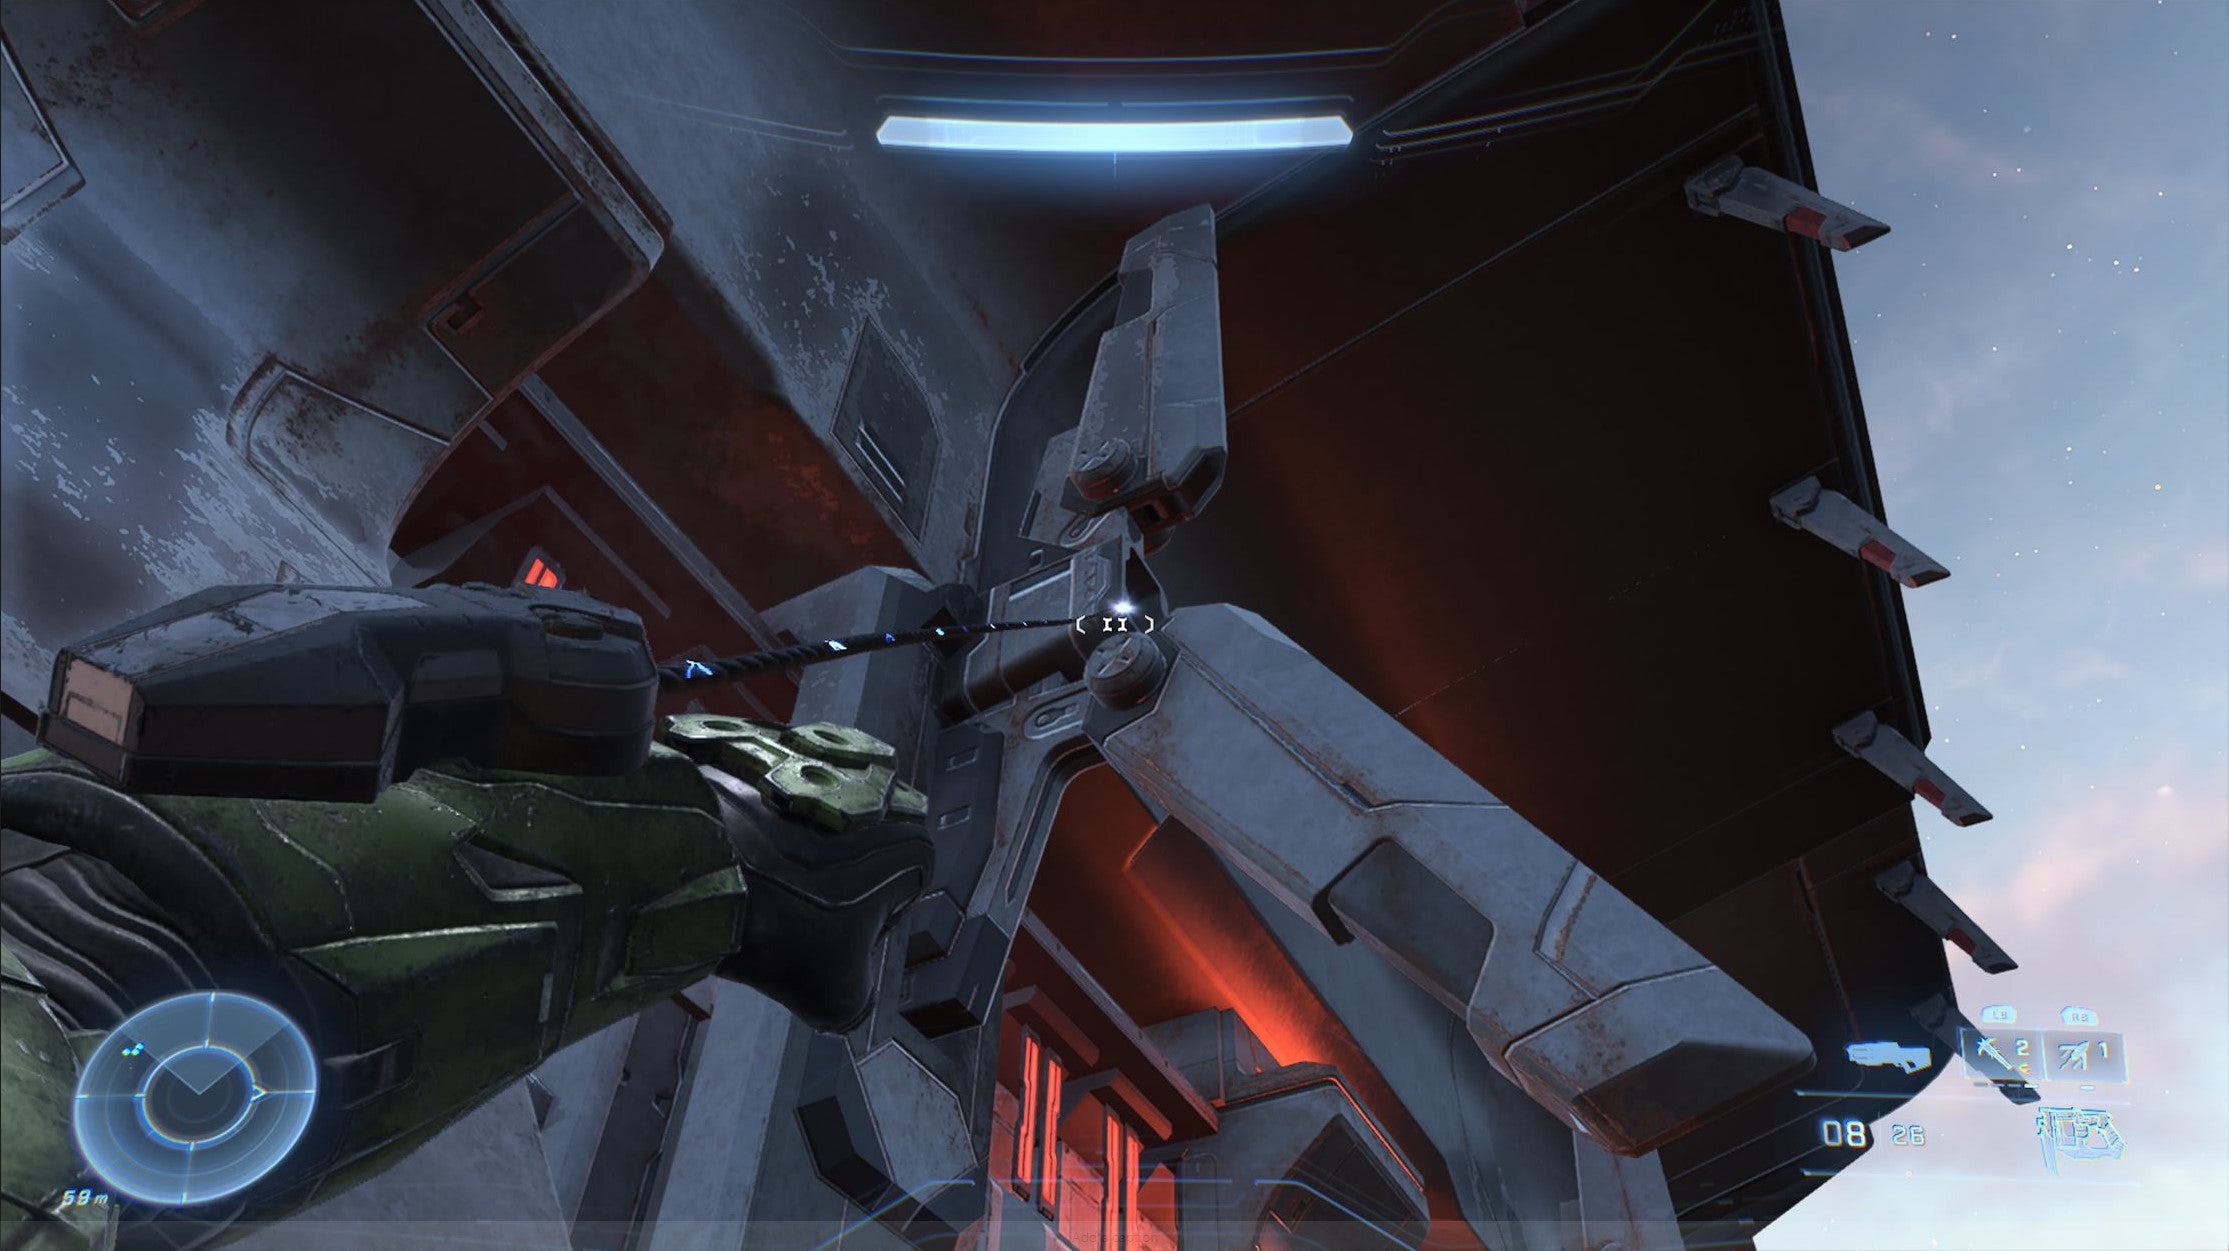
During the very first mission in Halo Infinite, continue through the ship until your objective changes to locating the bridge. Eventually, you will reach a two-floored room with red-lit crushers moving up the wall to your right-hand side. First, clear out the enemies to avoid any annoying distractions, then use your grappleshot to climb on top of one of the crushers as it moves up, then go over to the right to grab the hidden Skull. Be careful not to get squished or thrown out of the level by the moving platform.
Foundation Skull location
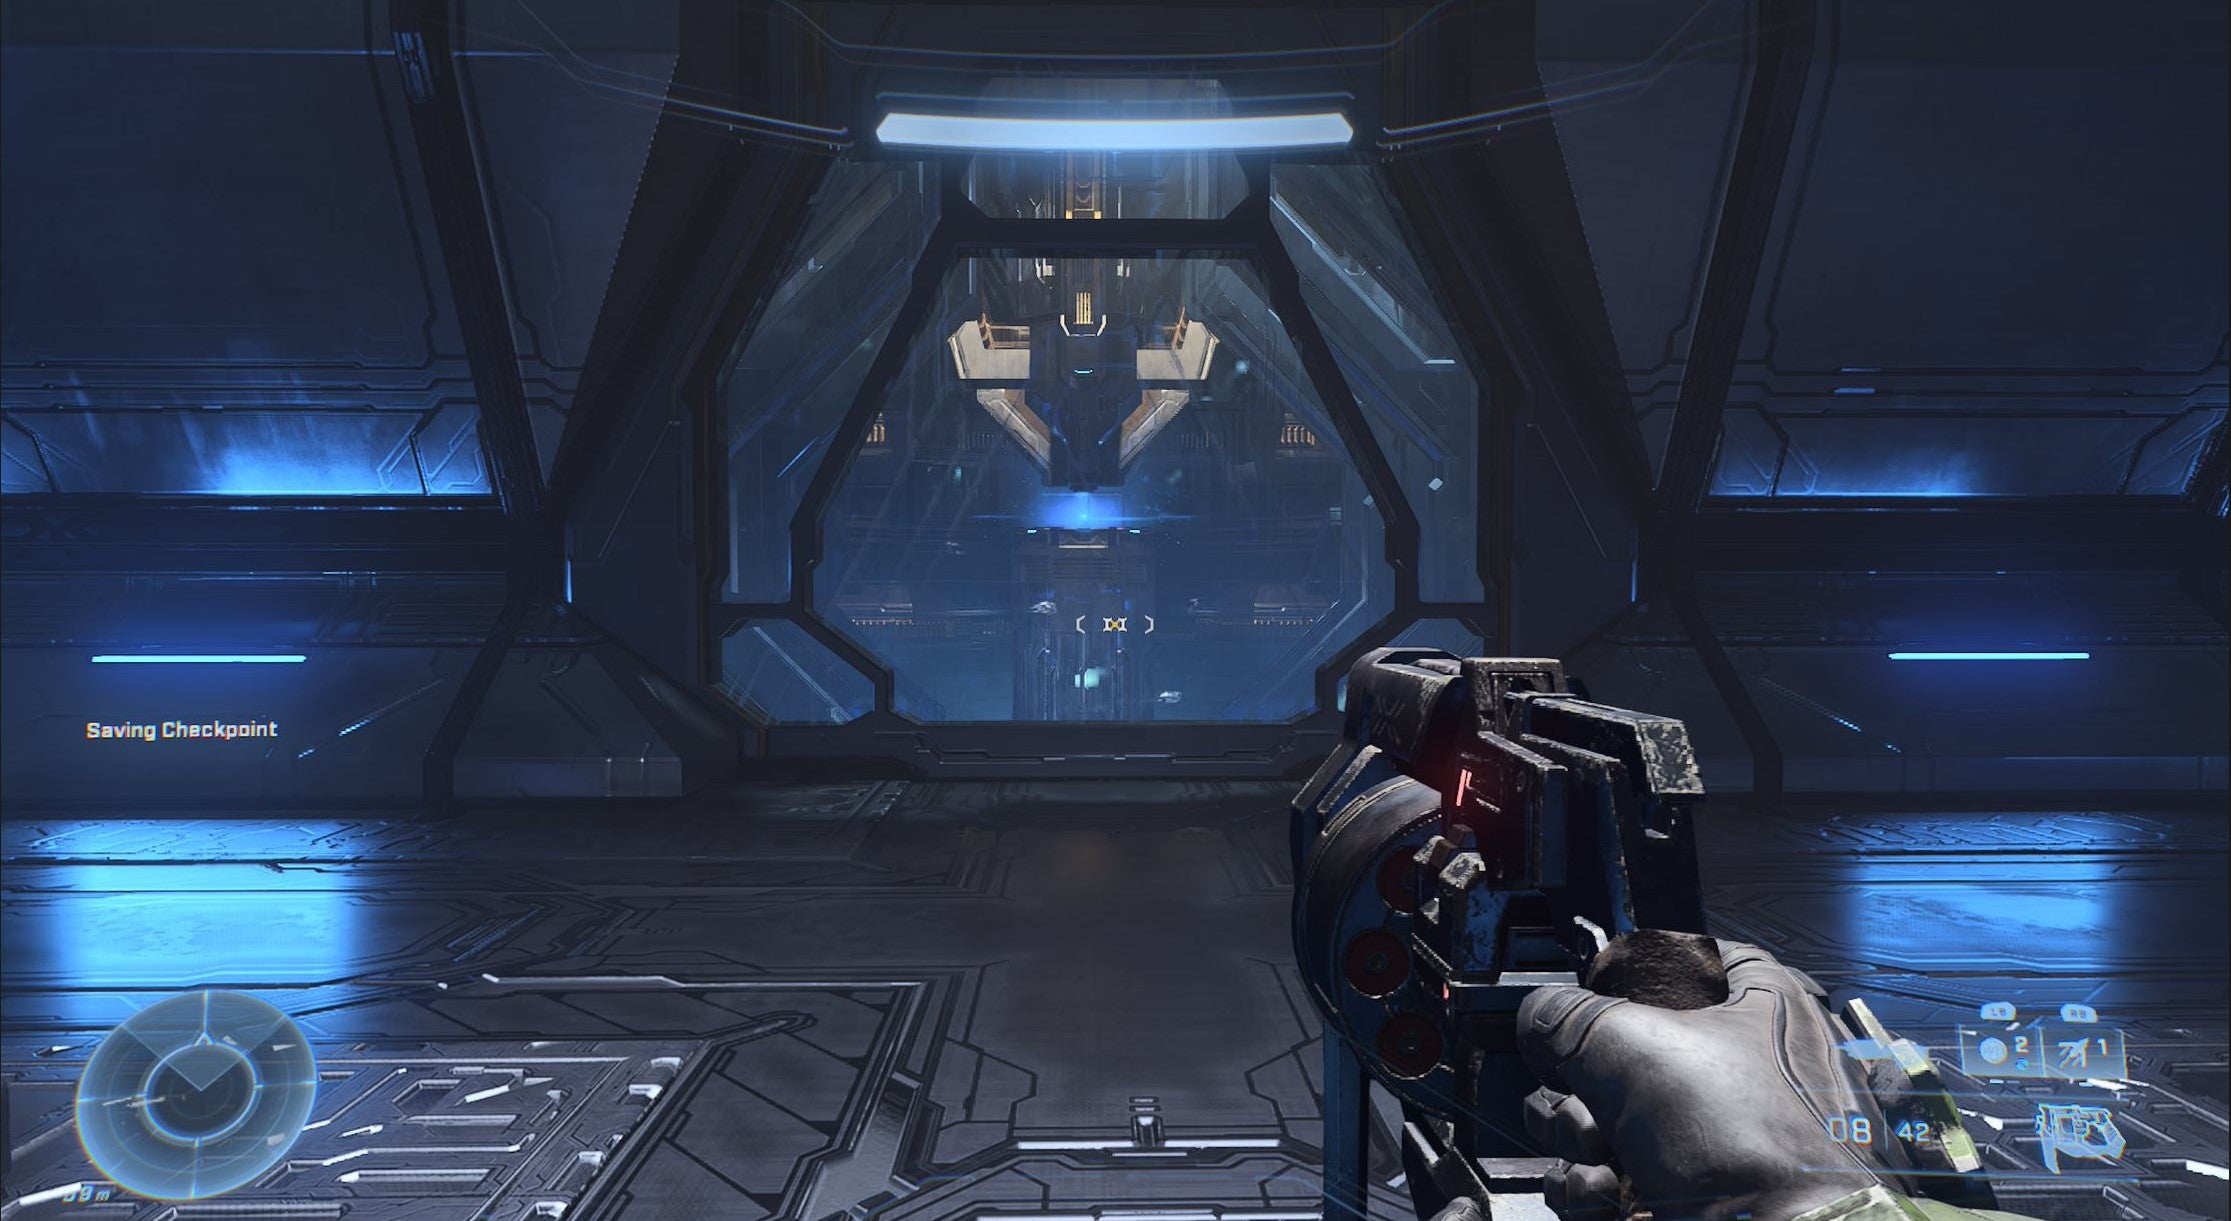
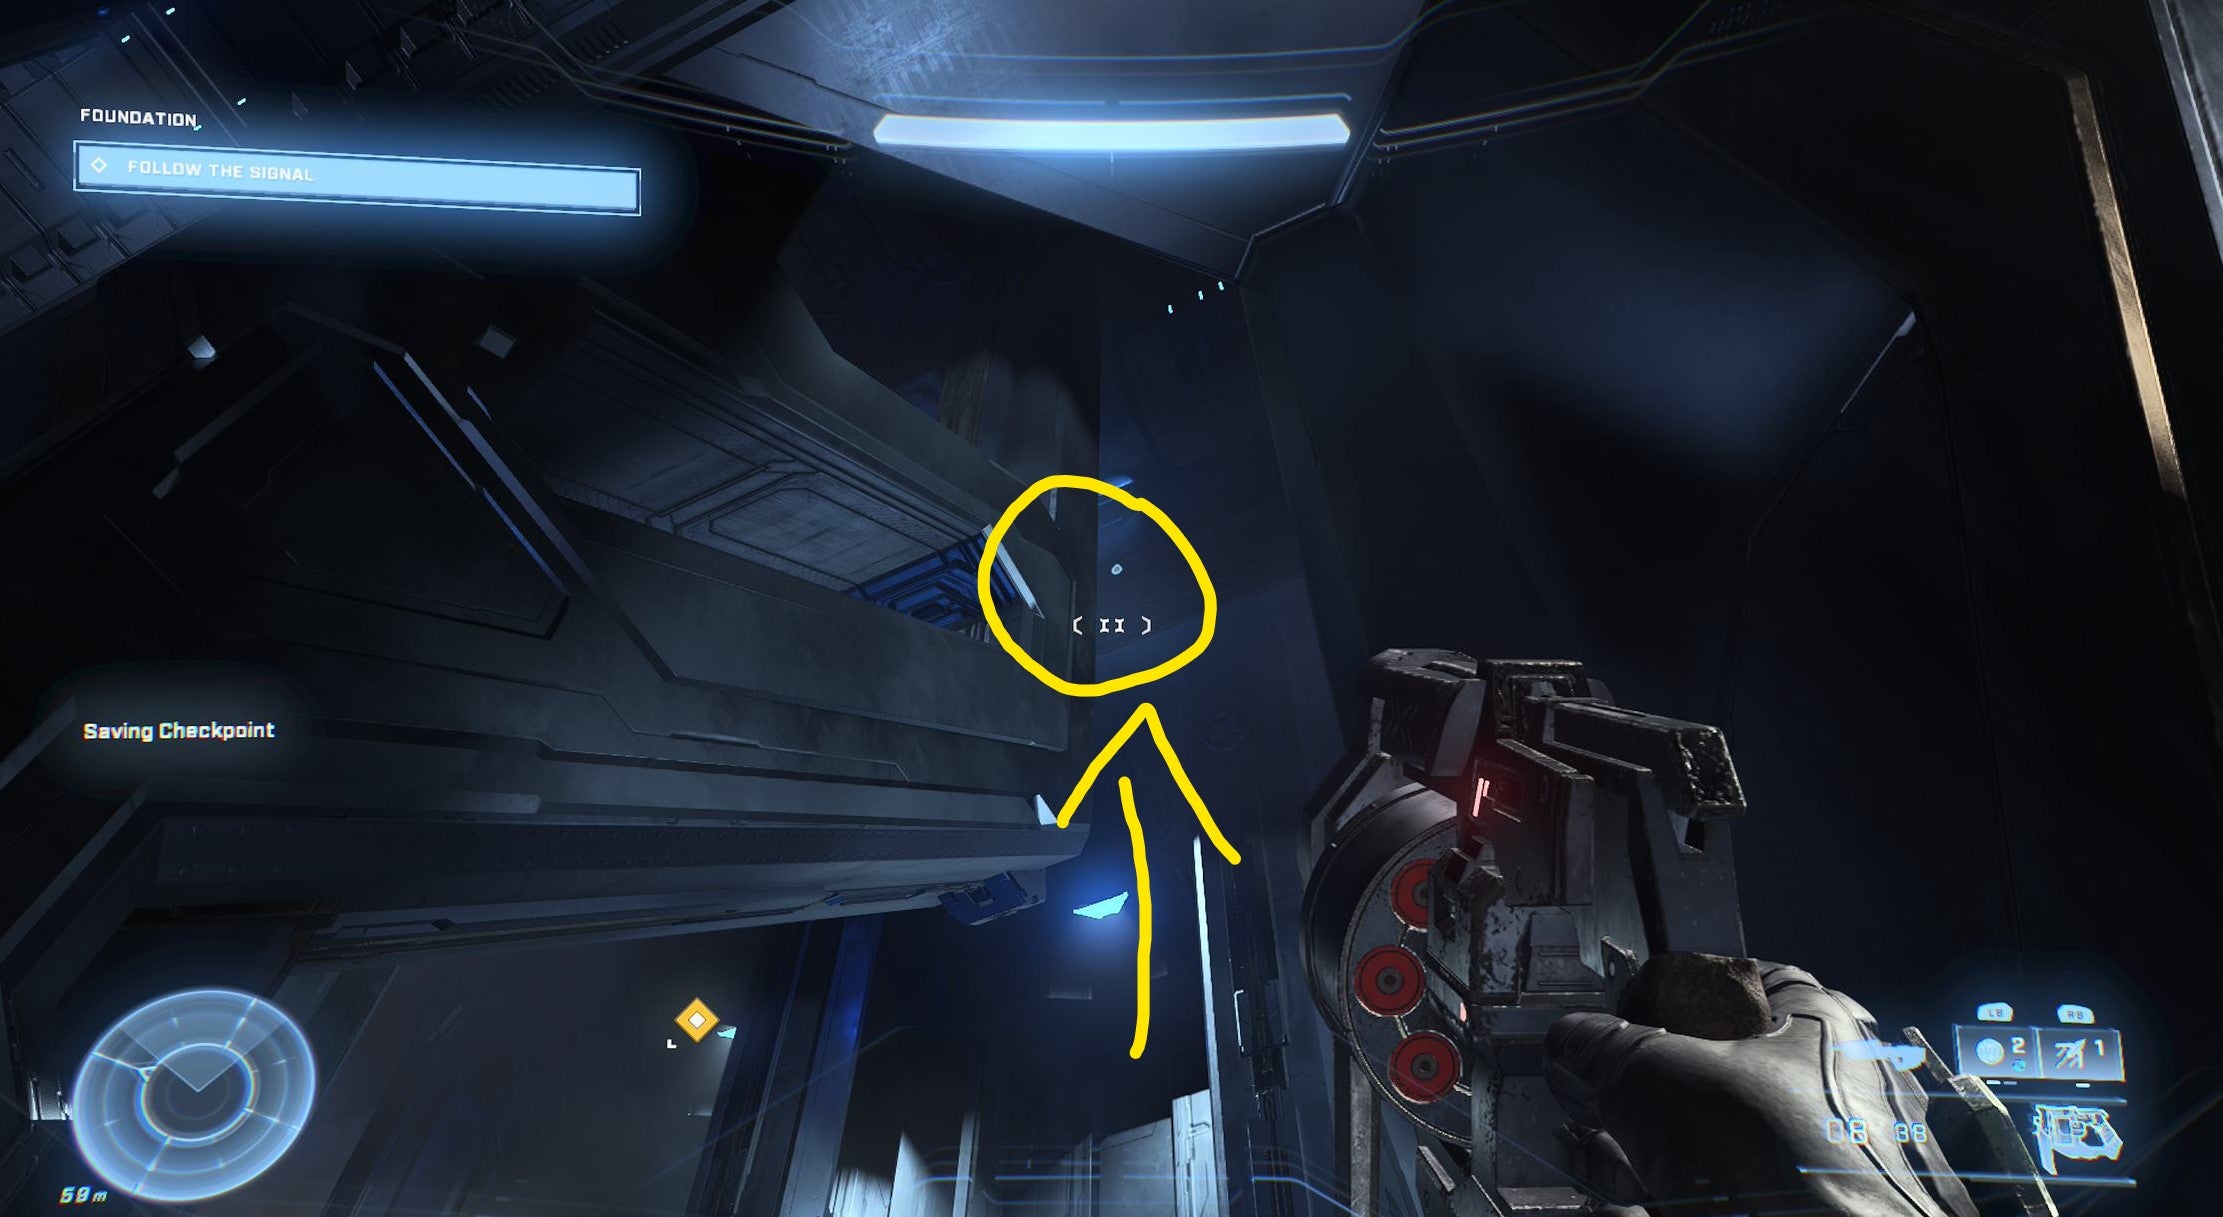
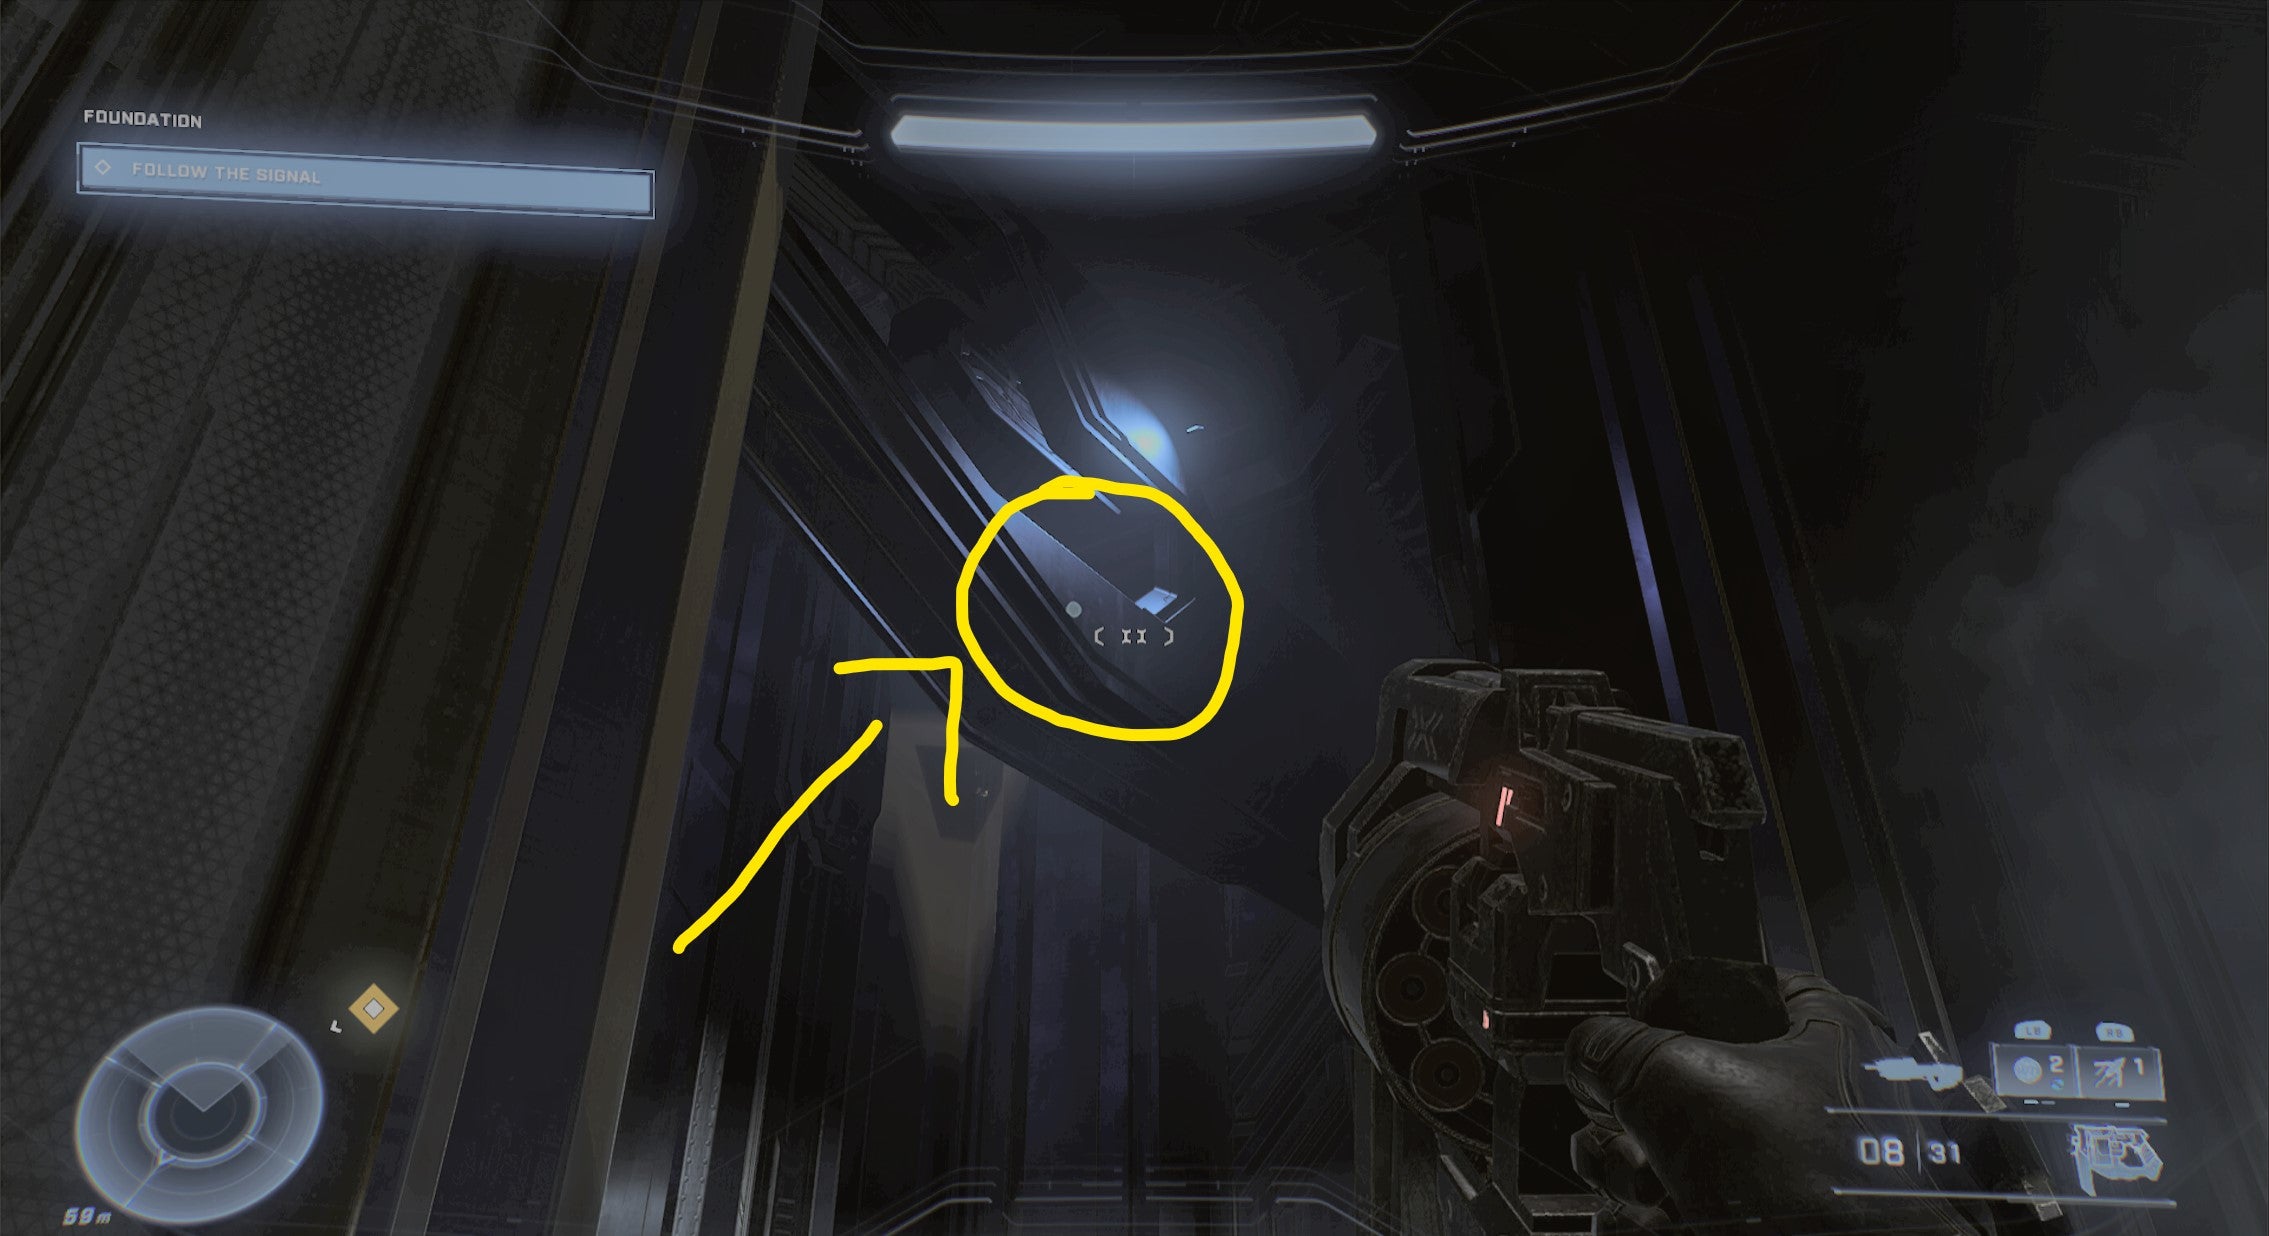
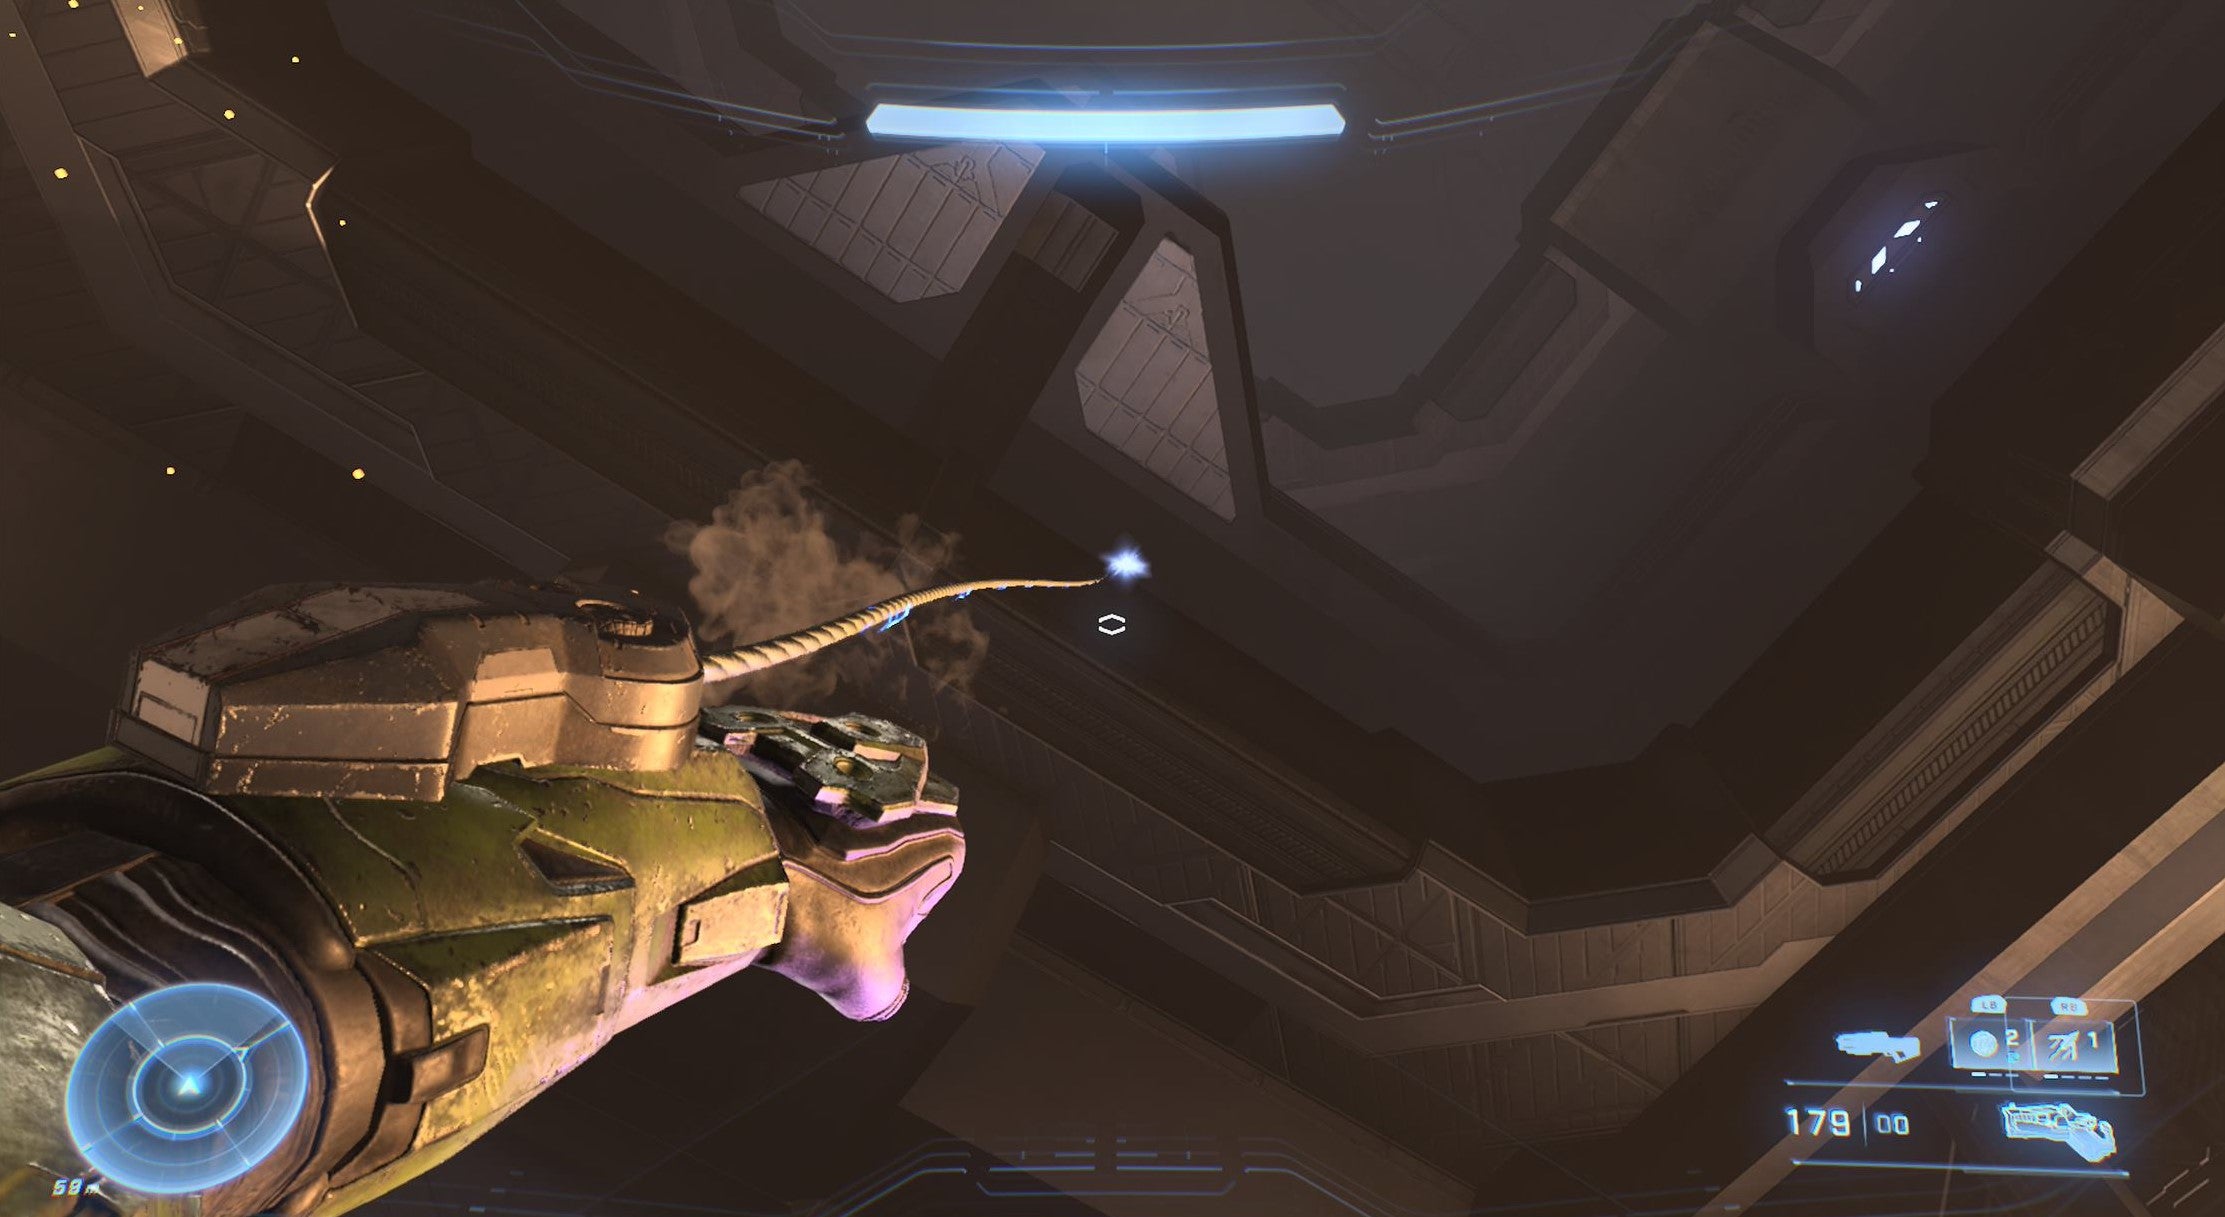
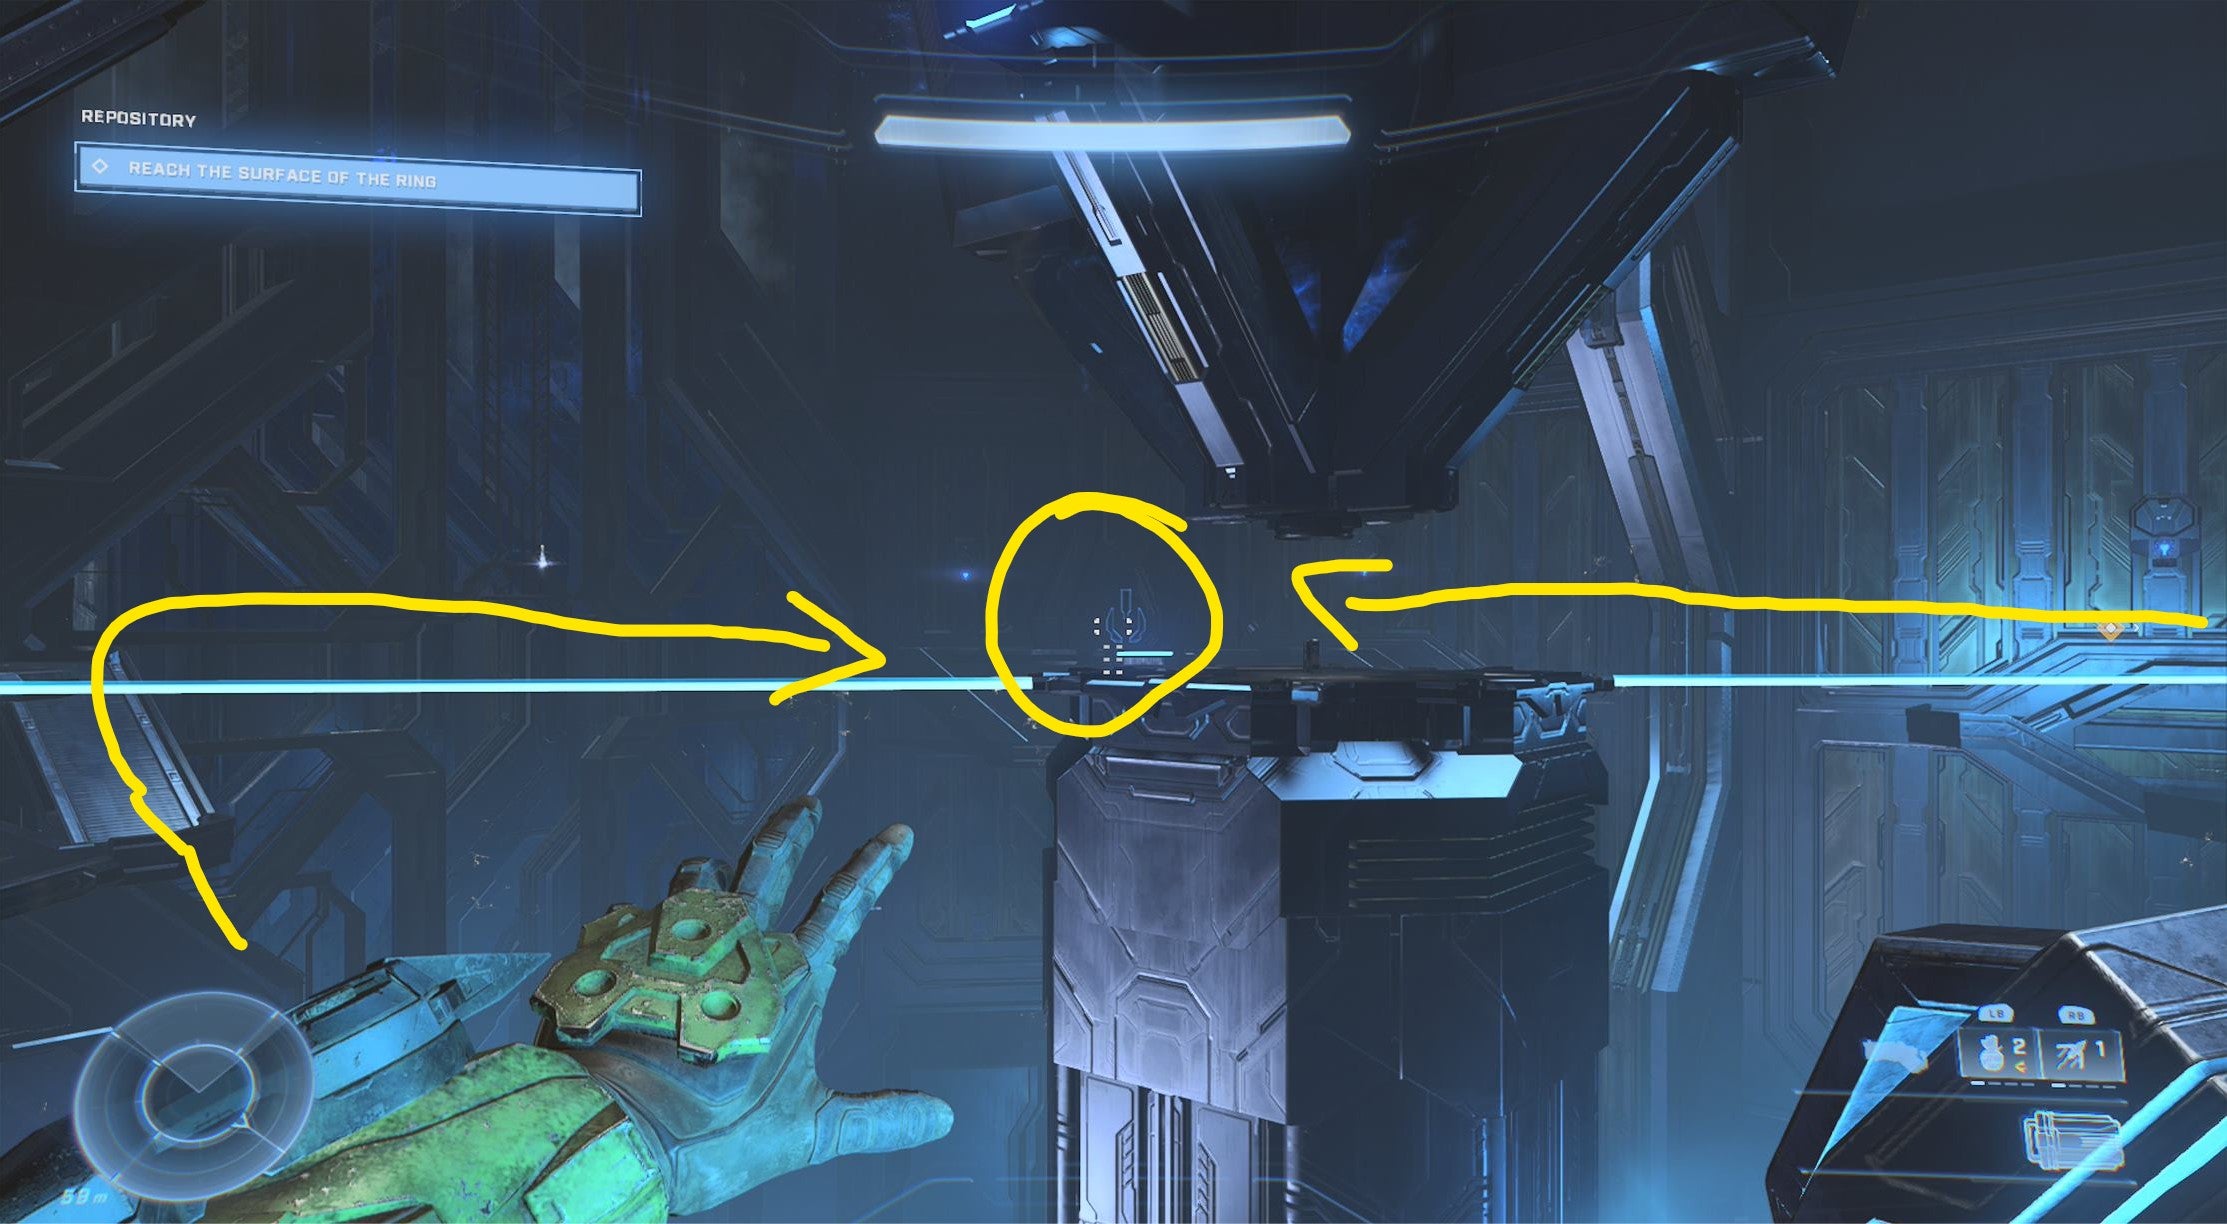
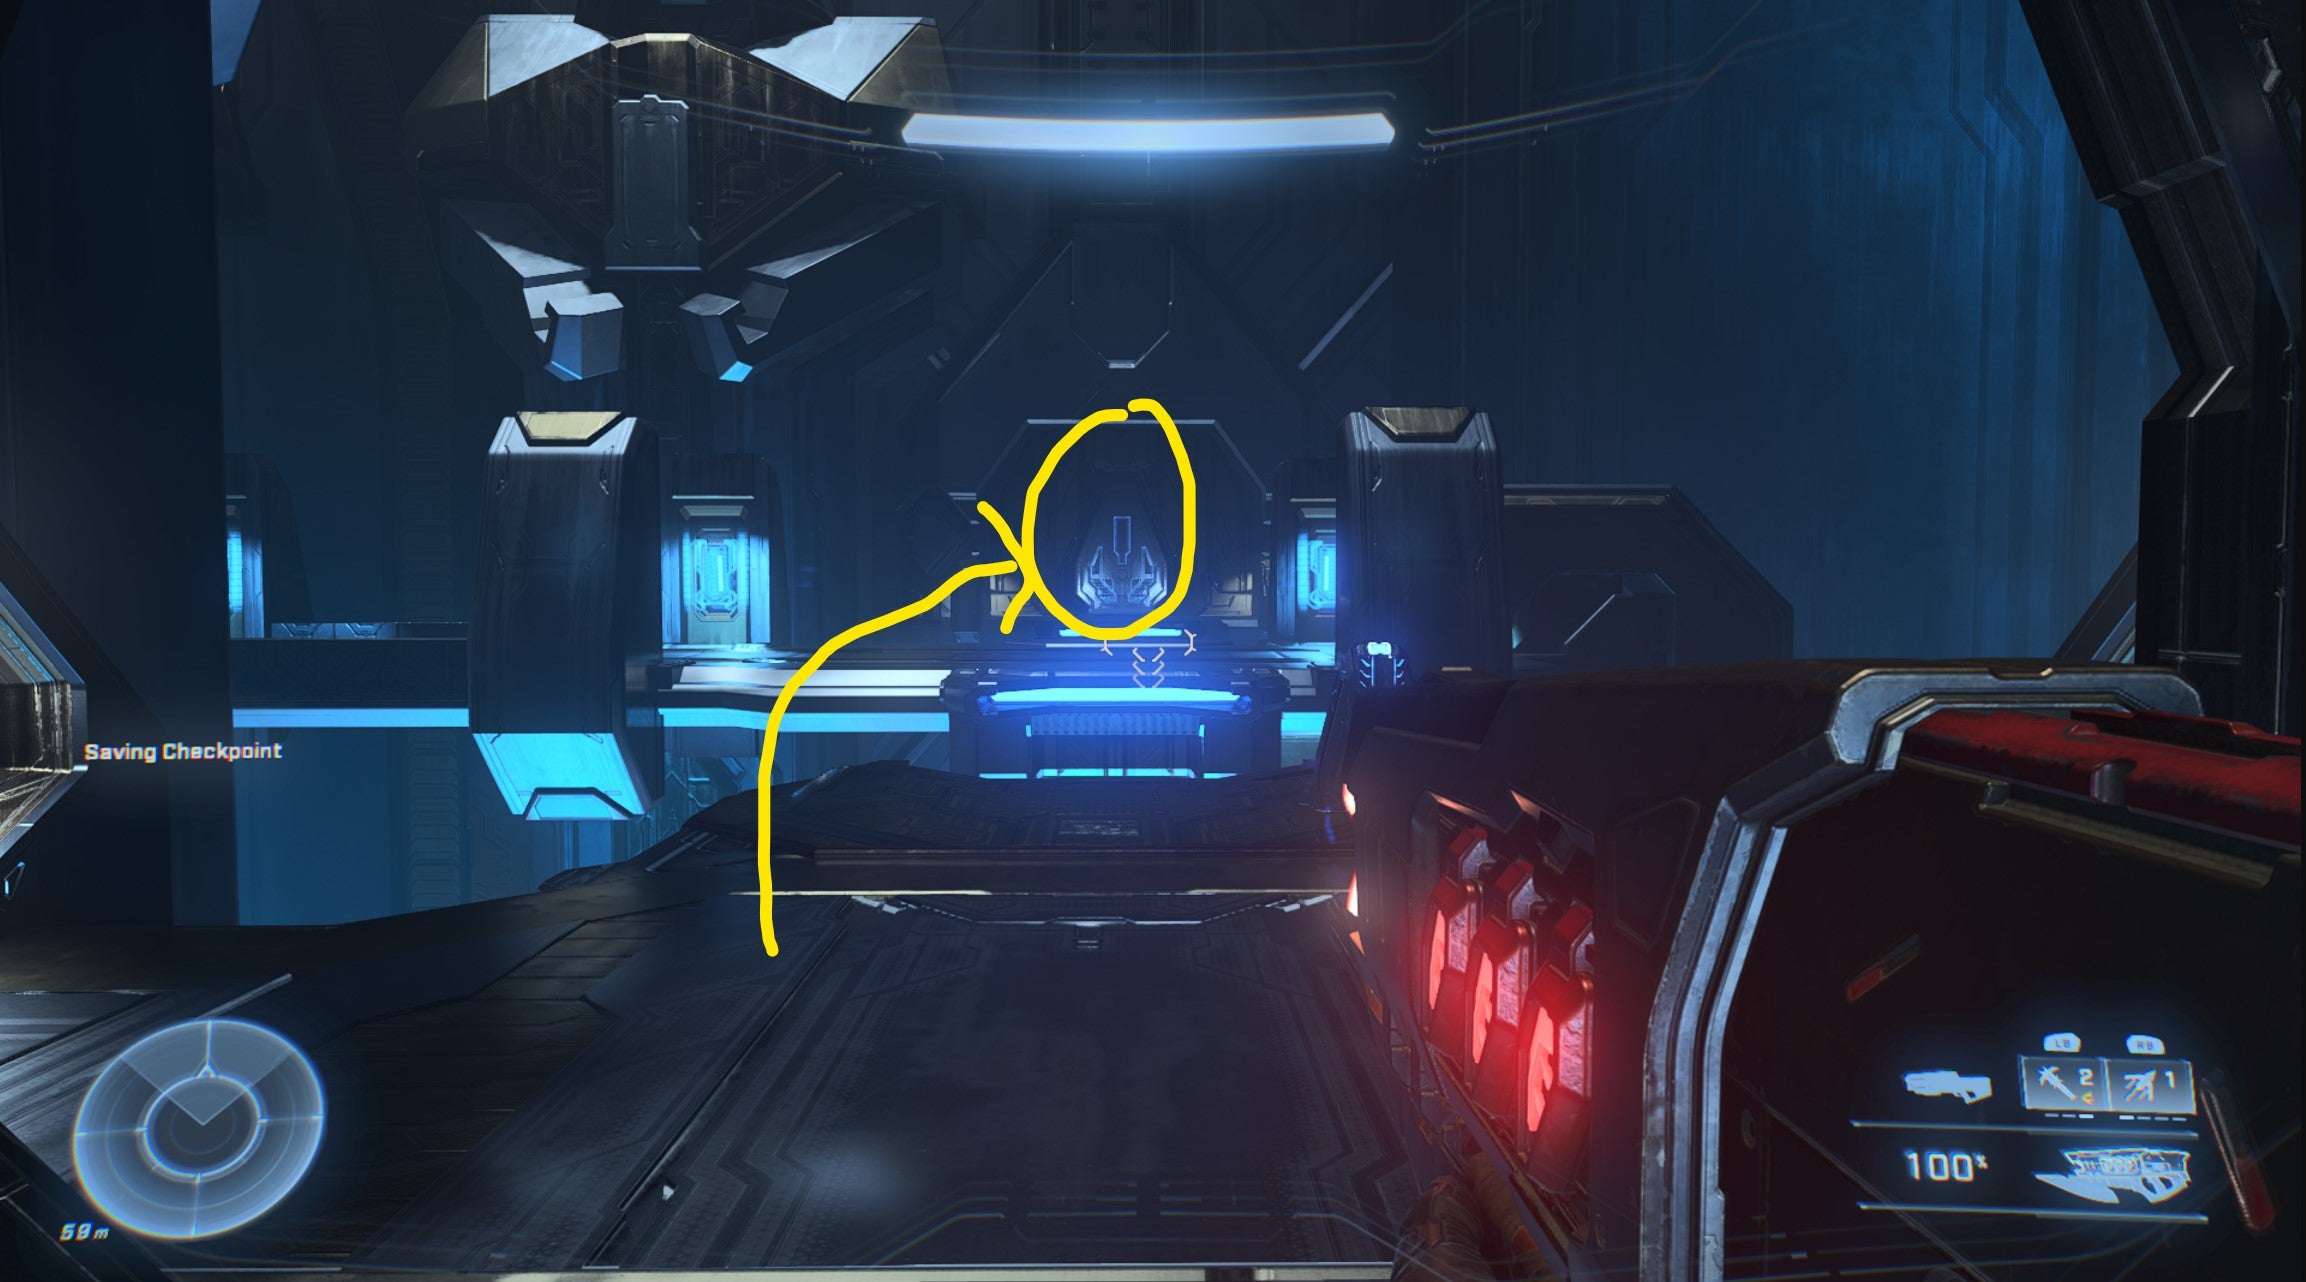
To claim the Skull in the second story mission, Foundation, play through until you reach the blue-illuminated room in the screen above. Go around to the left, then immediately look directly up. The Skull is hidden on the roof beams of this chamber. You have to use your Grapplehook to make it up there, and it’s much easier if you use the large pillars to approach from the left.
The Tower IWHBYD Skull Location
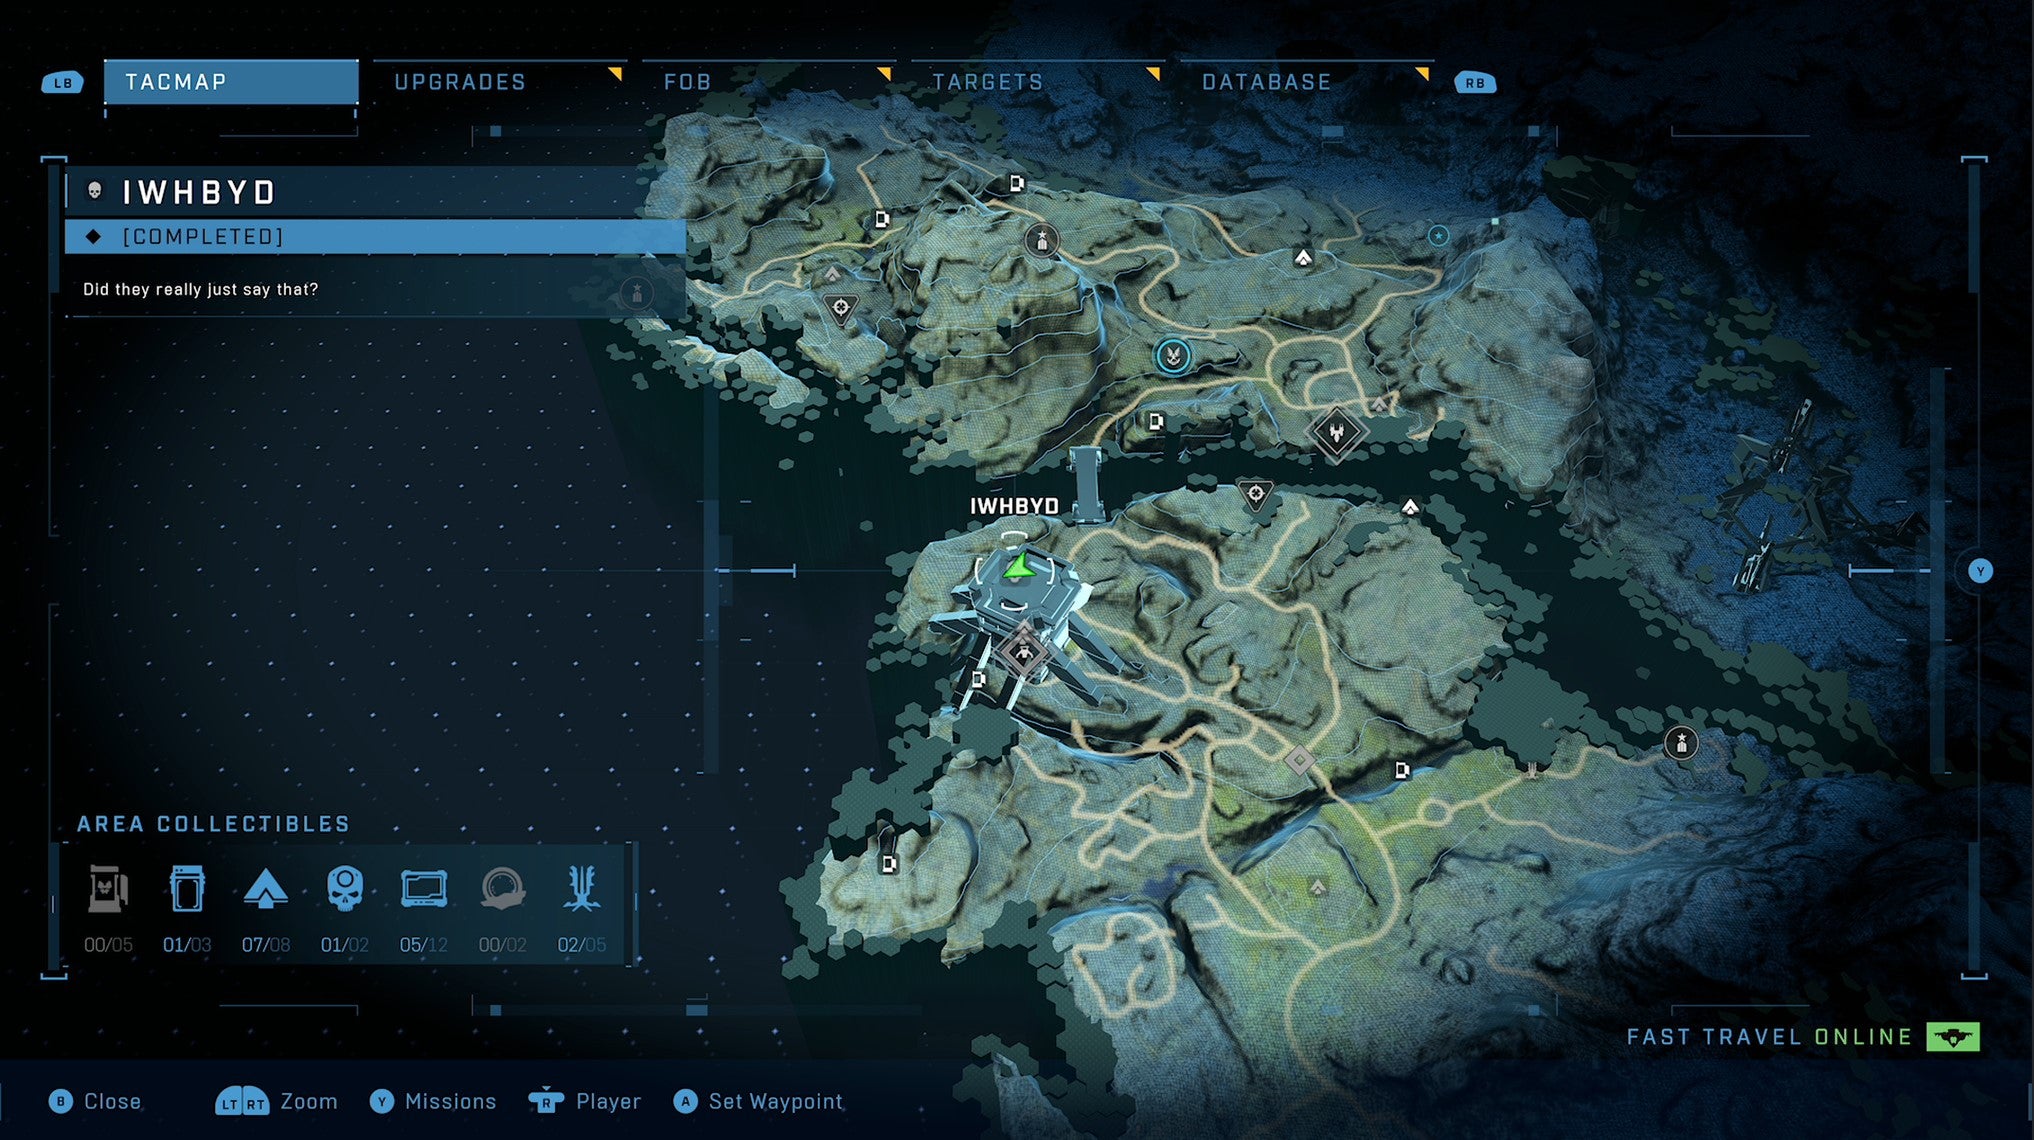
This Skull is accessible both from the open world, and during the main mission called “The Tower”. Literally on top of the titular Tower, you will find the Skull for IWHBYD, which makes NPCs mouth off with extra cooky dialogue. Think something similar to “Wild Wasteland” in Fallout New Vegas. You will need to get creative with your Grappleshot to climb up there, or wait until you can steal a Banshee later.
Fog Skull Location
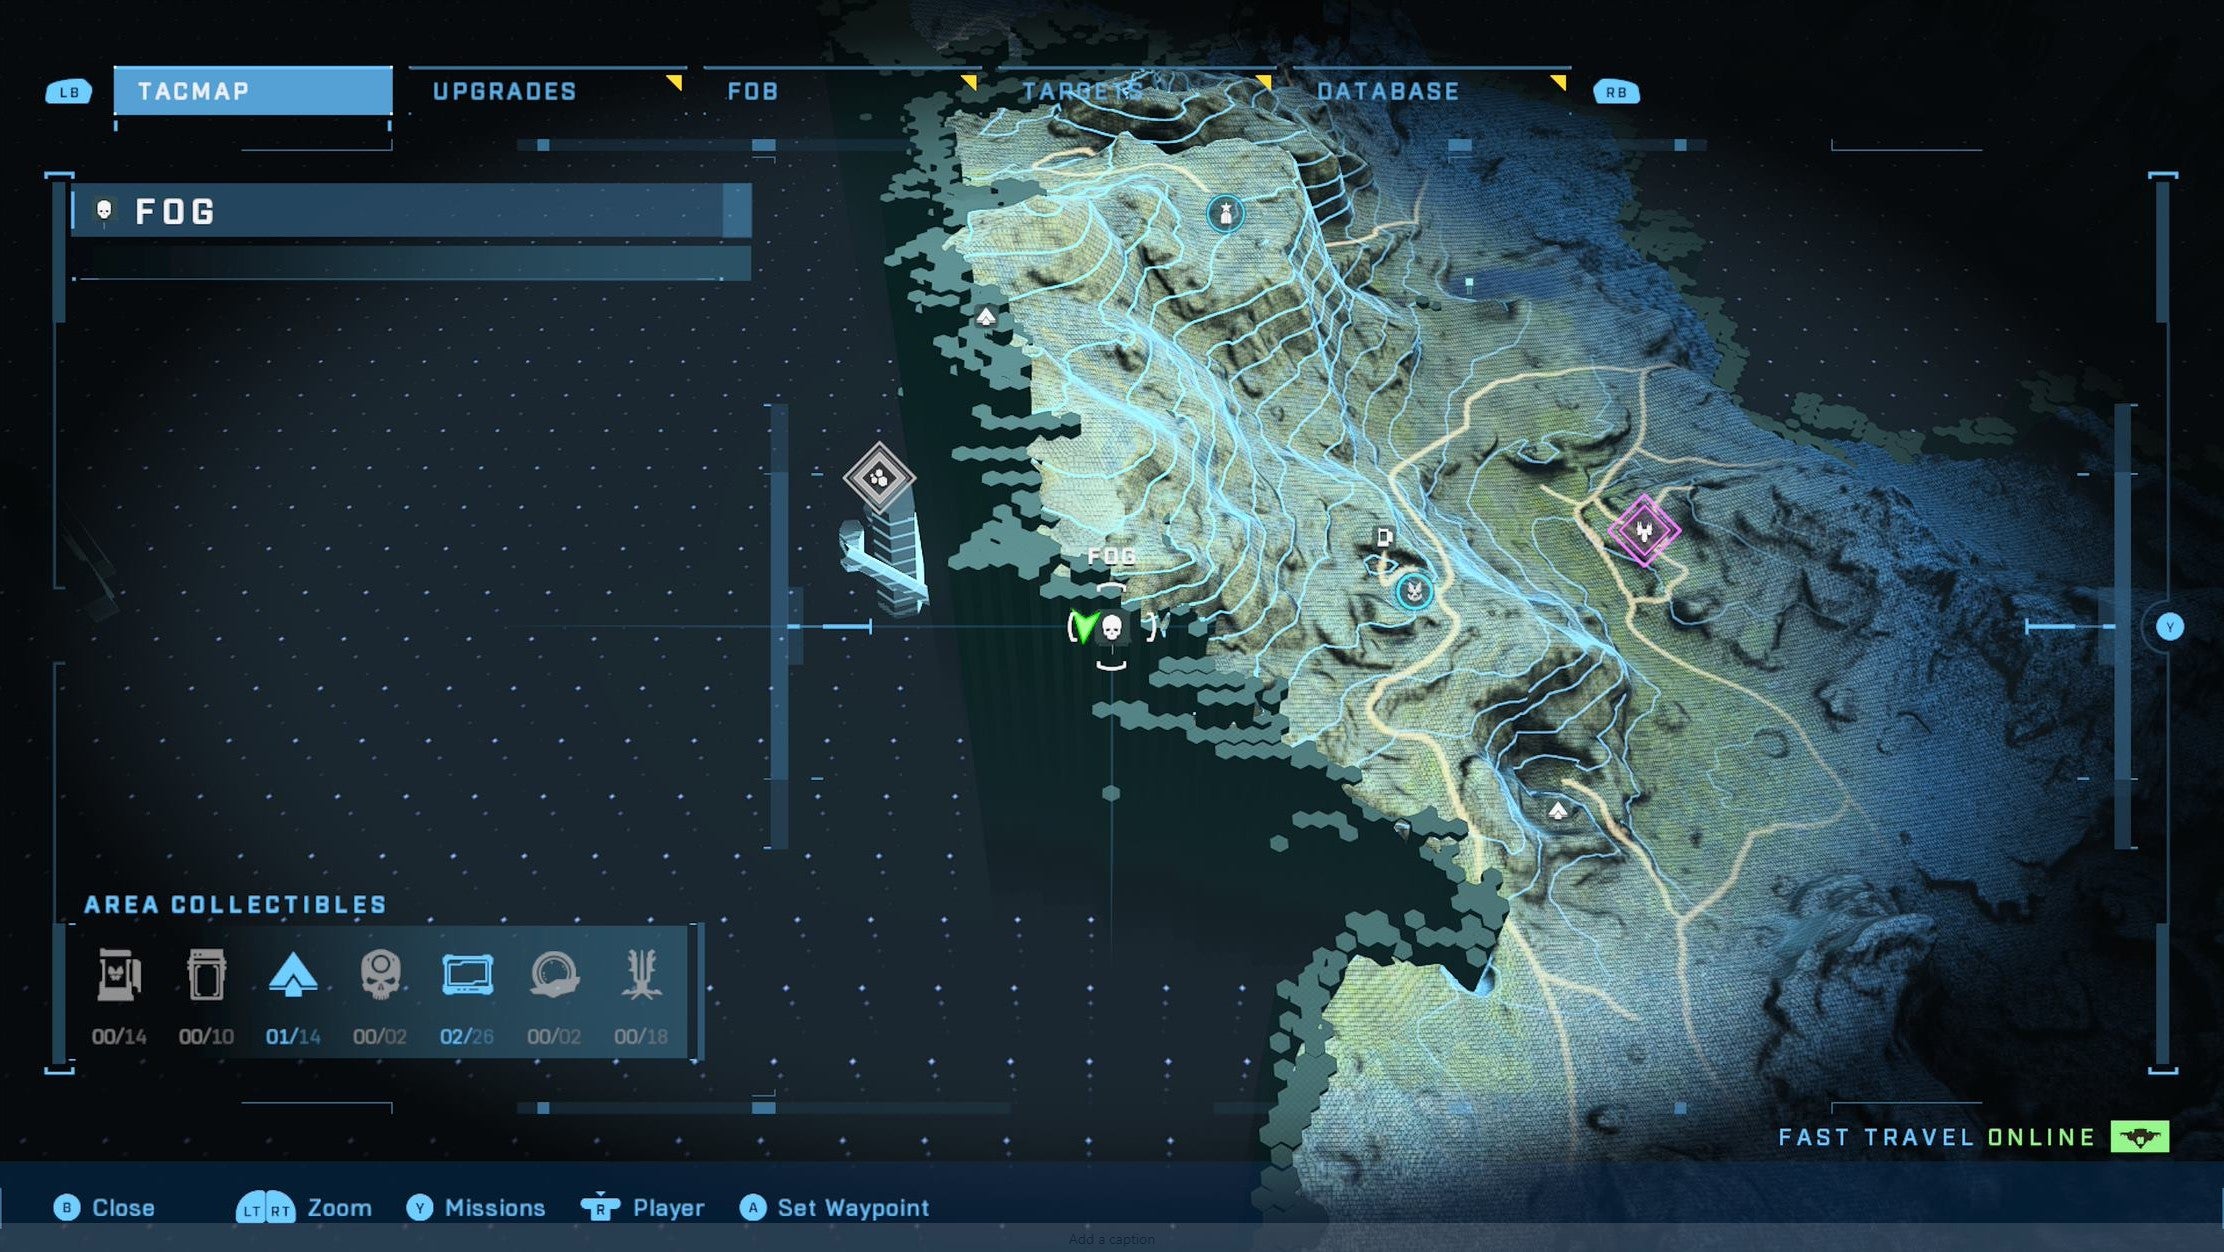
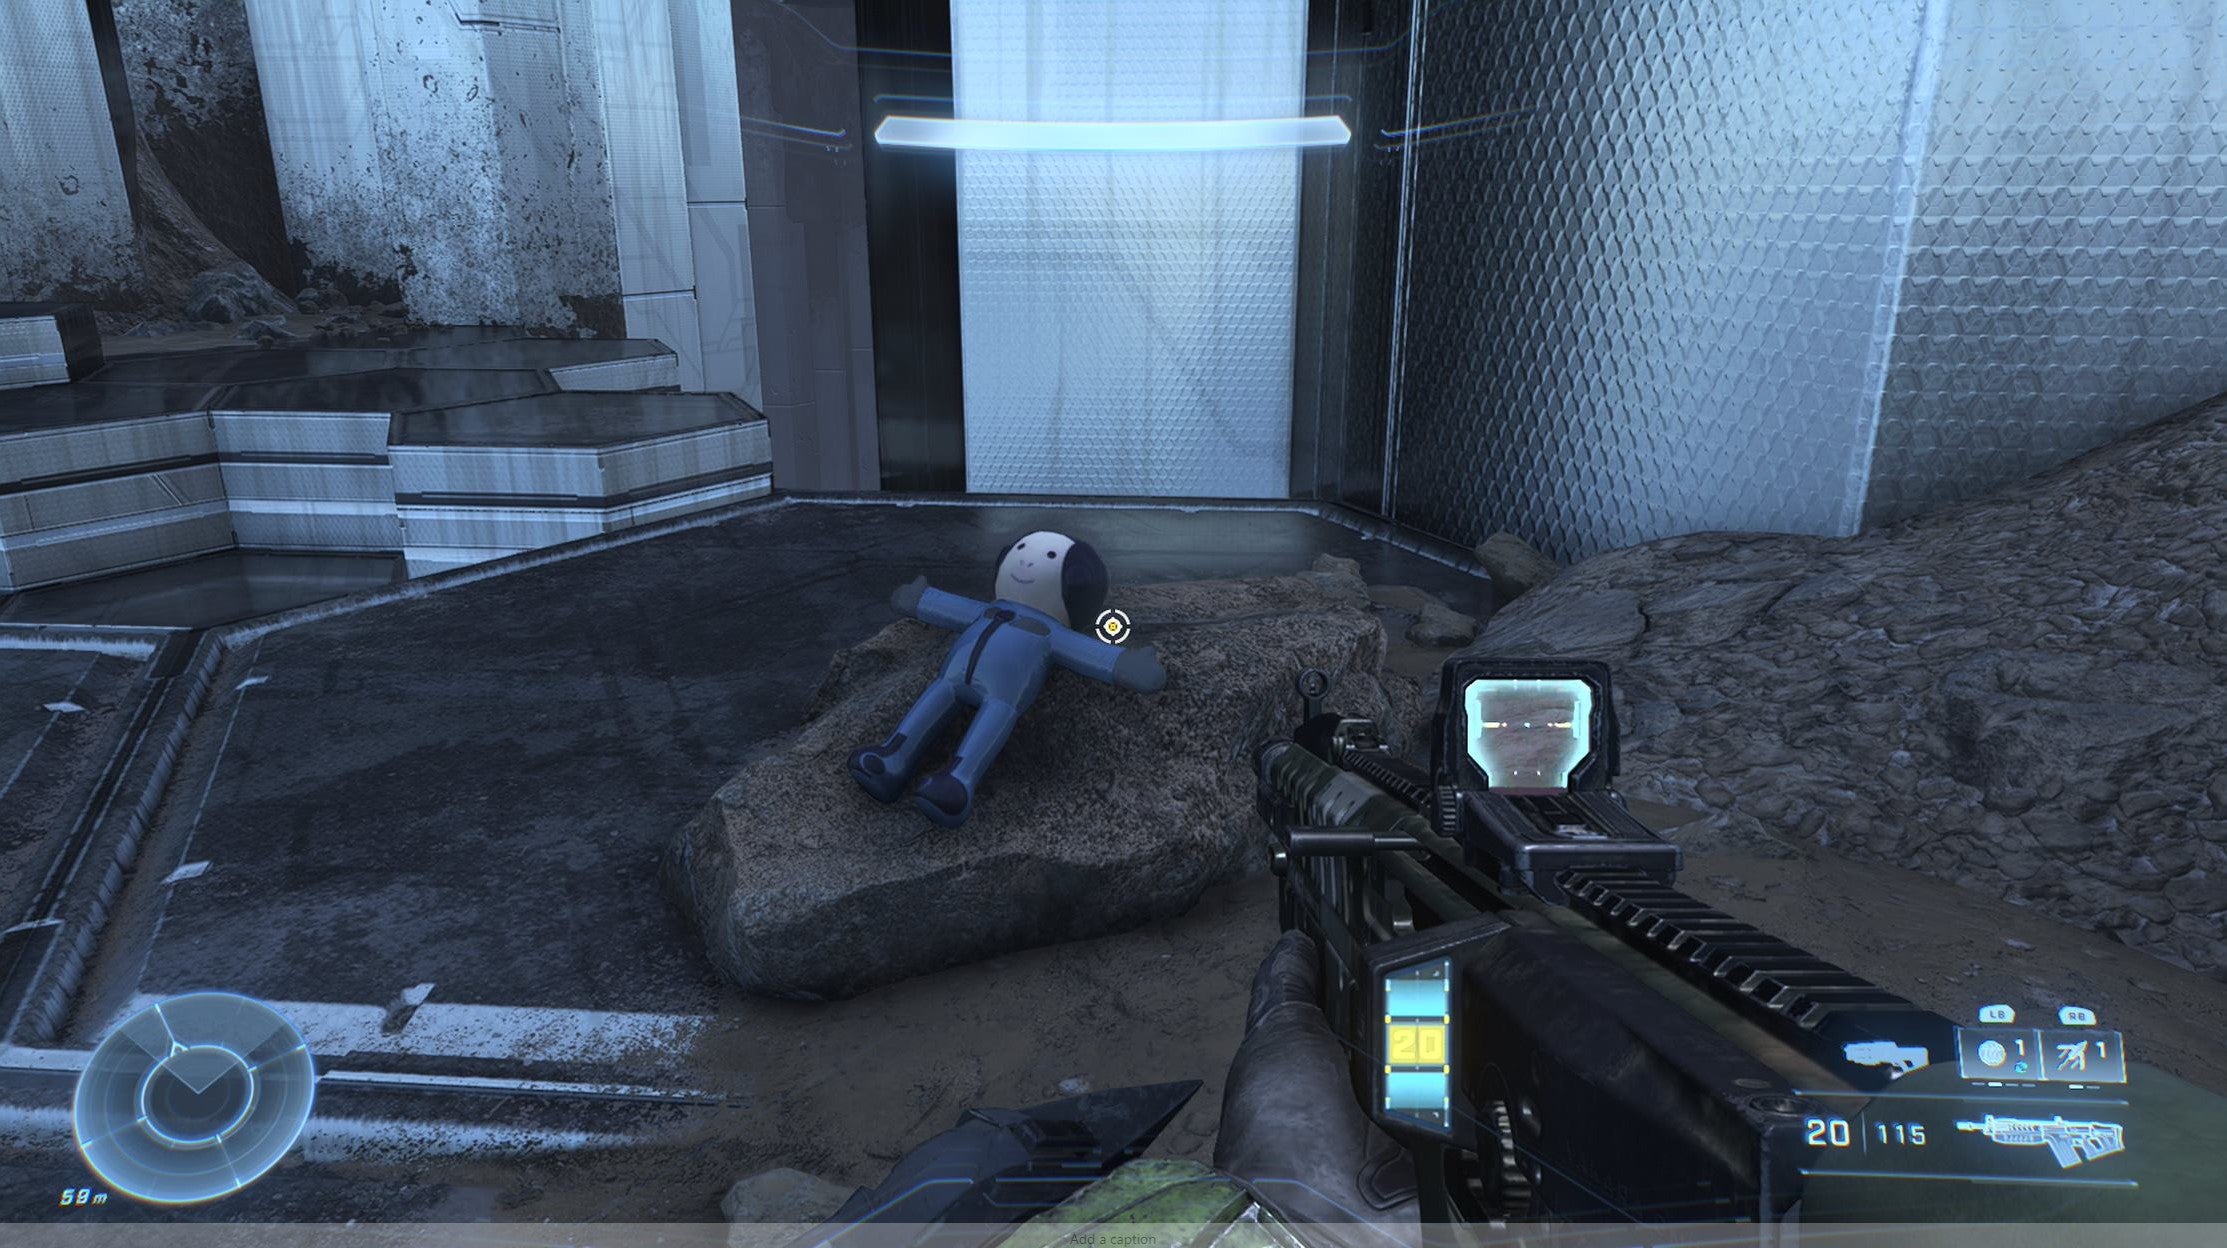
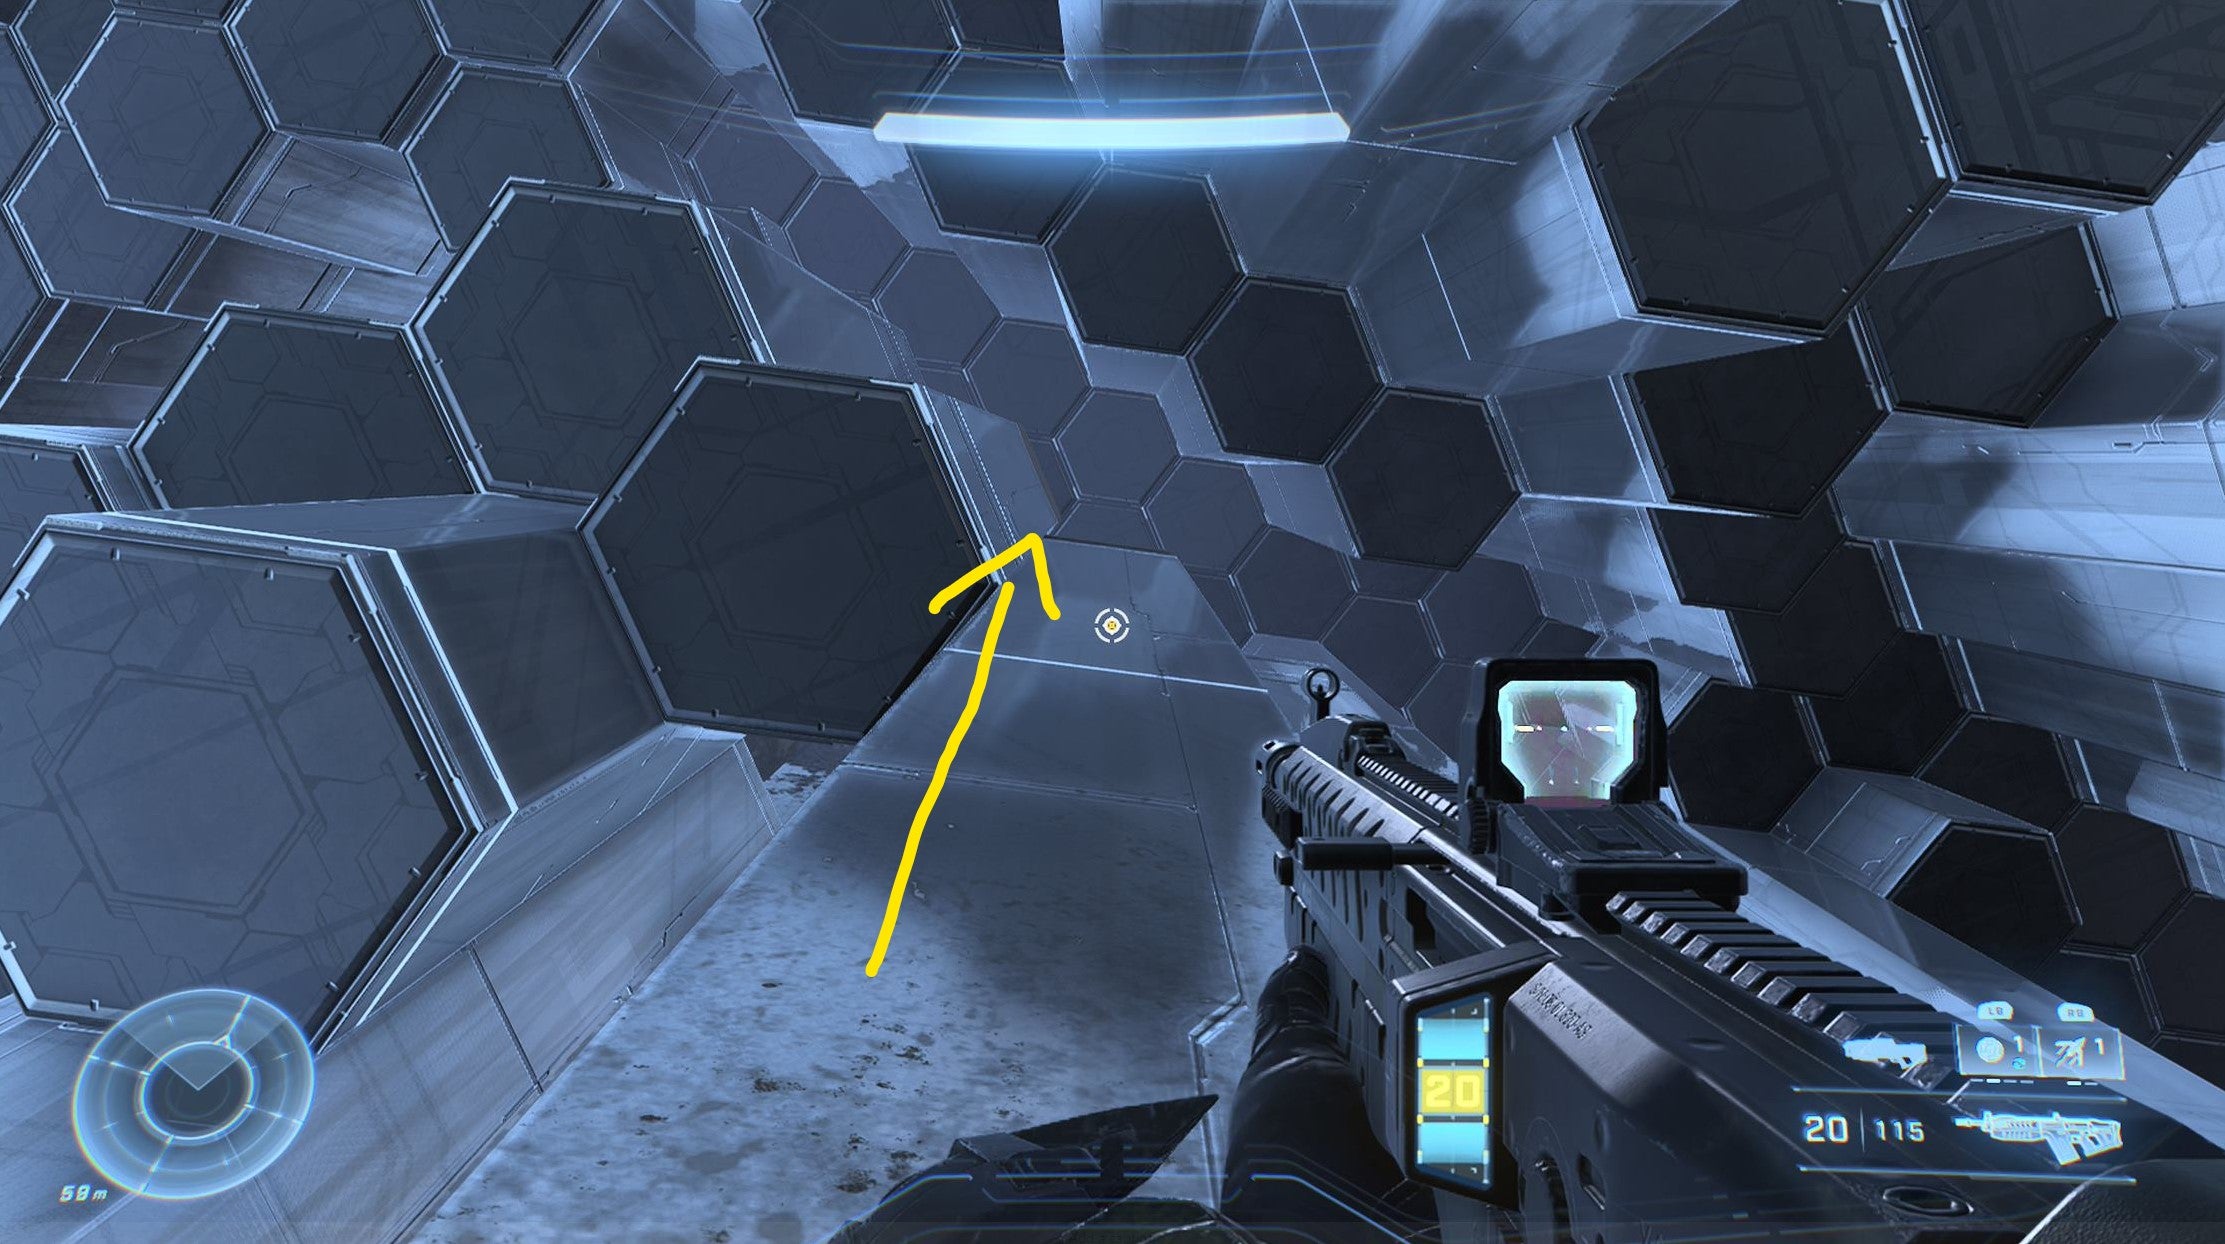
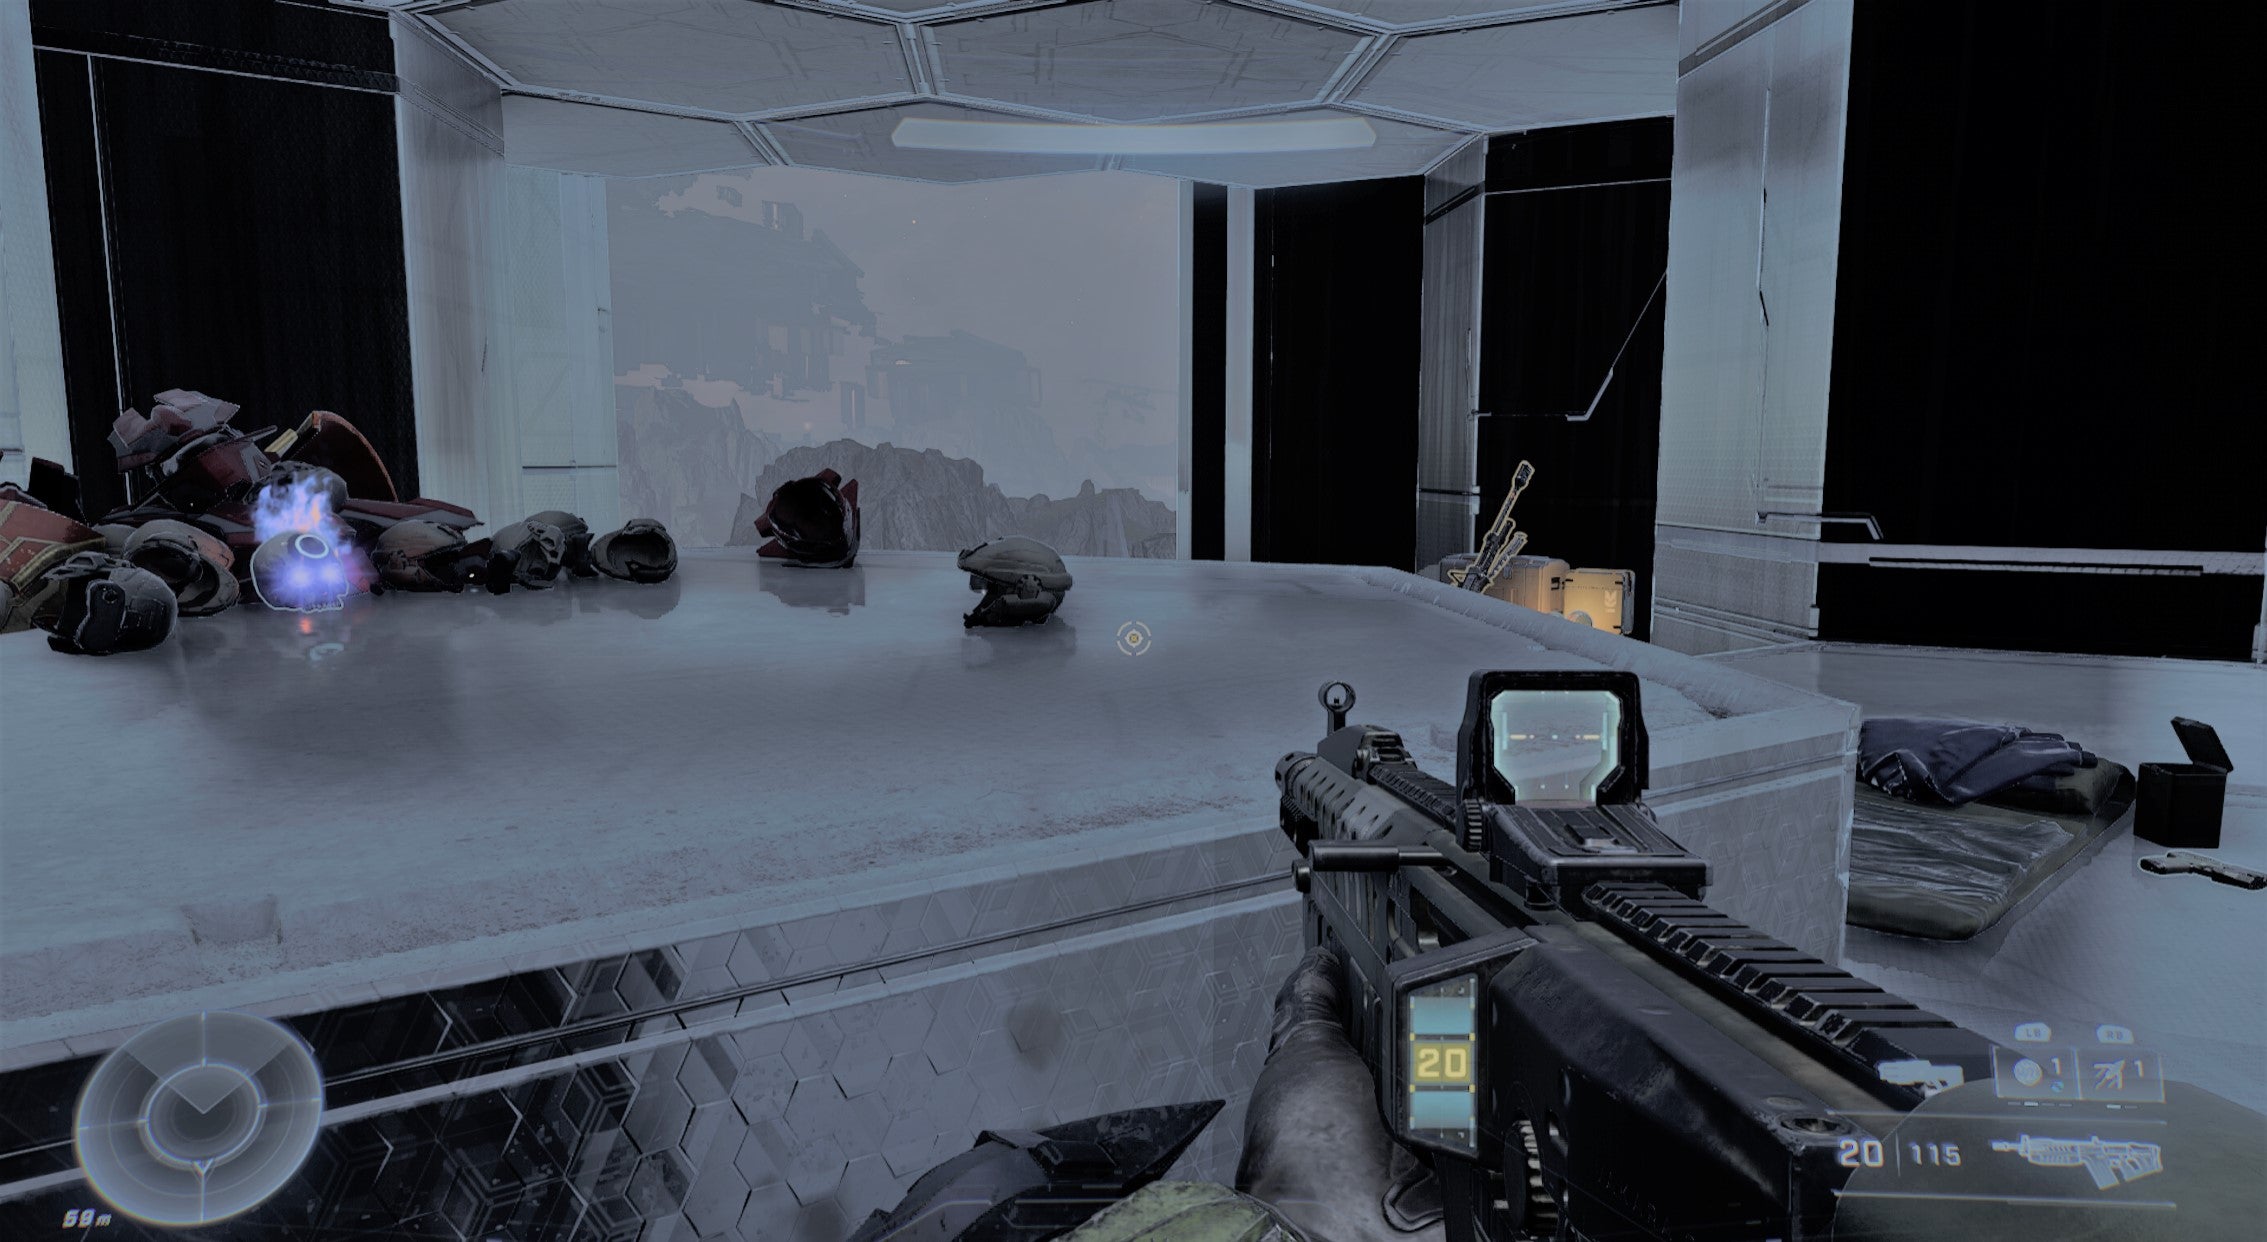
The Fog Skull is found in the middle of the map to the west (left-hand side), next to the map marker for the Foundation Mission. It’s easier to get when flying a Banshee, but very accessible without. Go towards the cliff where the marker is in the screen above, then go around the left-hand side of the cliff and turn right. Here you will find a teddy easter egg. Grapple across the next gap, then look for the hexagonal pillars with dirt on them. Grapple straight up and the momentum of your grapple should let you slingshot yourself to the top after a couple of tries - upgrade the cooldown of your grapple if you’re struggling. At the top, double back on yourself and climb over back towards where you found the teddy, and the skull is on an altar there.
Blind Skull Location
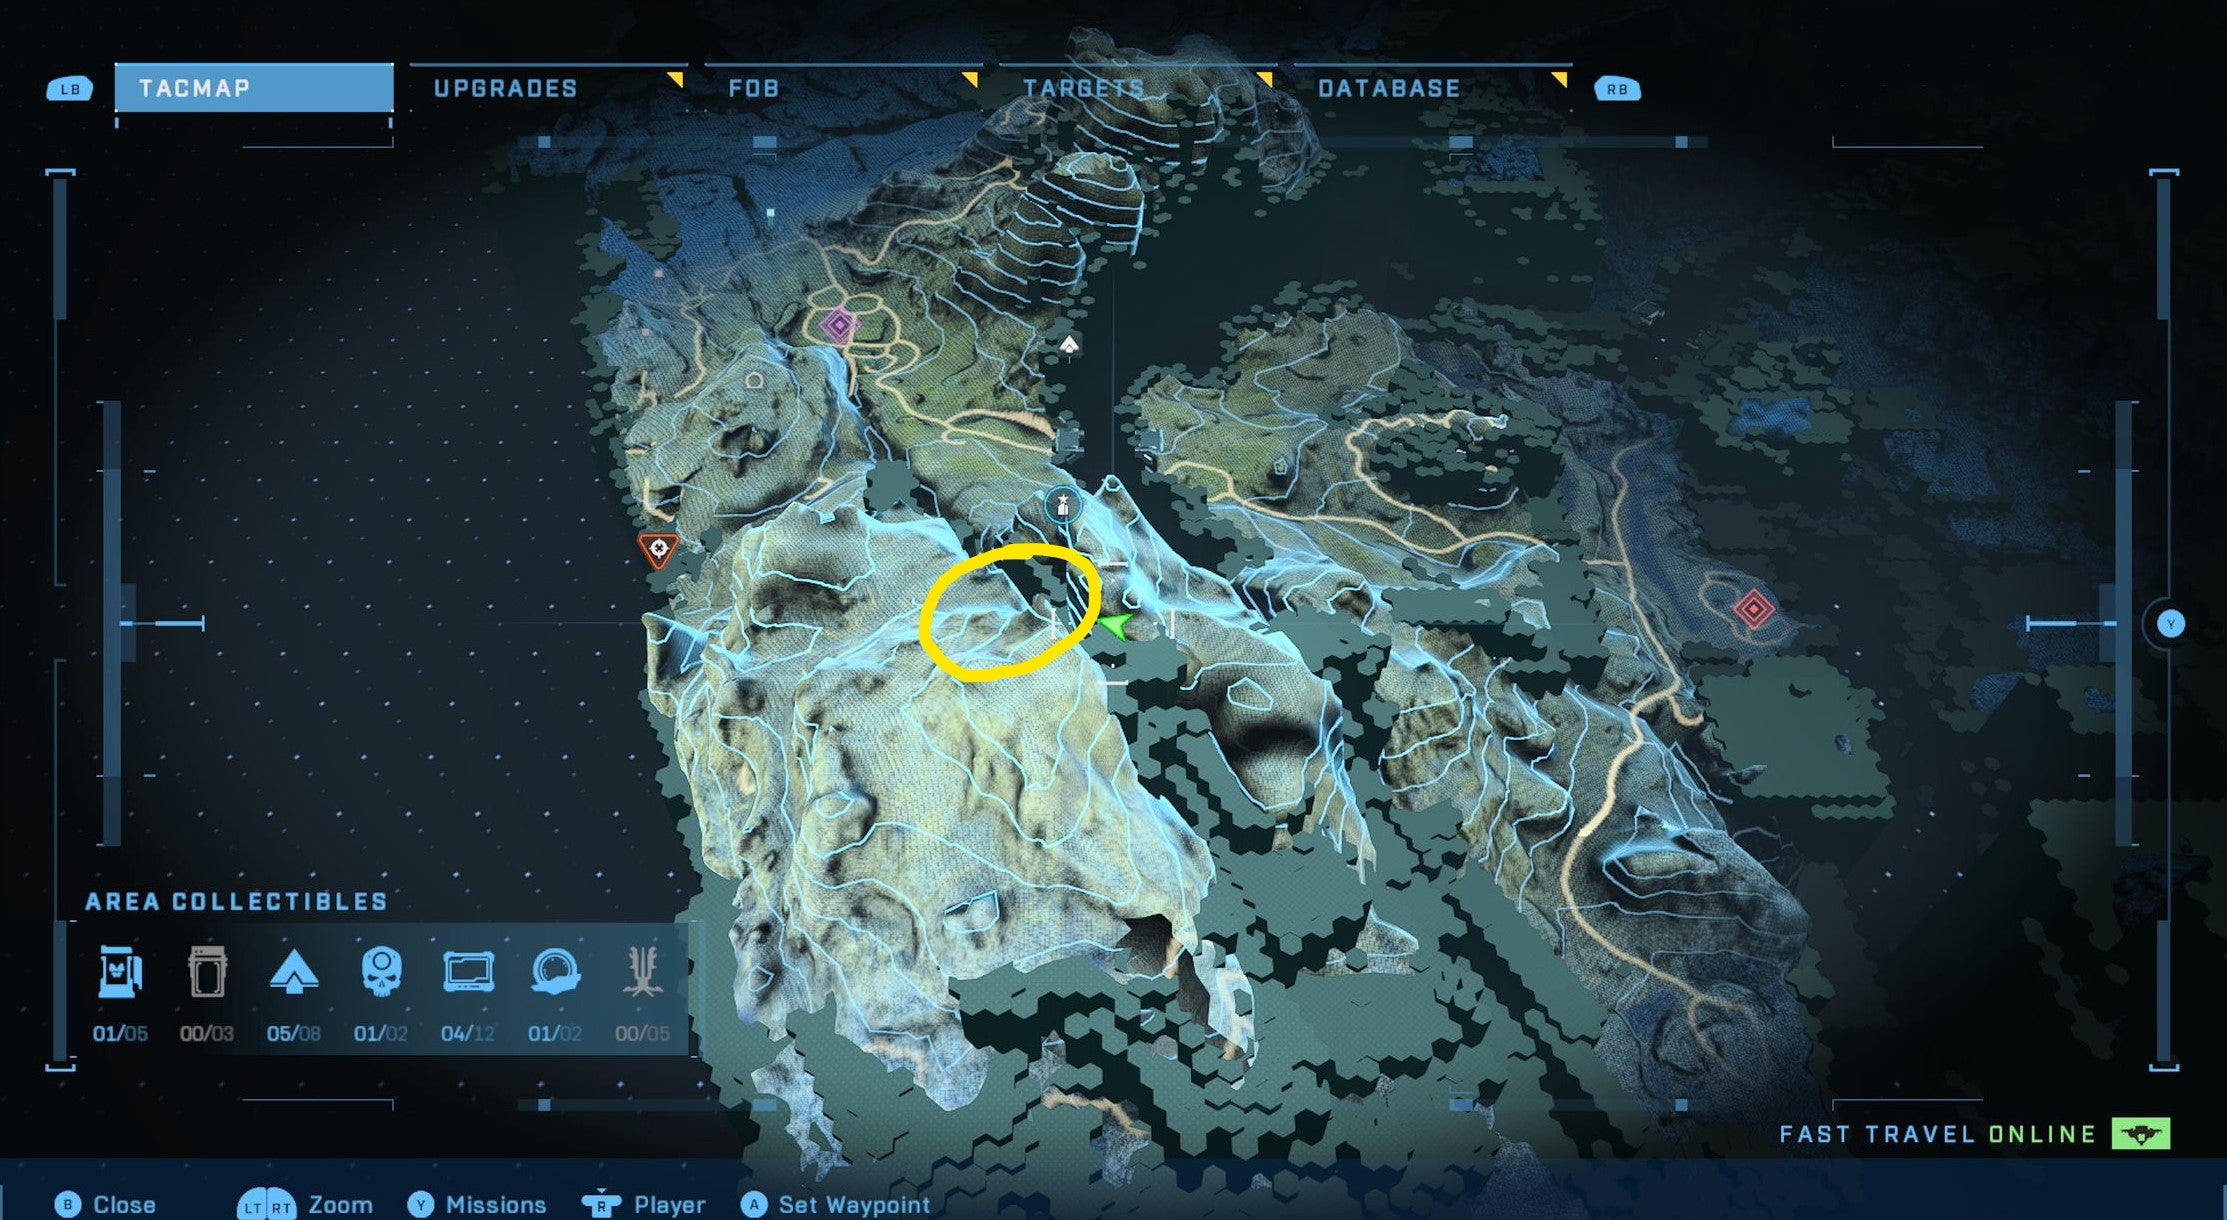
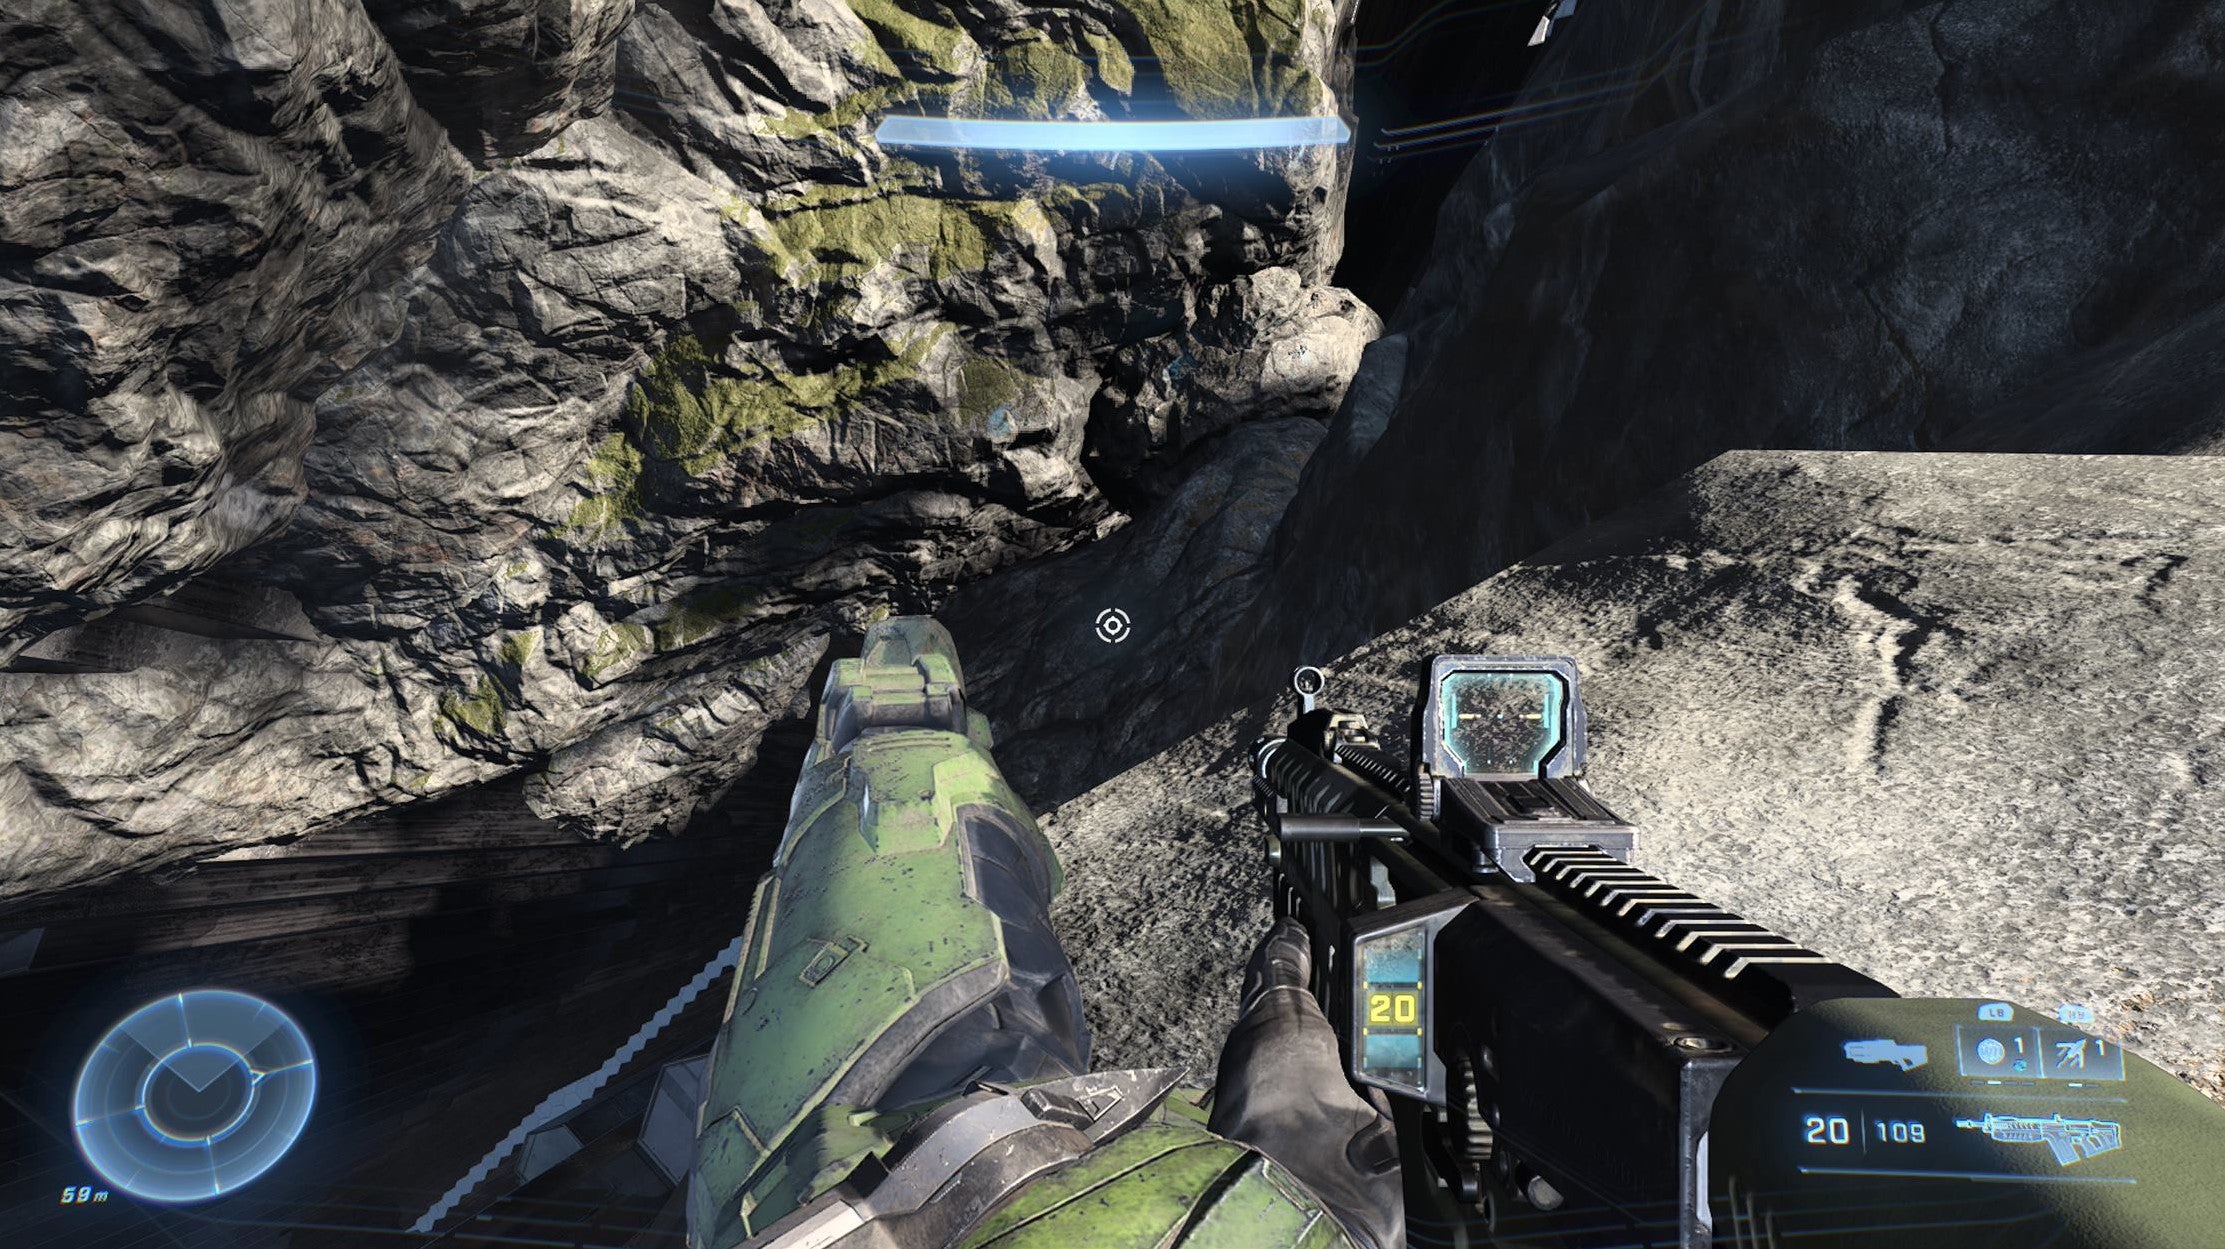
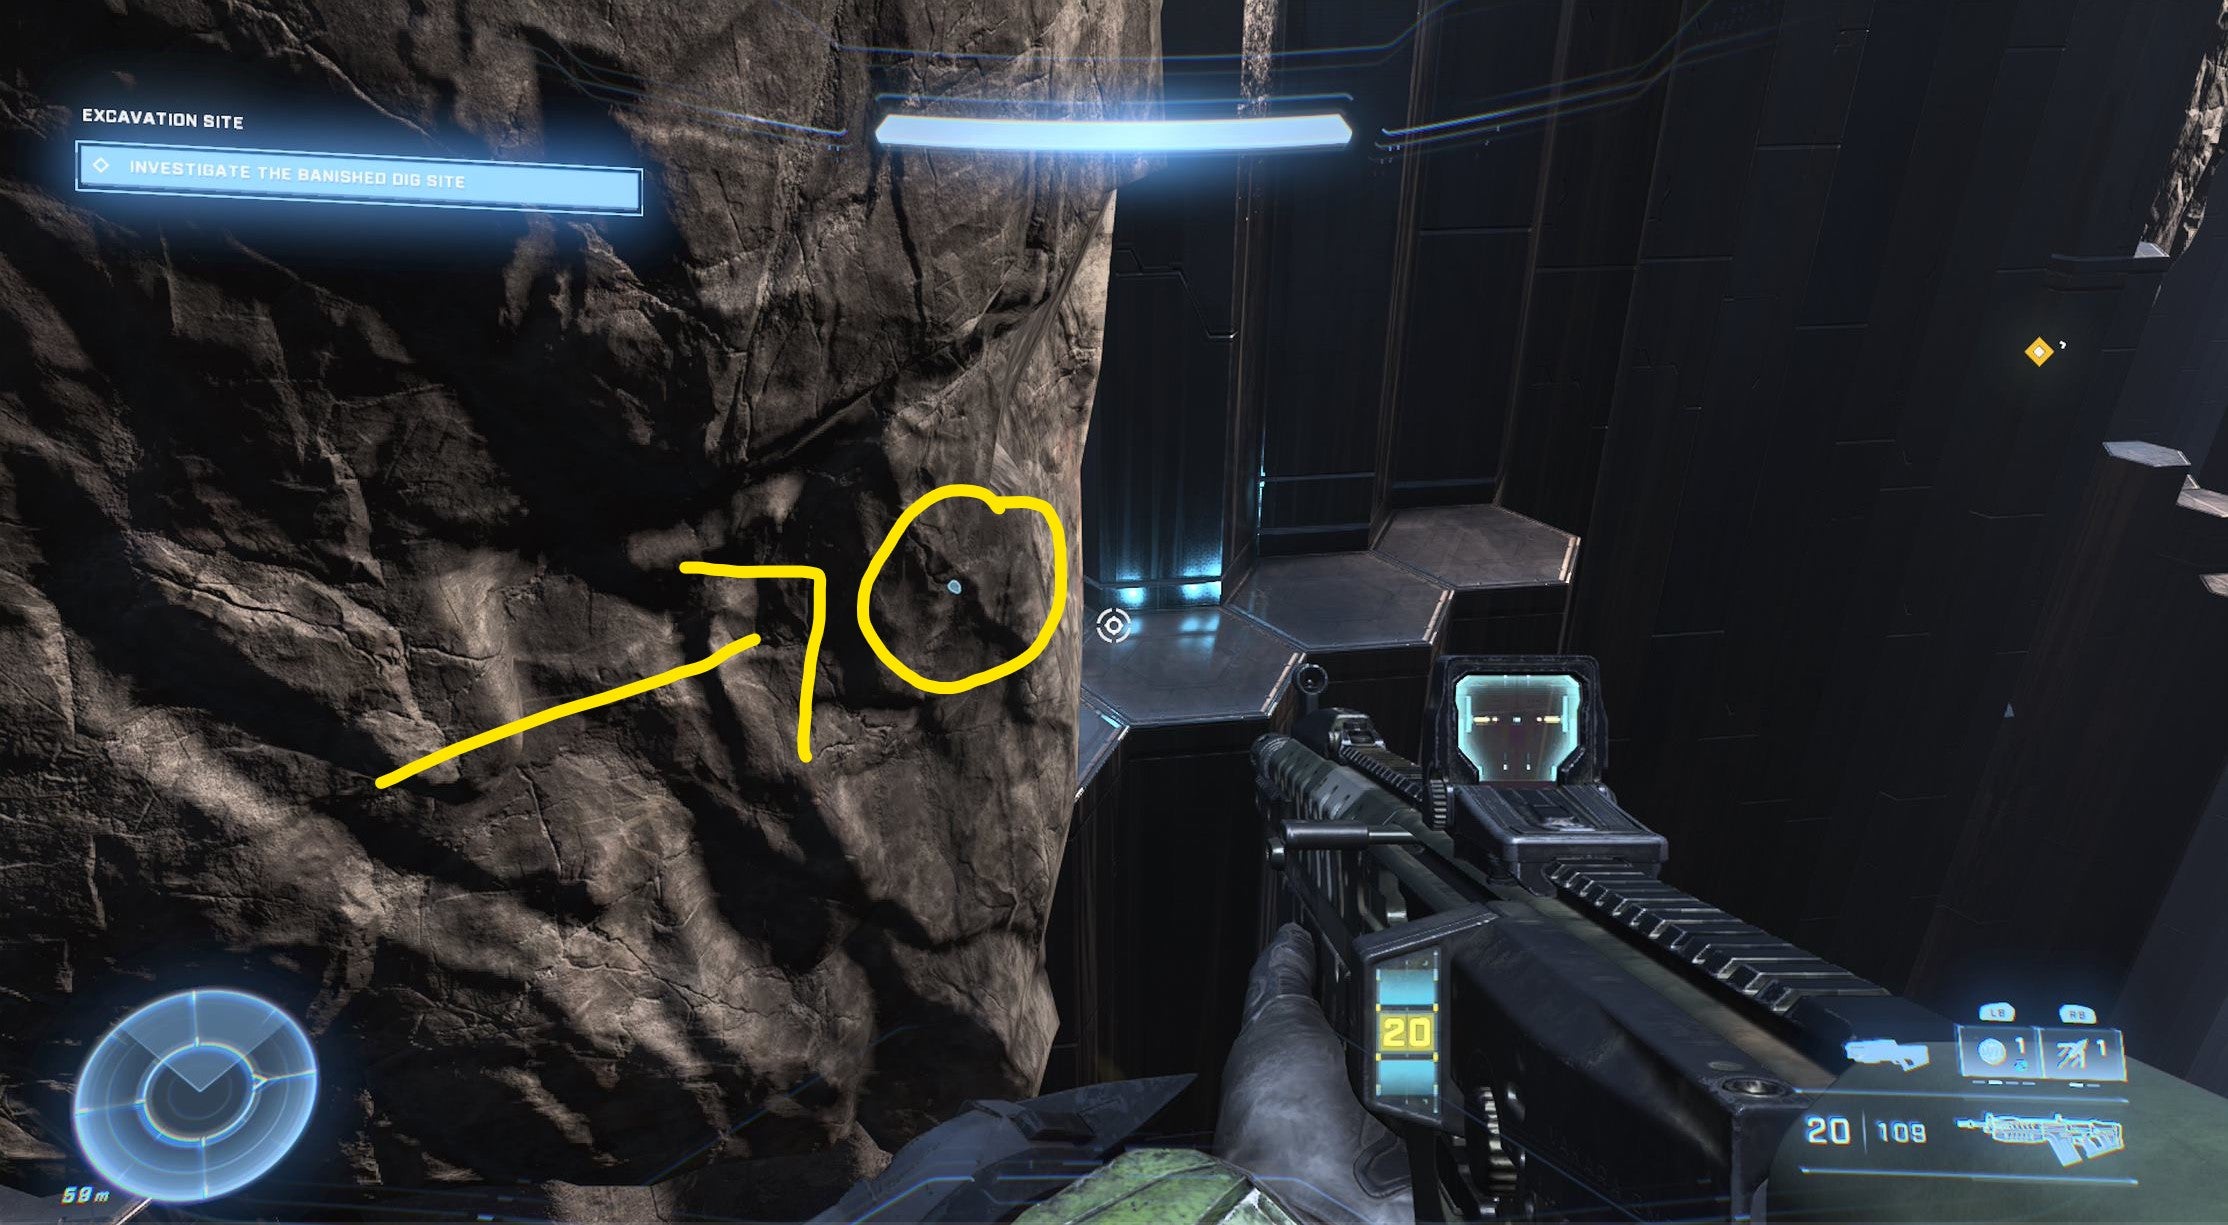
The Blind Skull is found in a ravine in the southwest of the map. Approach the edge of the ravine, and drop down onto the ledge below, near the rocky outcrop that bridges the two sides of the gap. In a crevice on the underside of that rocky bridge, you will find the Blind Skull.
Famine Skull Location
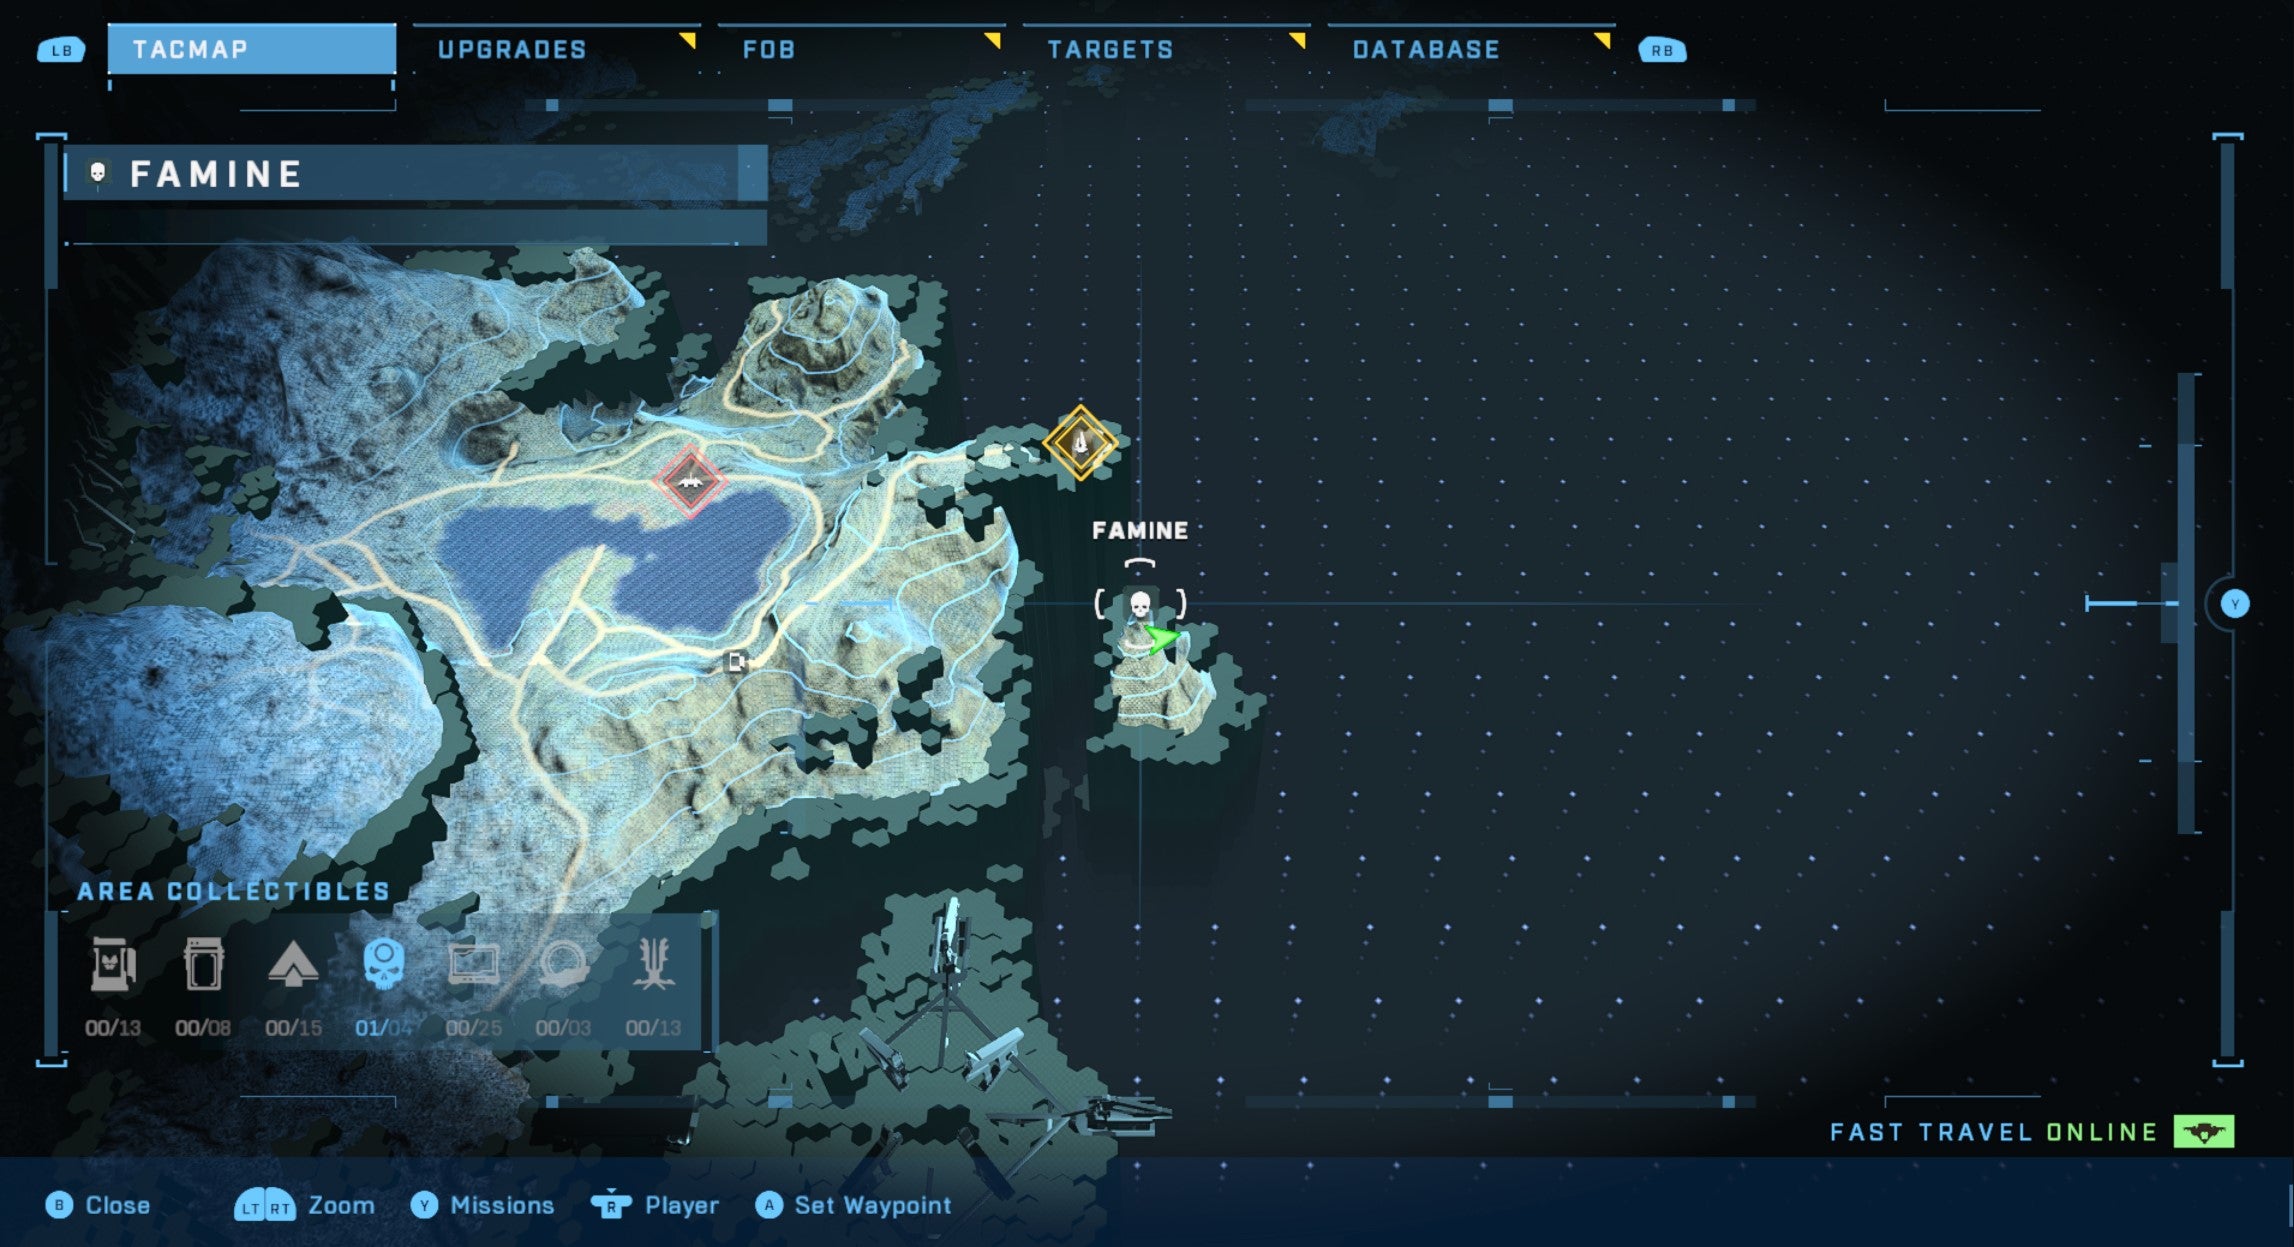
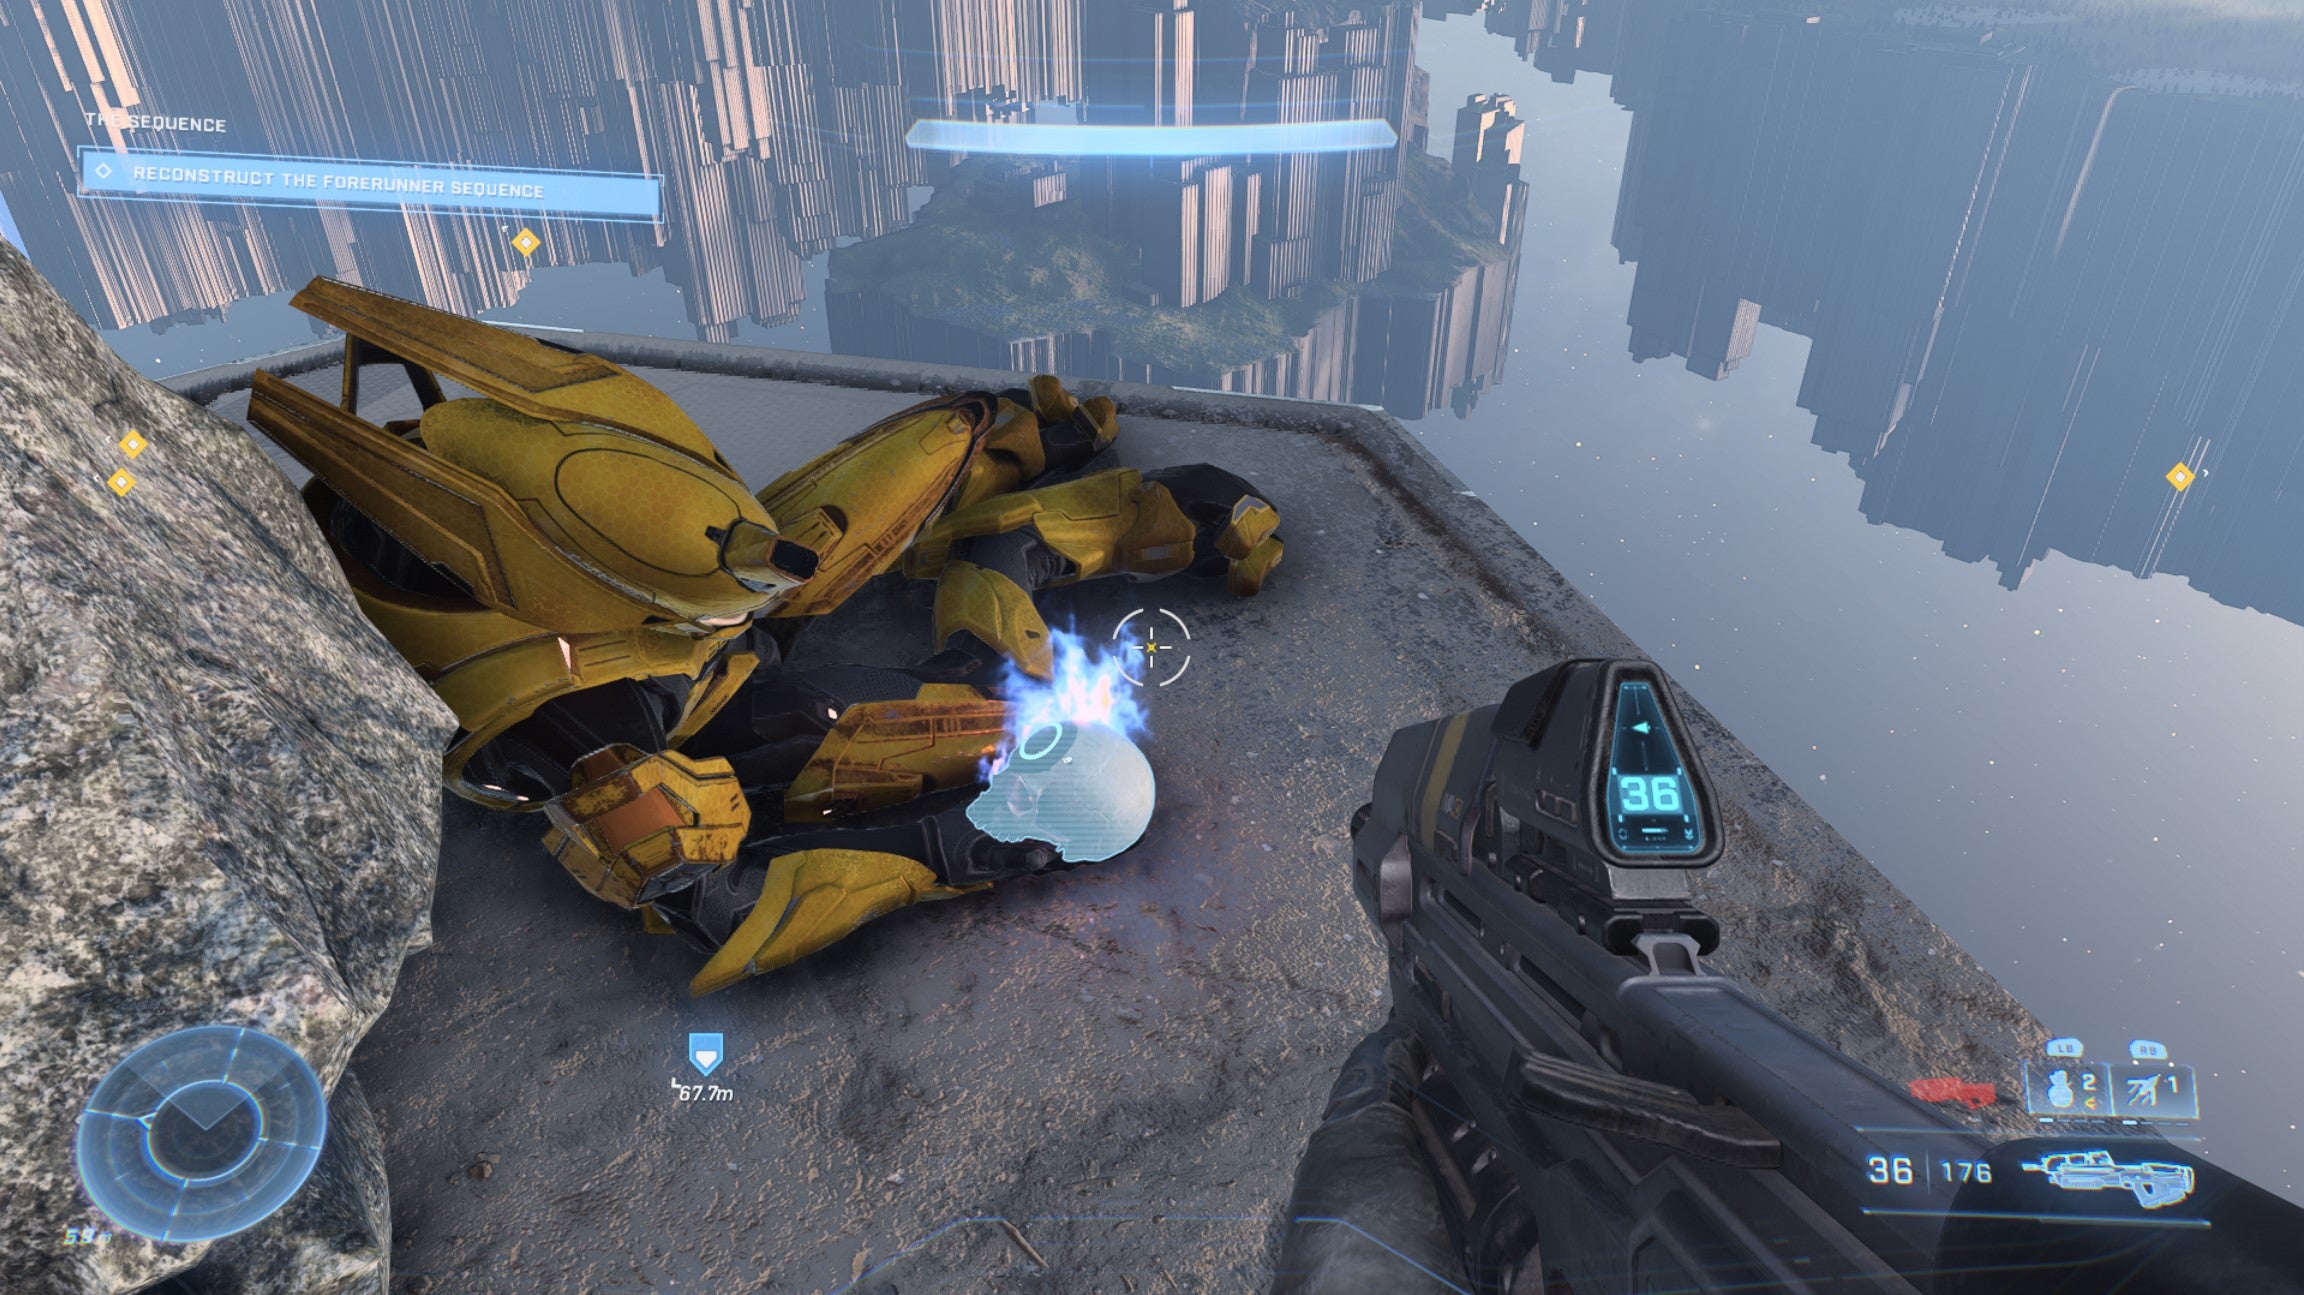
If you’ve just grabbed a Banshee as part of “The Sequence”, the nearest Skull is Famine. This is found on the small island off the far southeastern edge of the map. On the far side of the island, you find the Skull in the cold, dead hand of an Elite.
Black Eye Skull Location
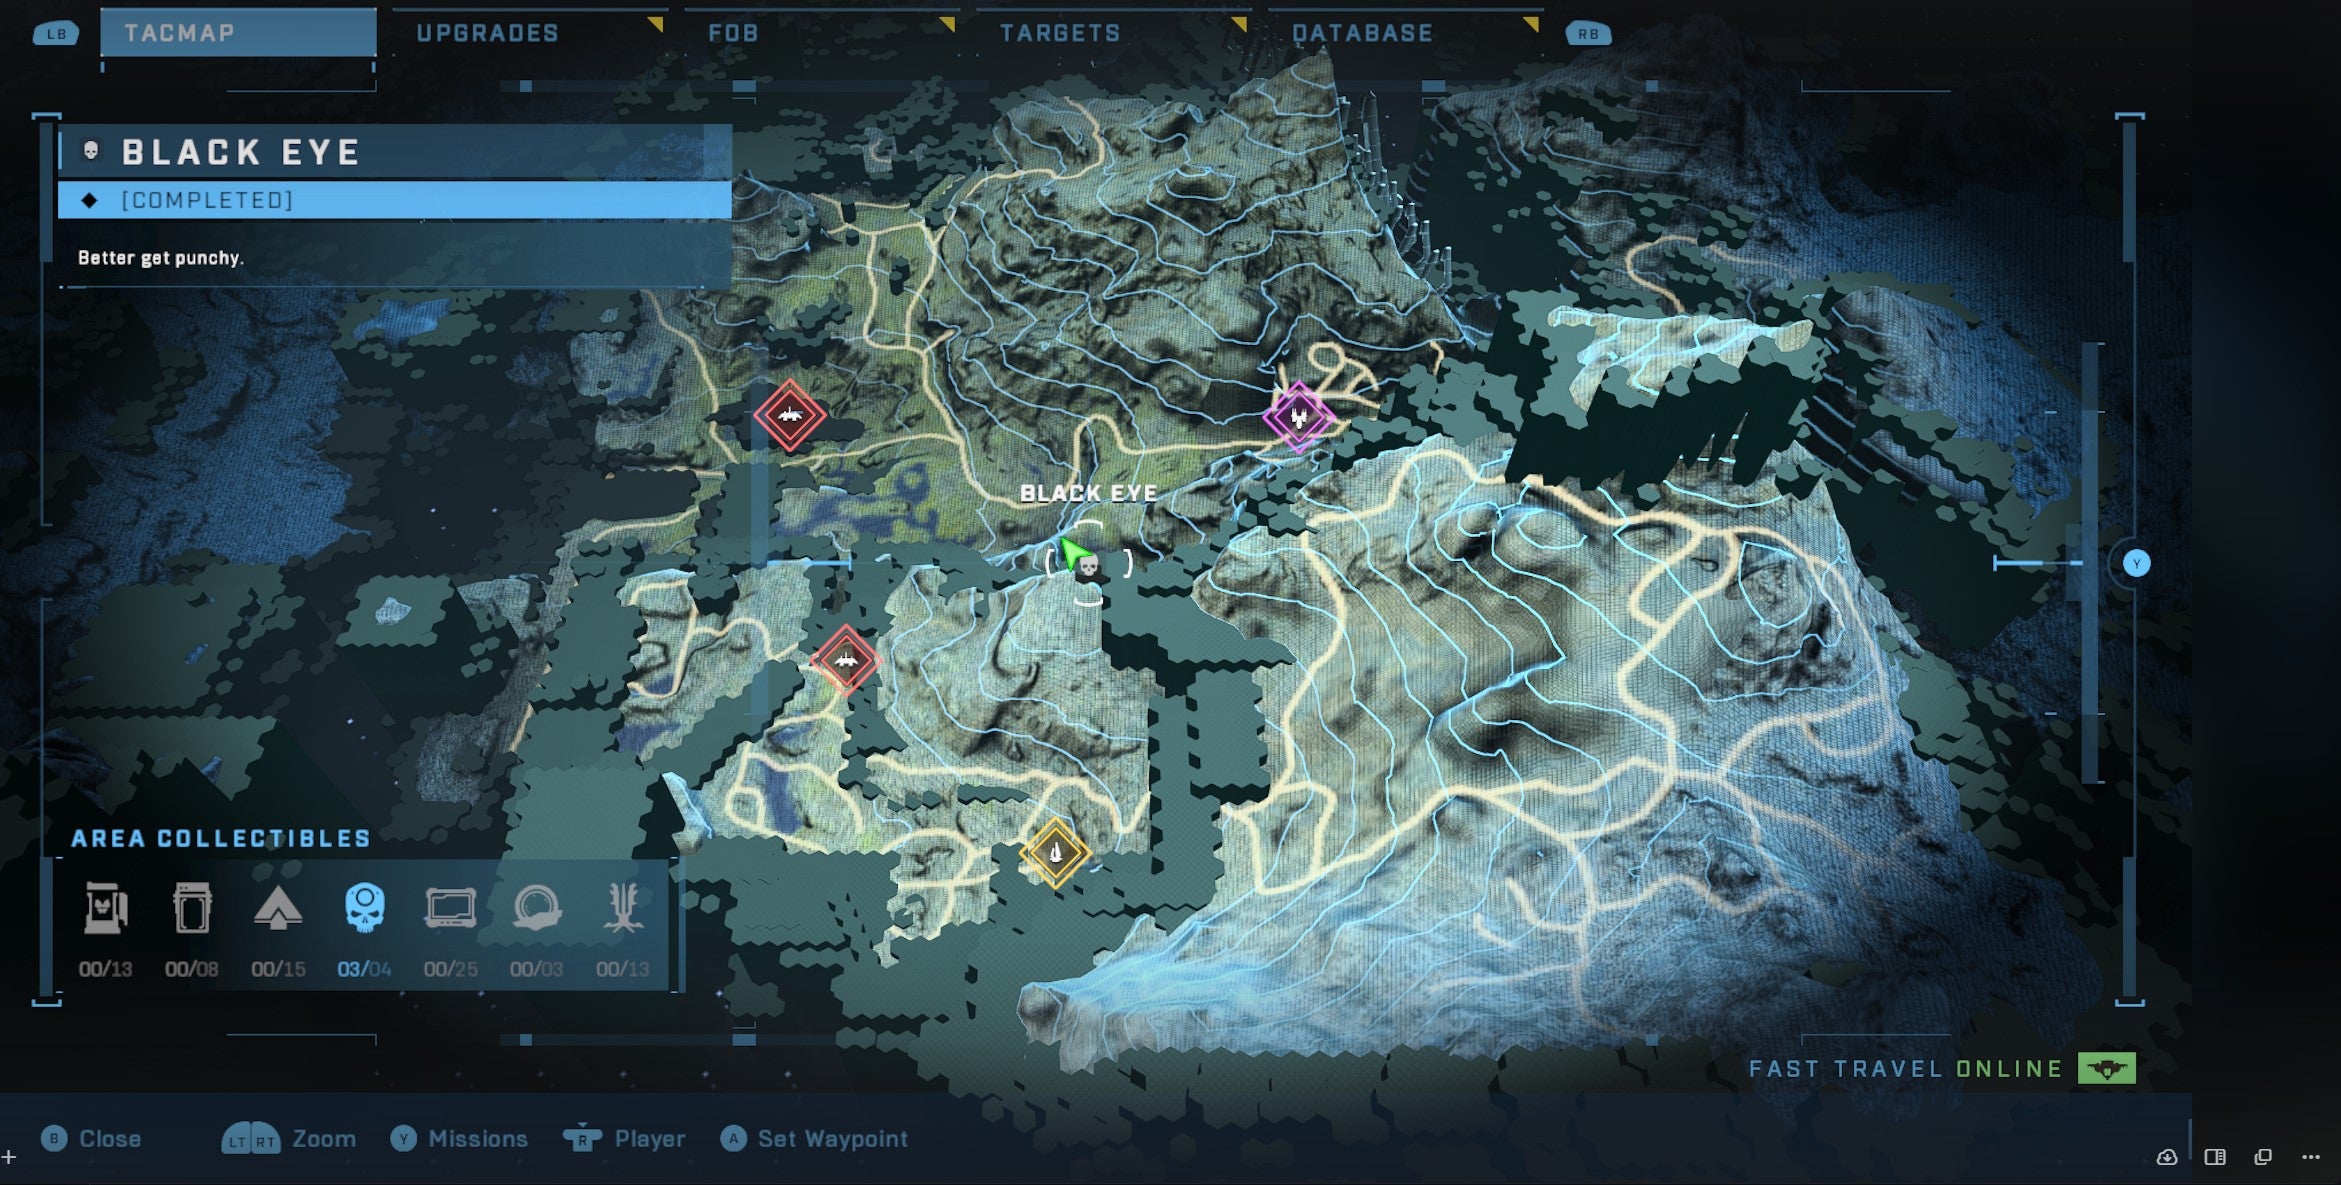
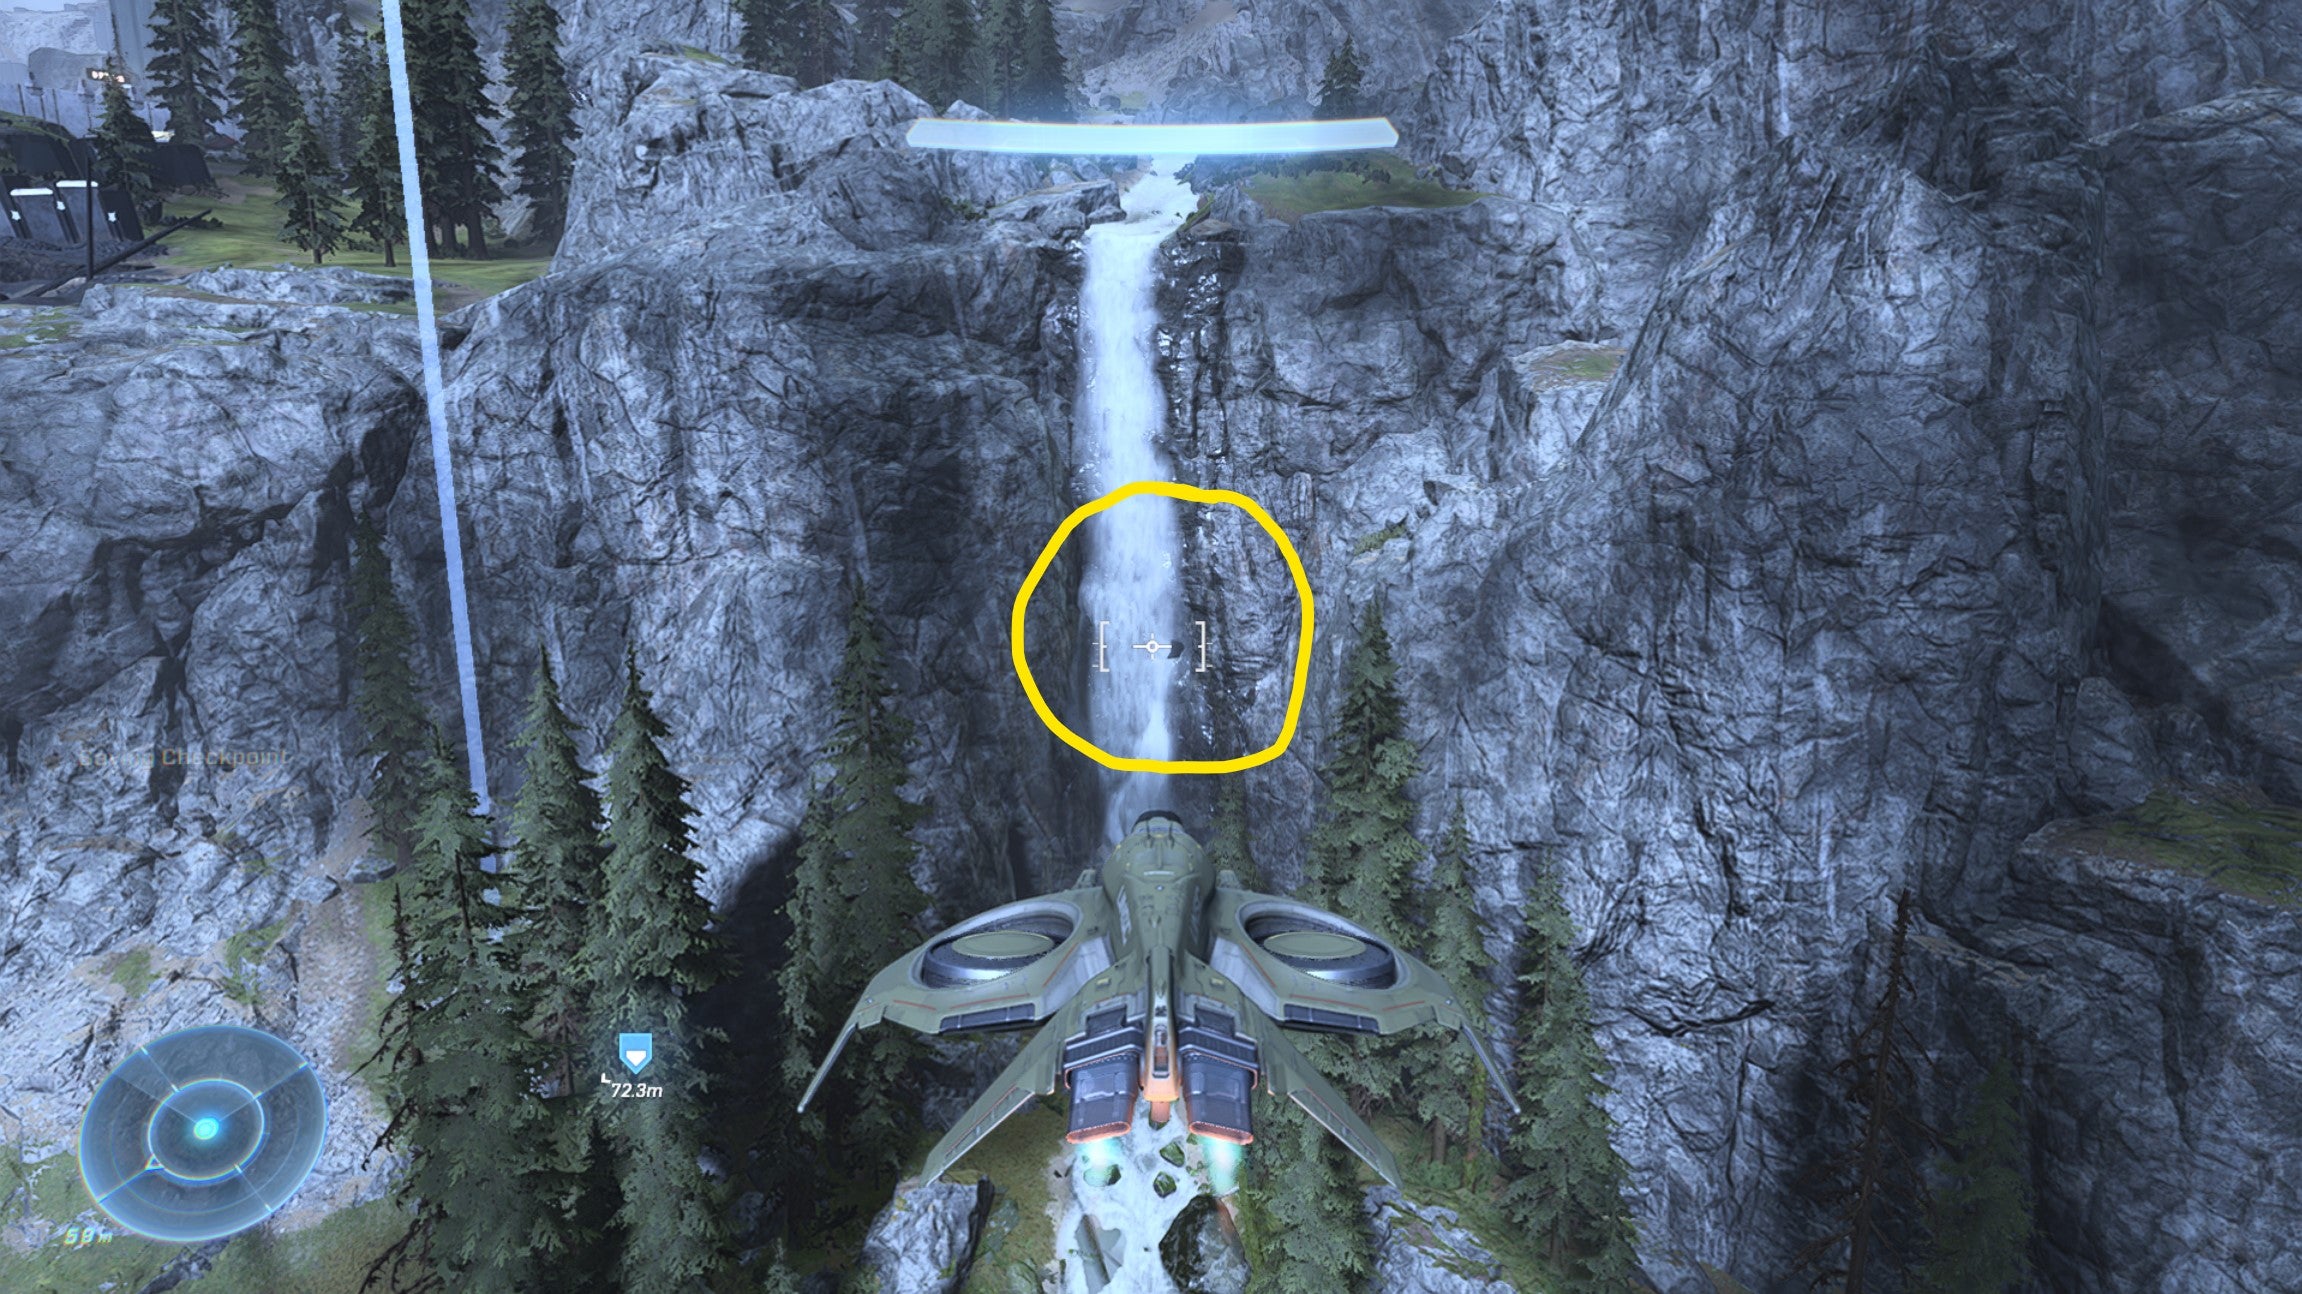
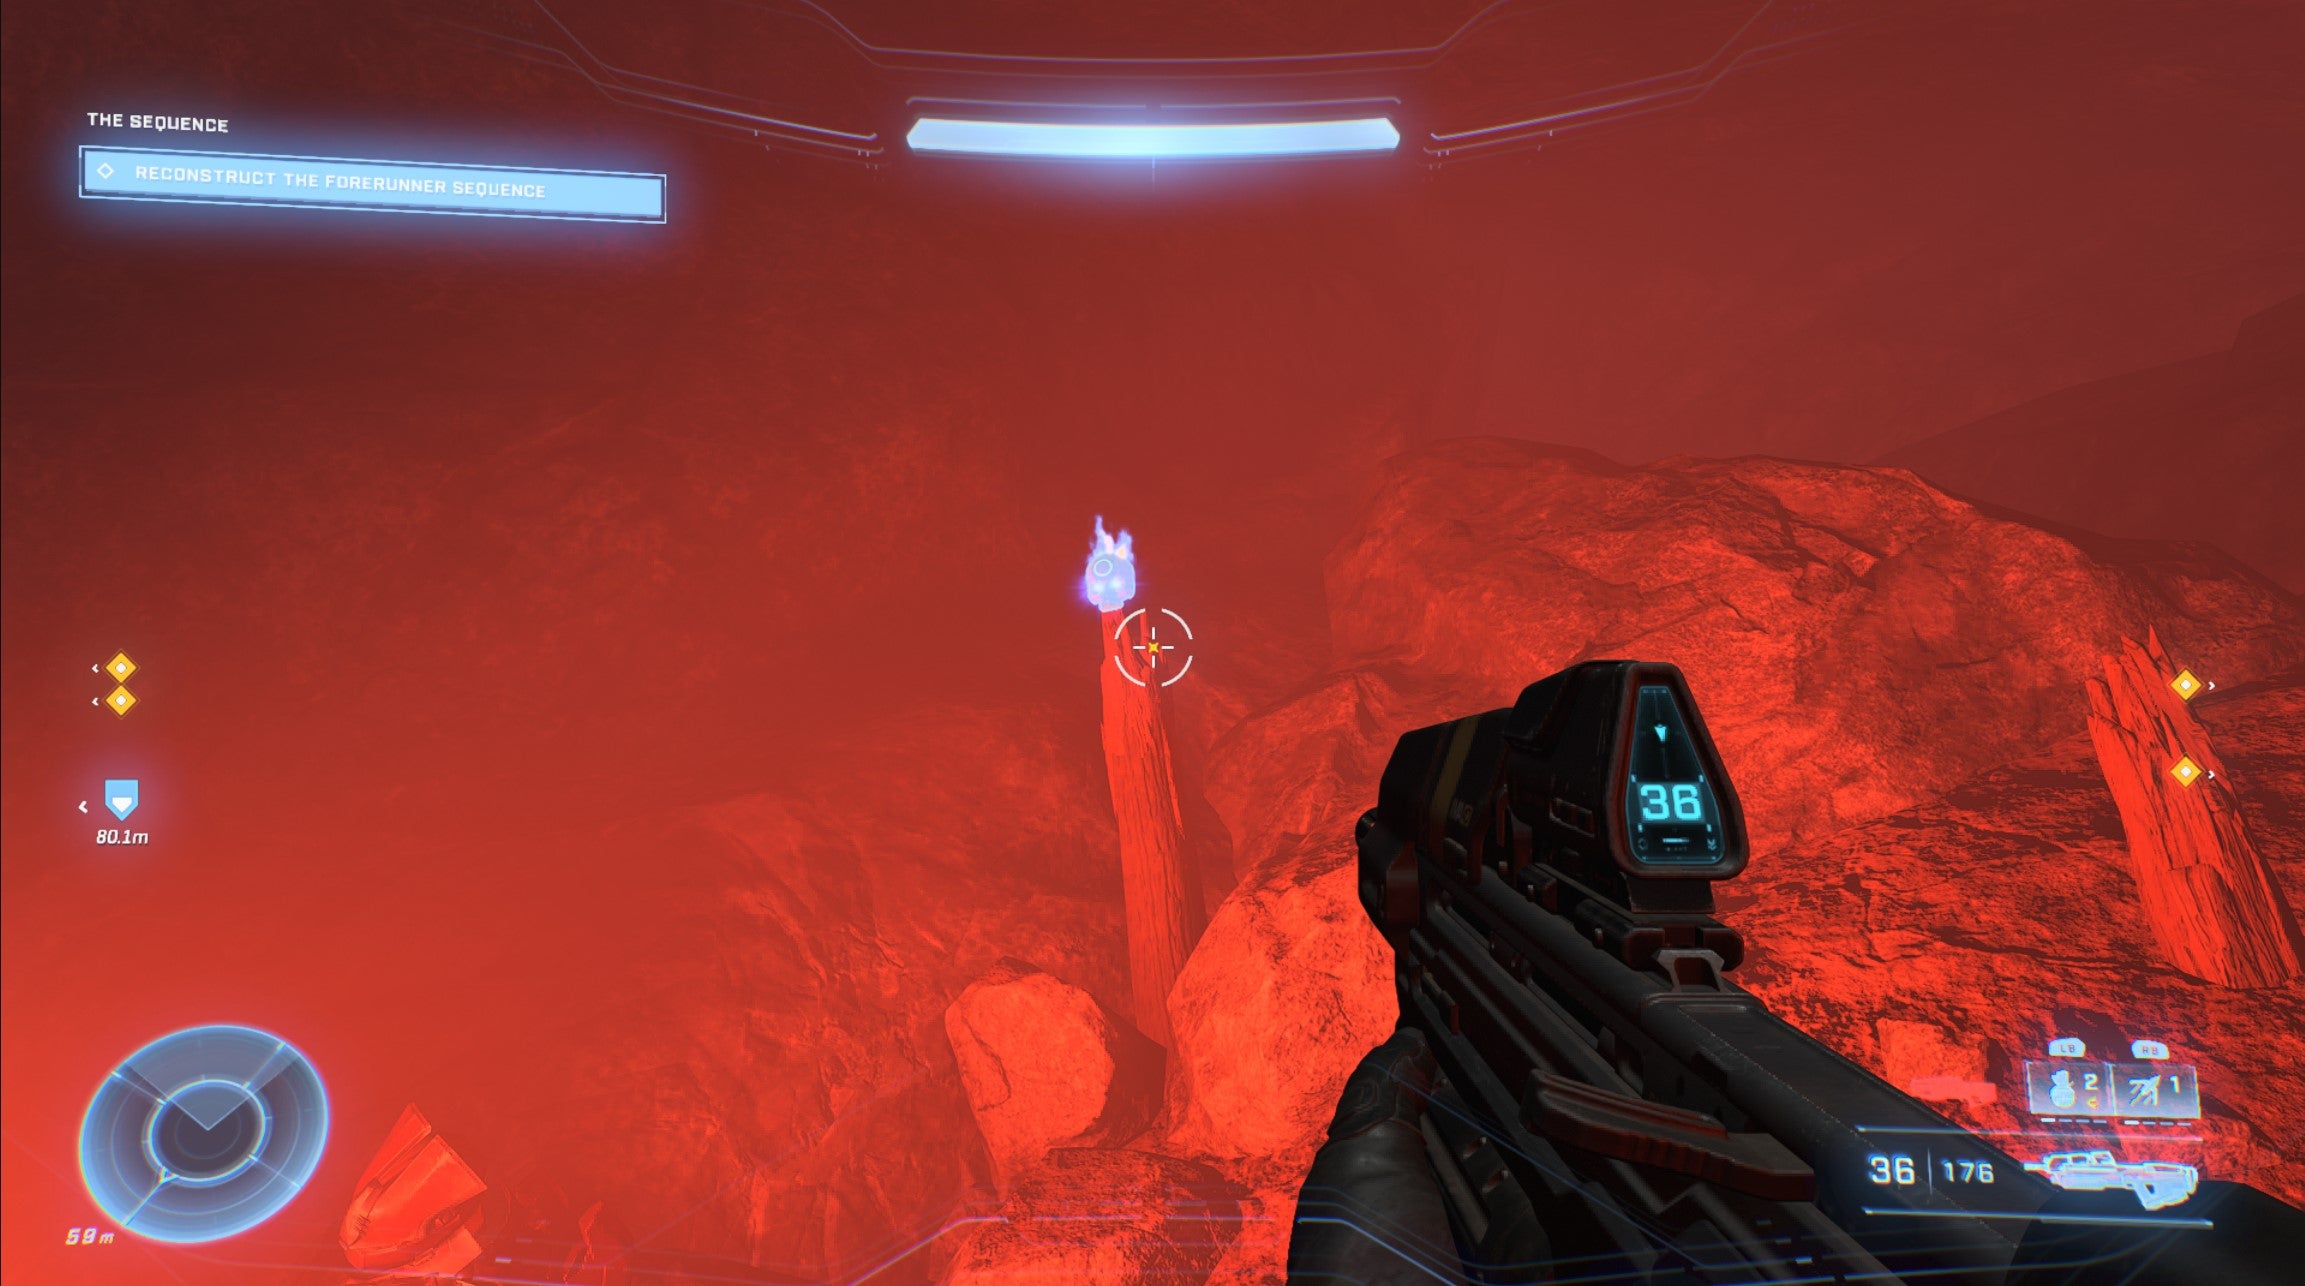
The next Skull to pick up with your Banshee is Black Eye, which is found just to the south of the Riven Gate in the southwest of the map. Head west from the Famine Skull and the Riven Gate is one of the purple-marked strongholds you come across. Look for a waterfall just to the south of the western-most Riven Gate, then about half way up is a cave. Inside is the Blacke Eye Skull!
Thunderstorm Skull Location
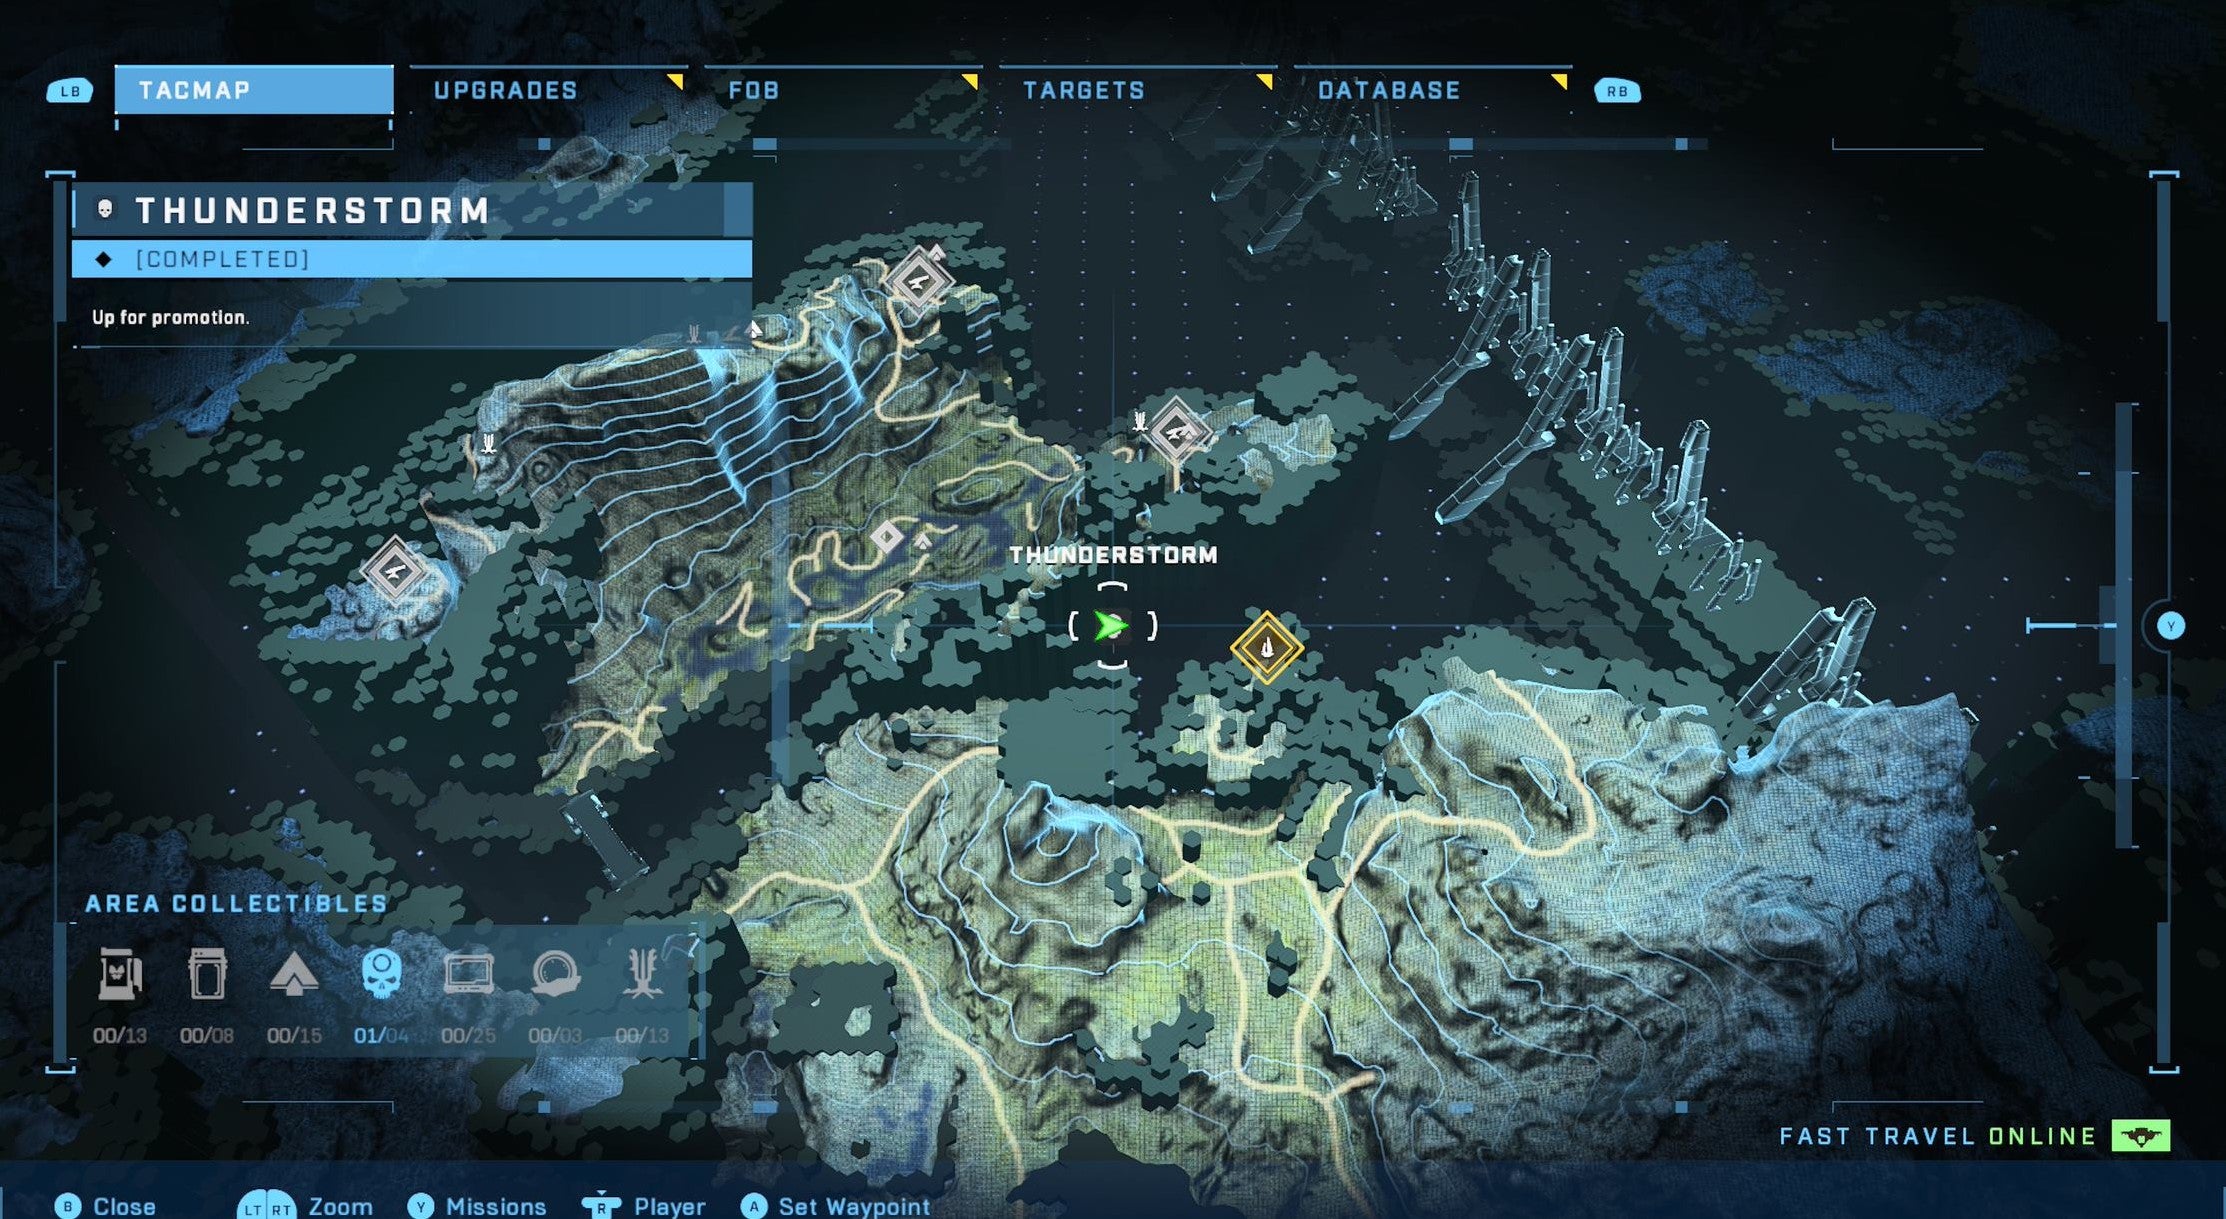
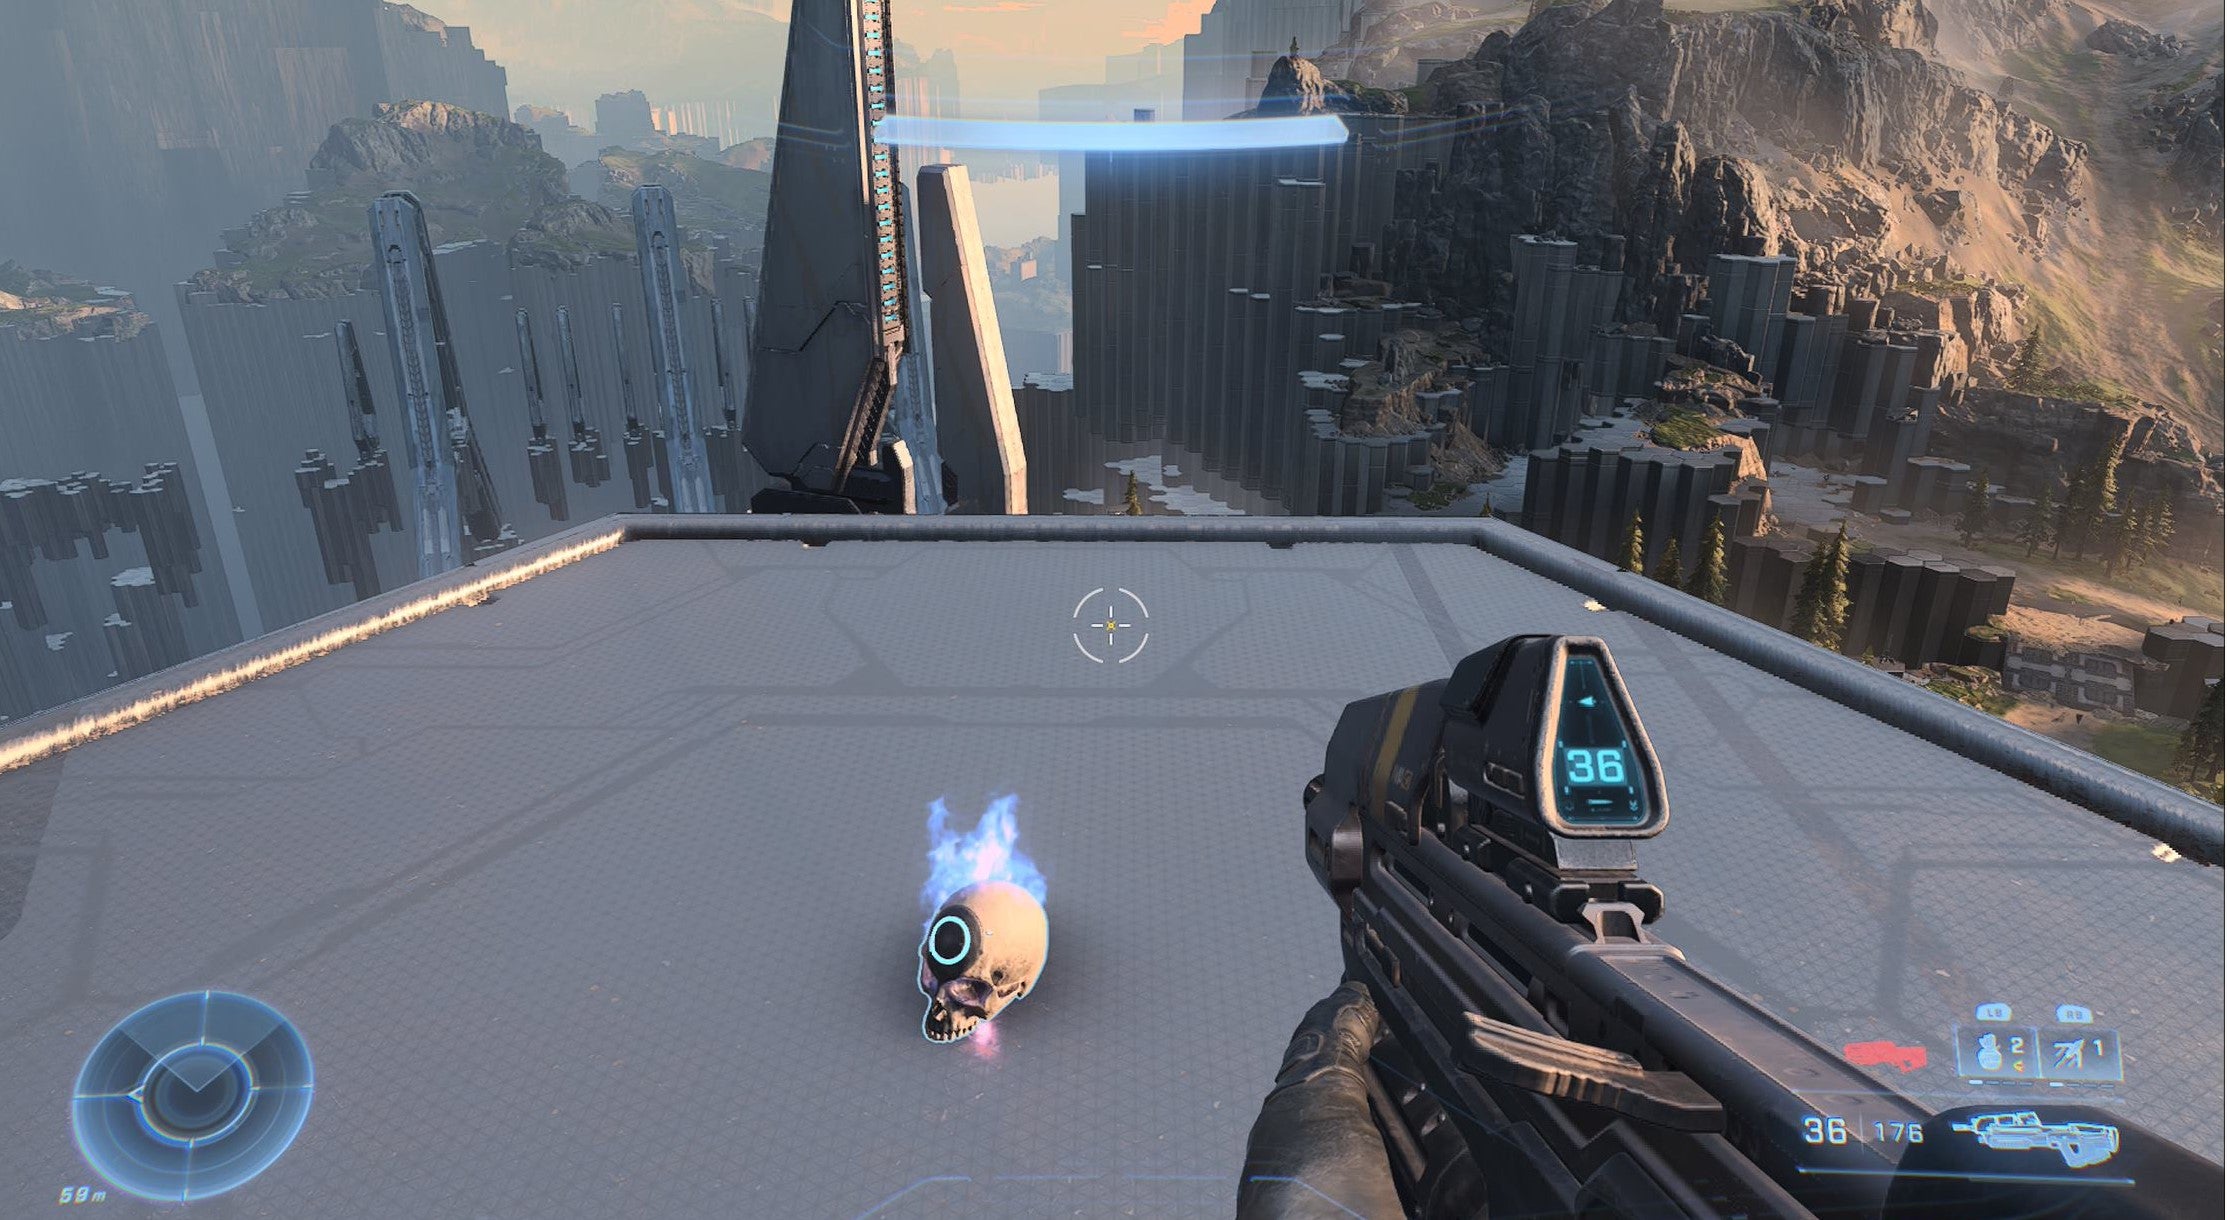
Another Skull best grabbed with a Banshee, Thunderstorm, is found off the edge of the cliffs in the middle of the map next to northernmost Beacon in the mission: “The Sequence”. Look for the tall hexagonal tower in the middle of the abyss, and you’ll see one that’s much higher than the others. If there’s a couple of dead grunts at the foot of it, you’ve got the right place.
Catch Skull Location
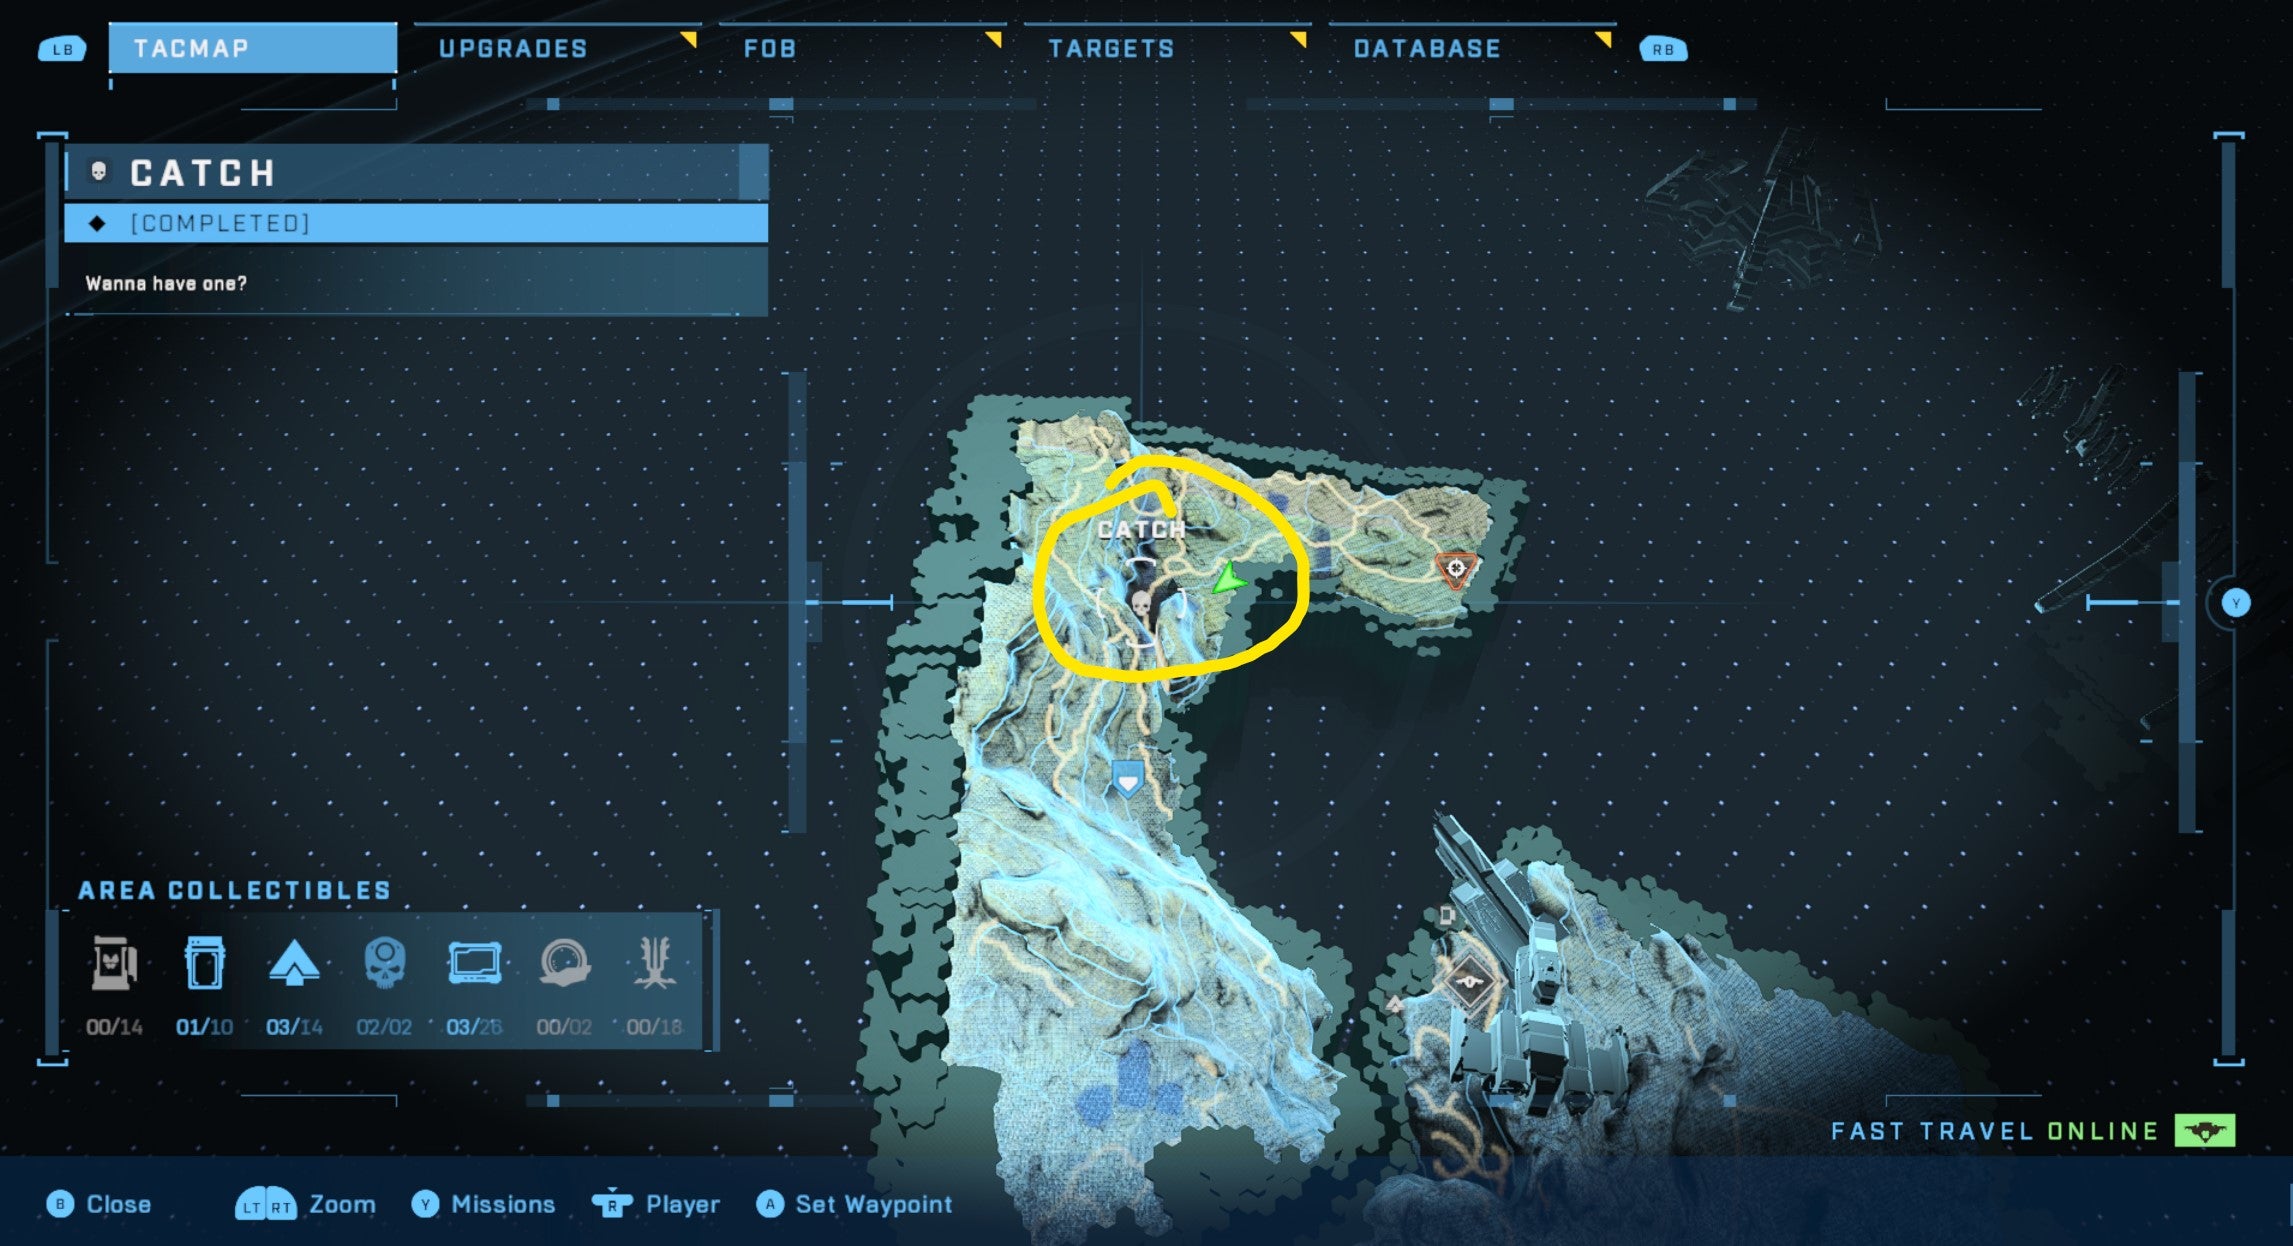
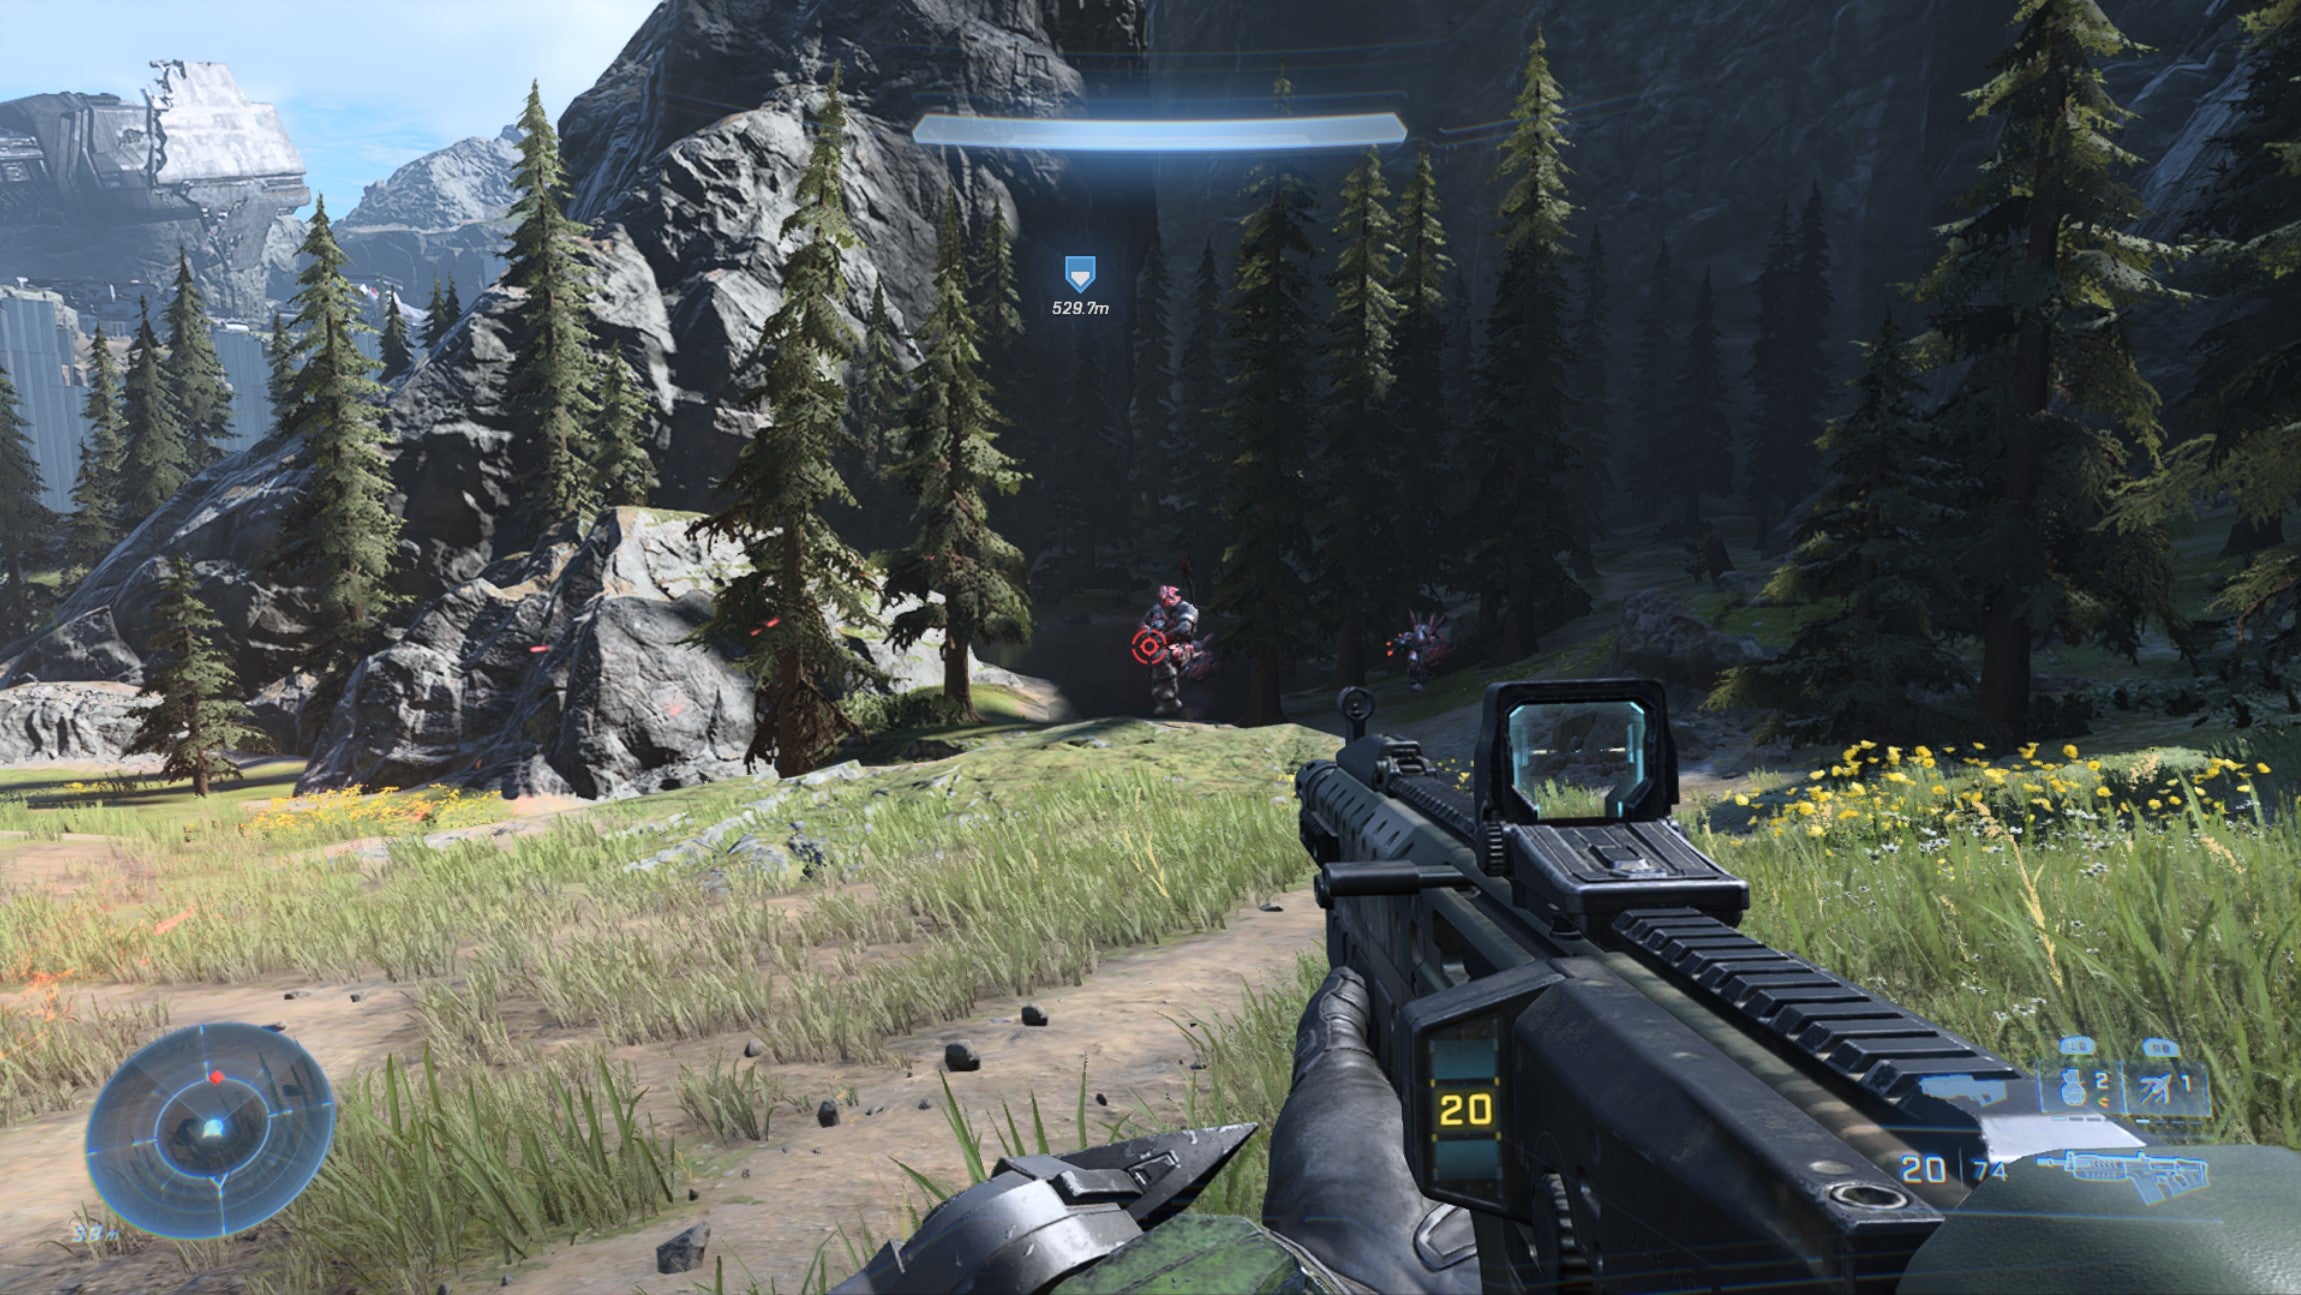
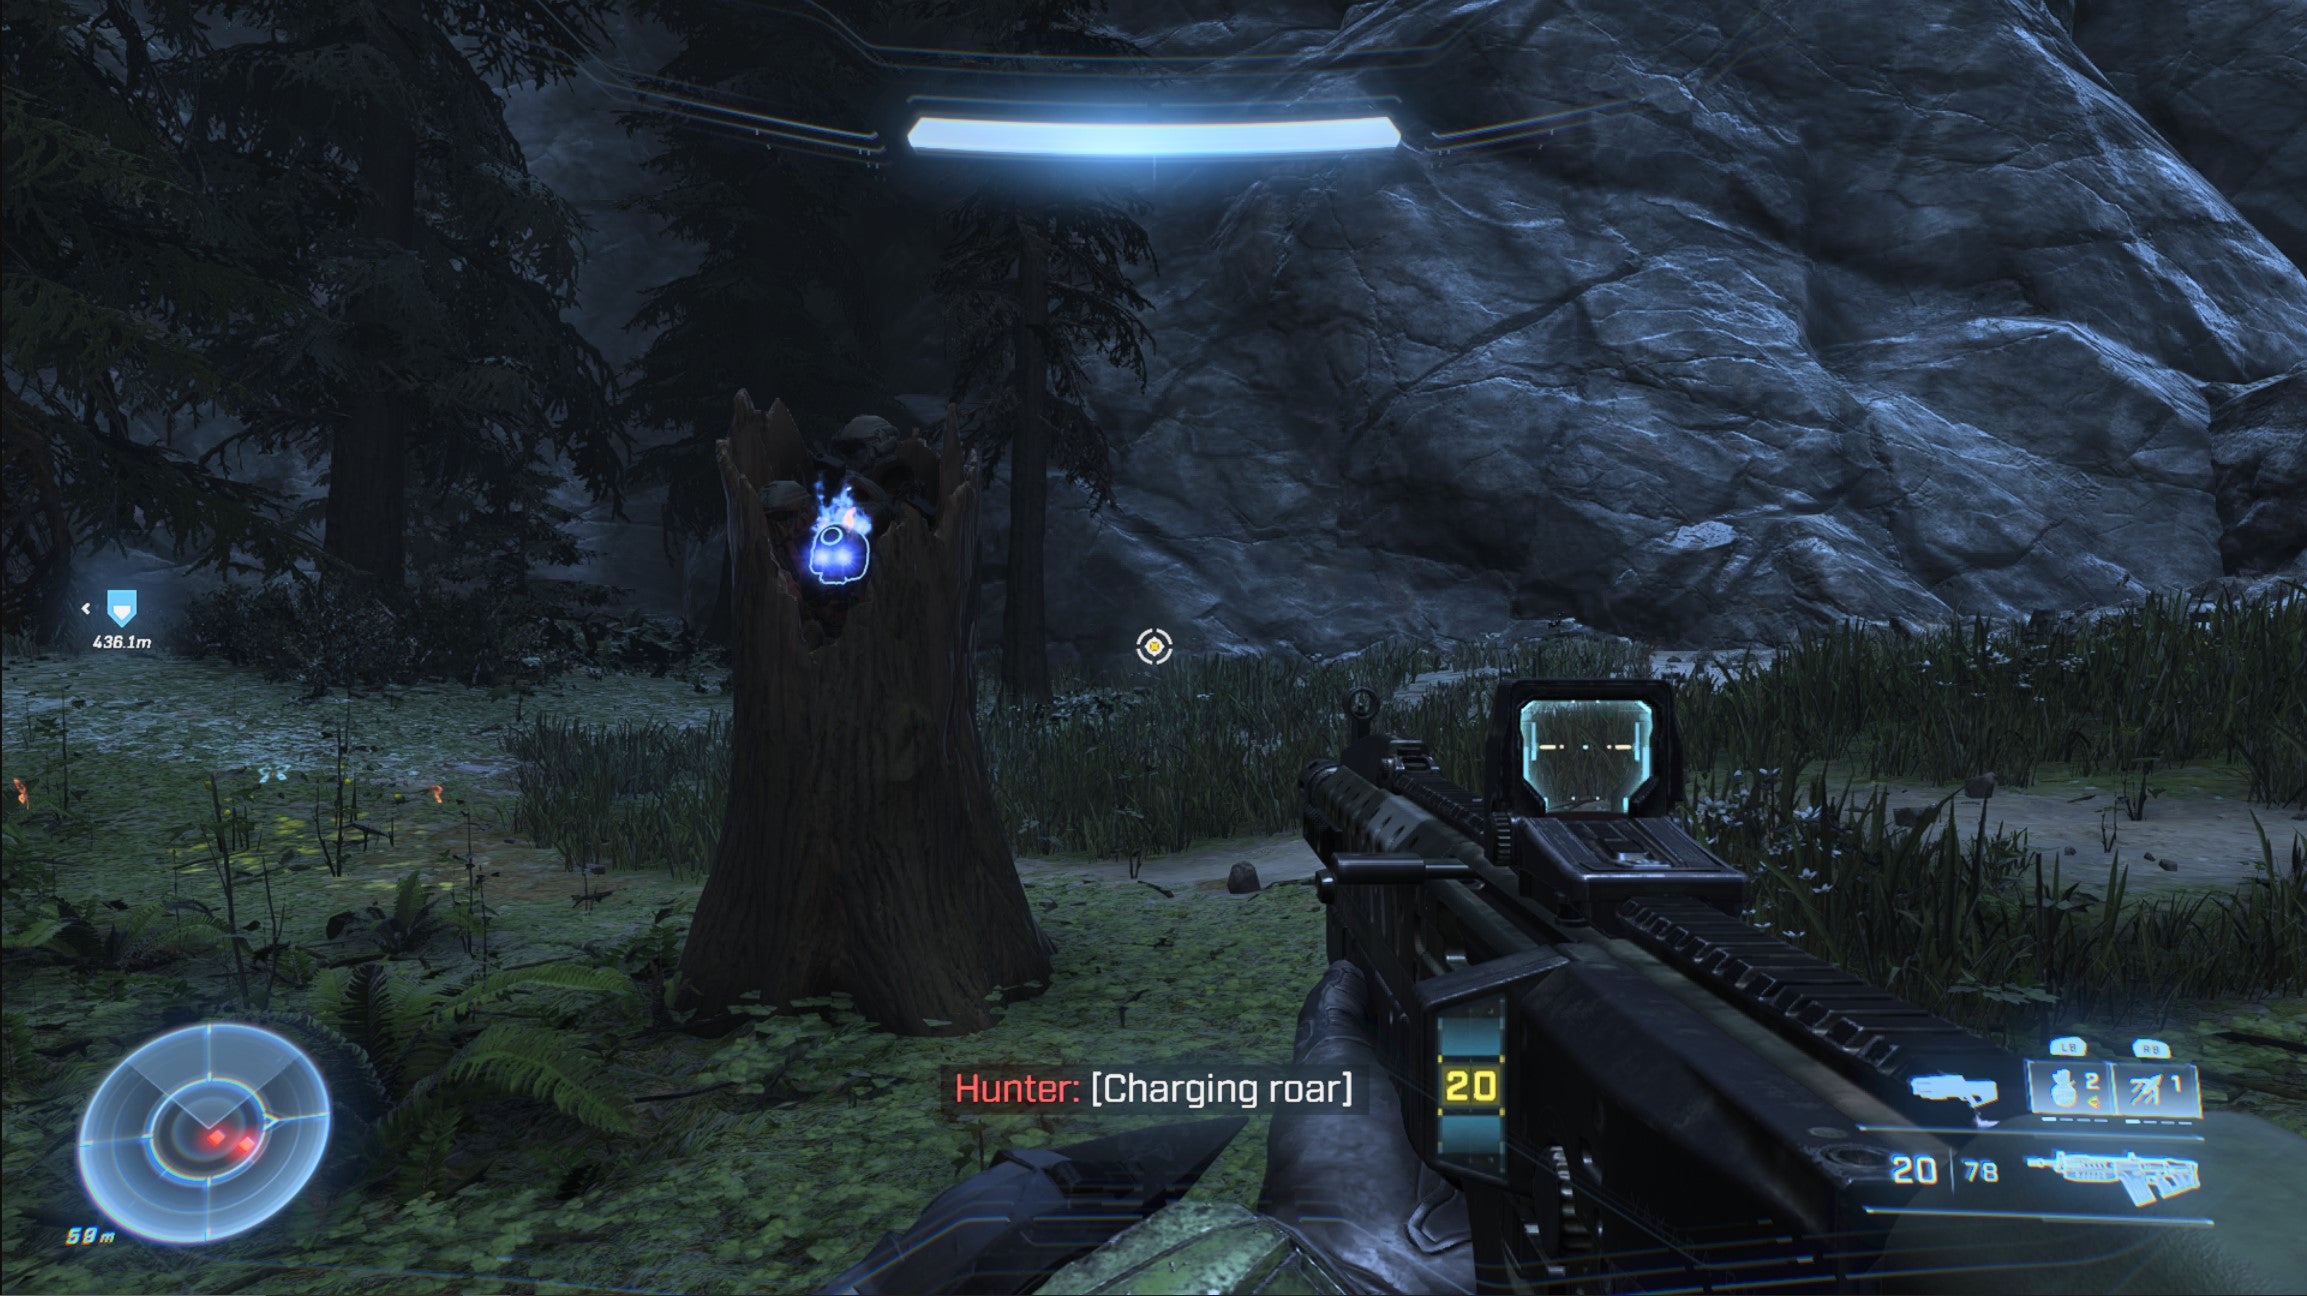
This Skull is all the way back up north near the first FOB you captured, but is very difficult to access without a flying vehicle. In the middle of the small, isolated island on the north of the map, there’s a small thicket of trees guarded by two extremely tough Hunters. If you like banging your head agaist a brick wall, defeat the hunters. Otherwise, run in, grab the Skull from behind them and run away as fast as you came.
The Command Spire Skull Location
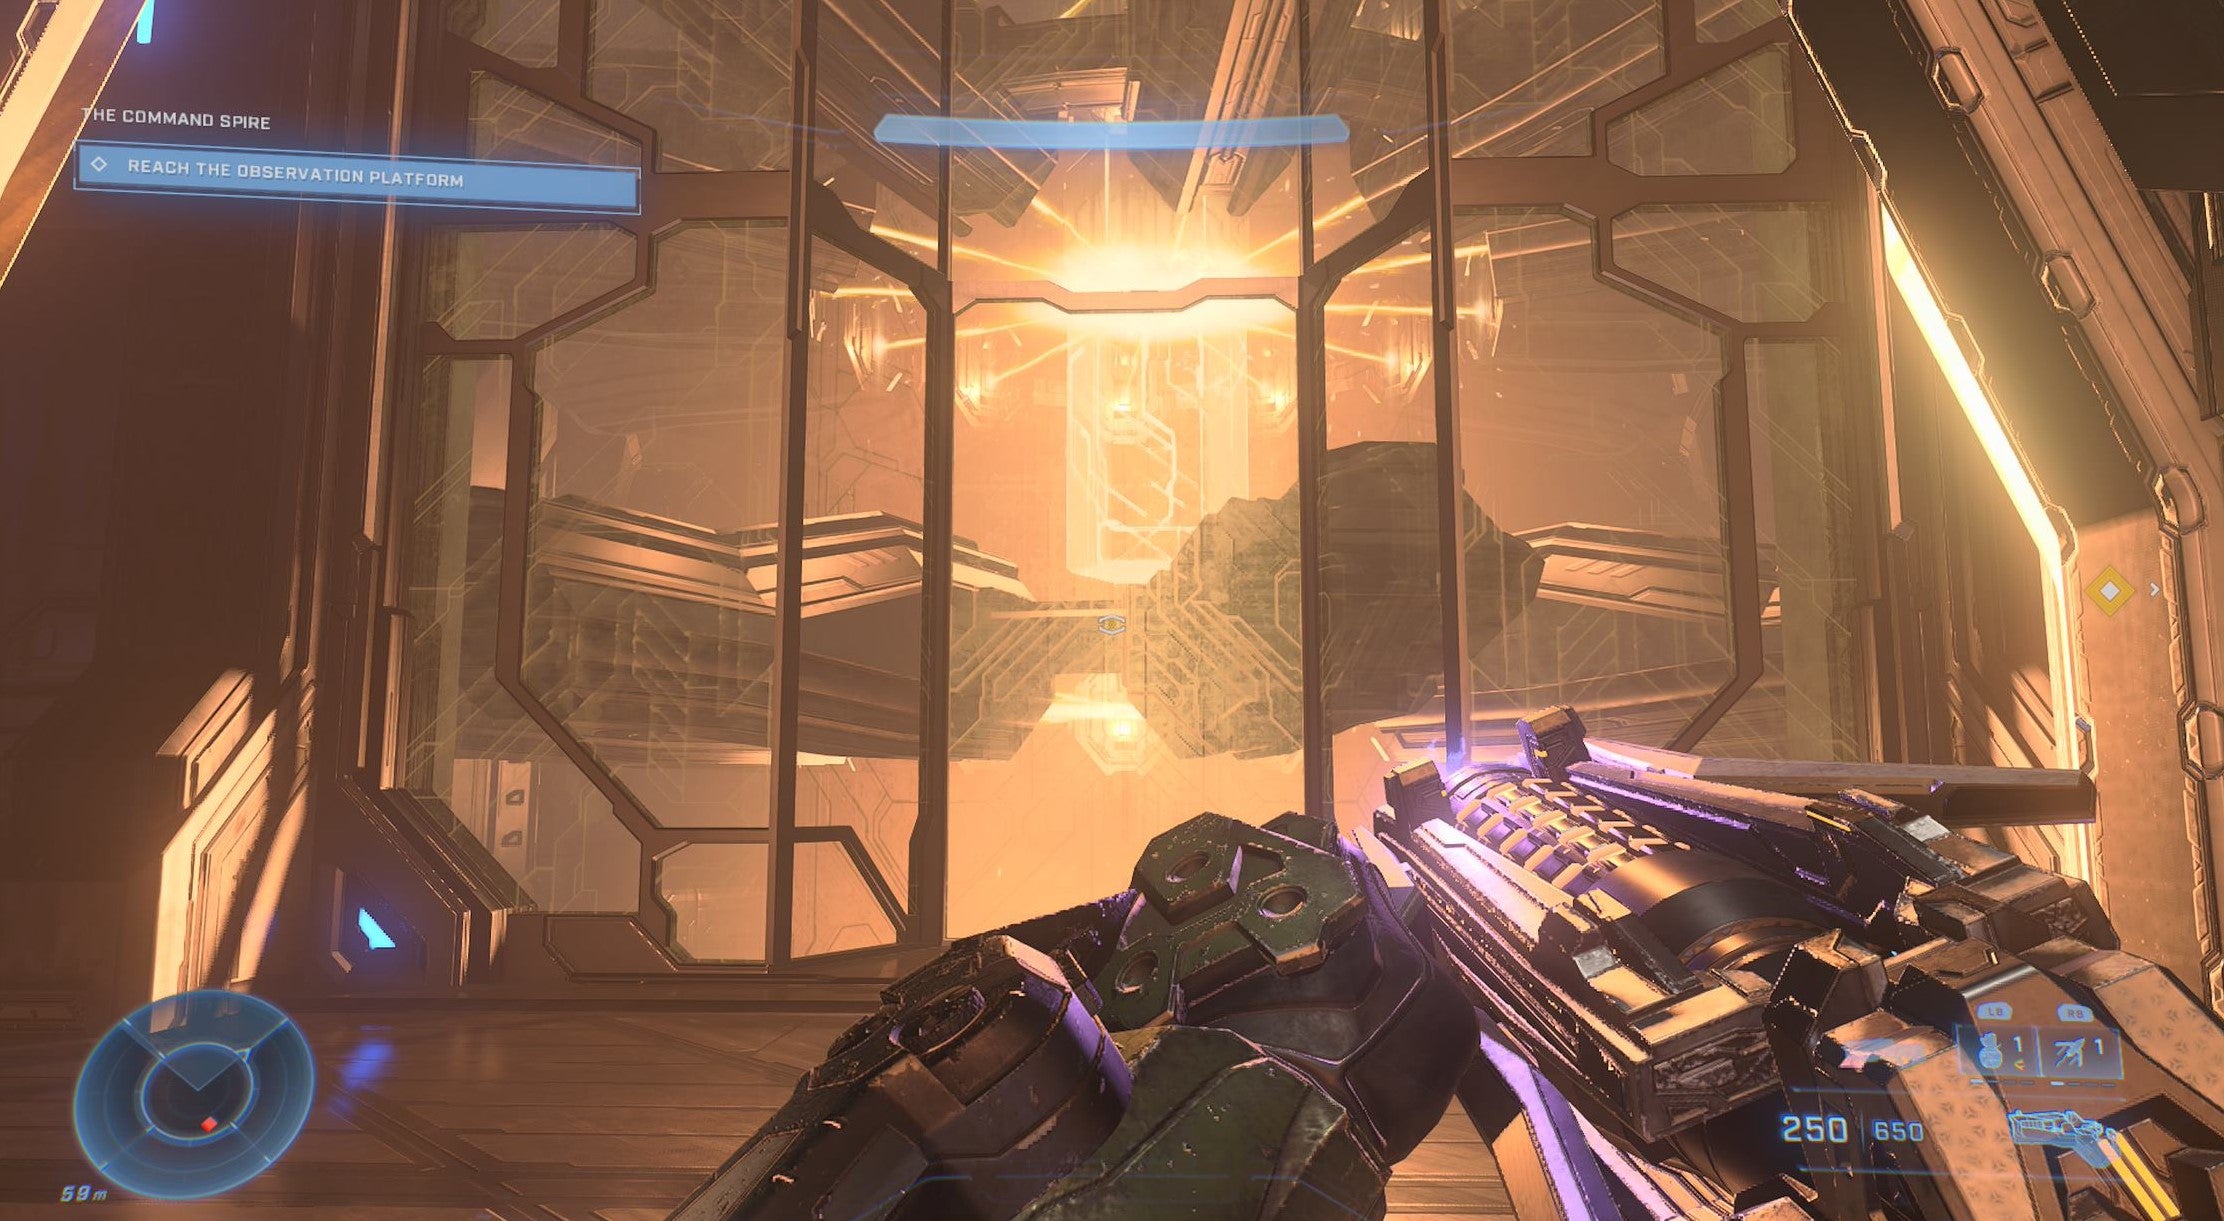
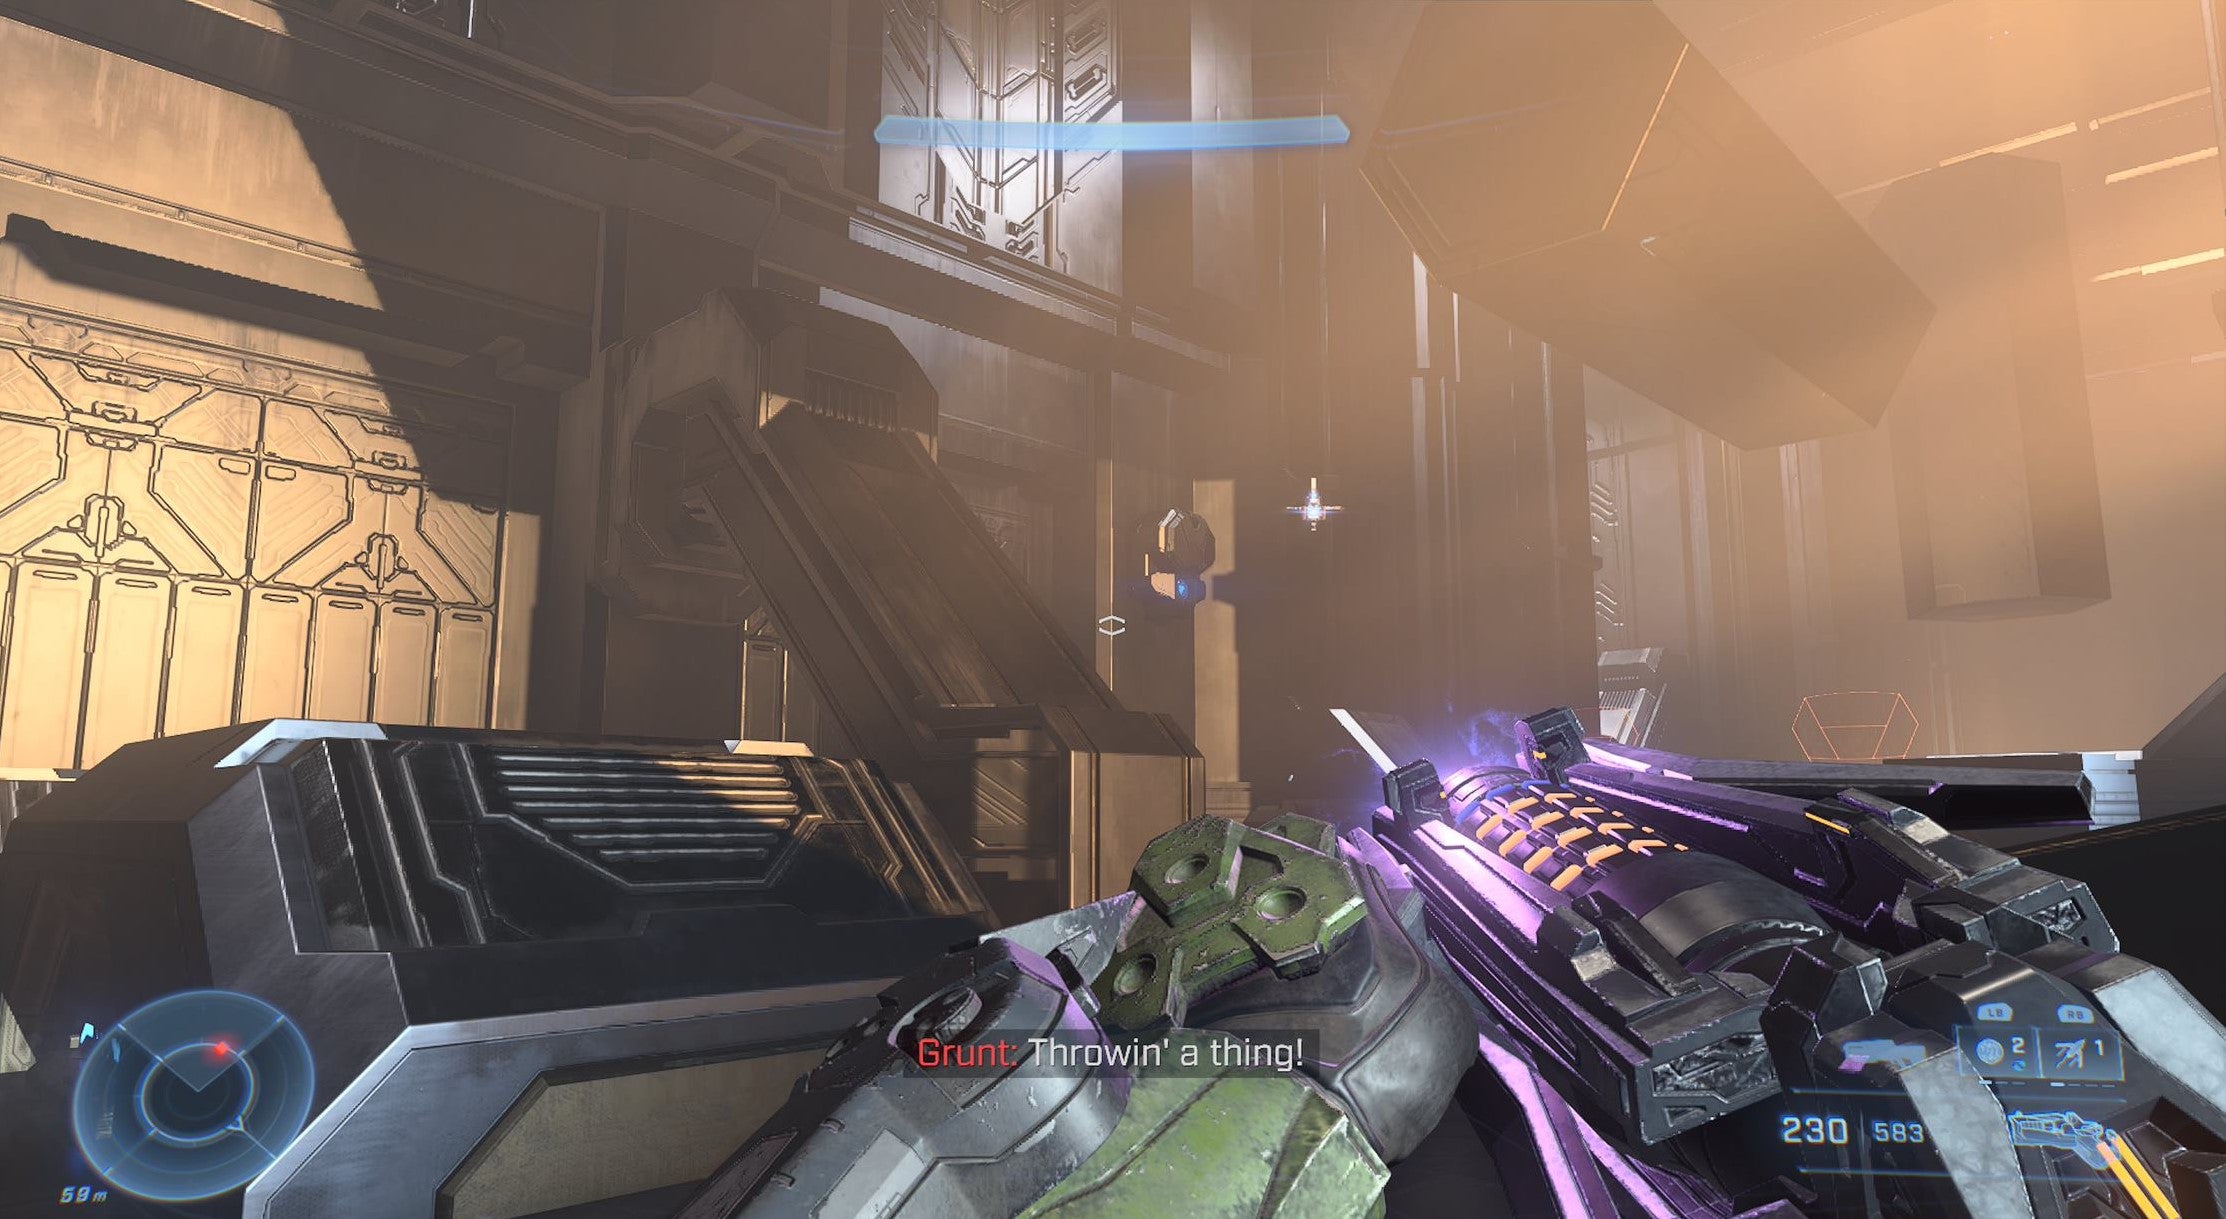
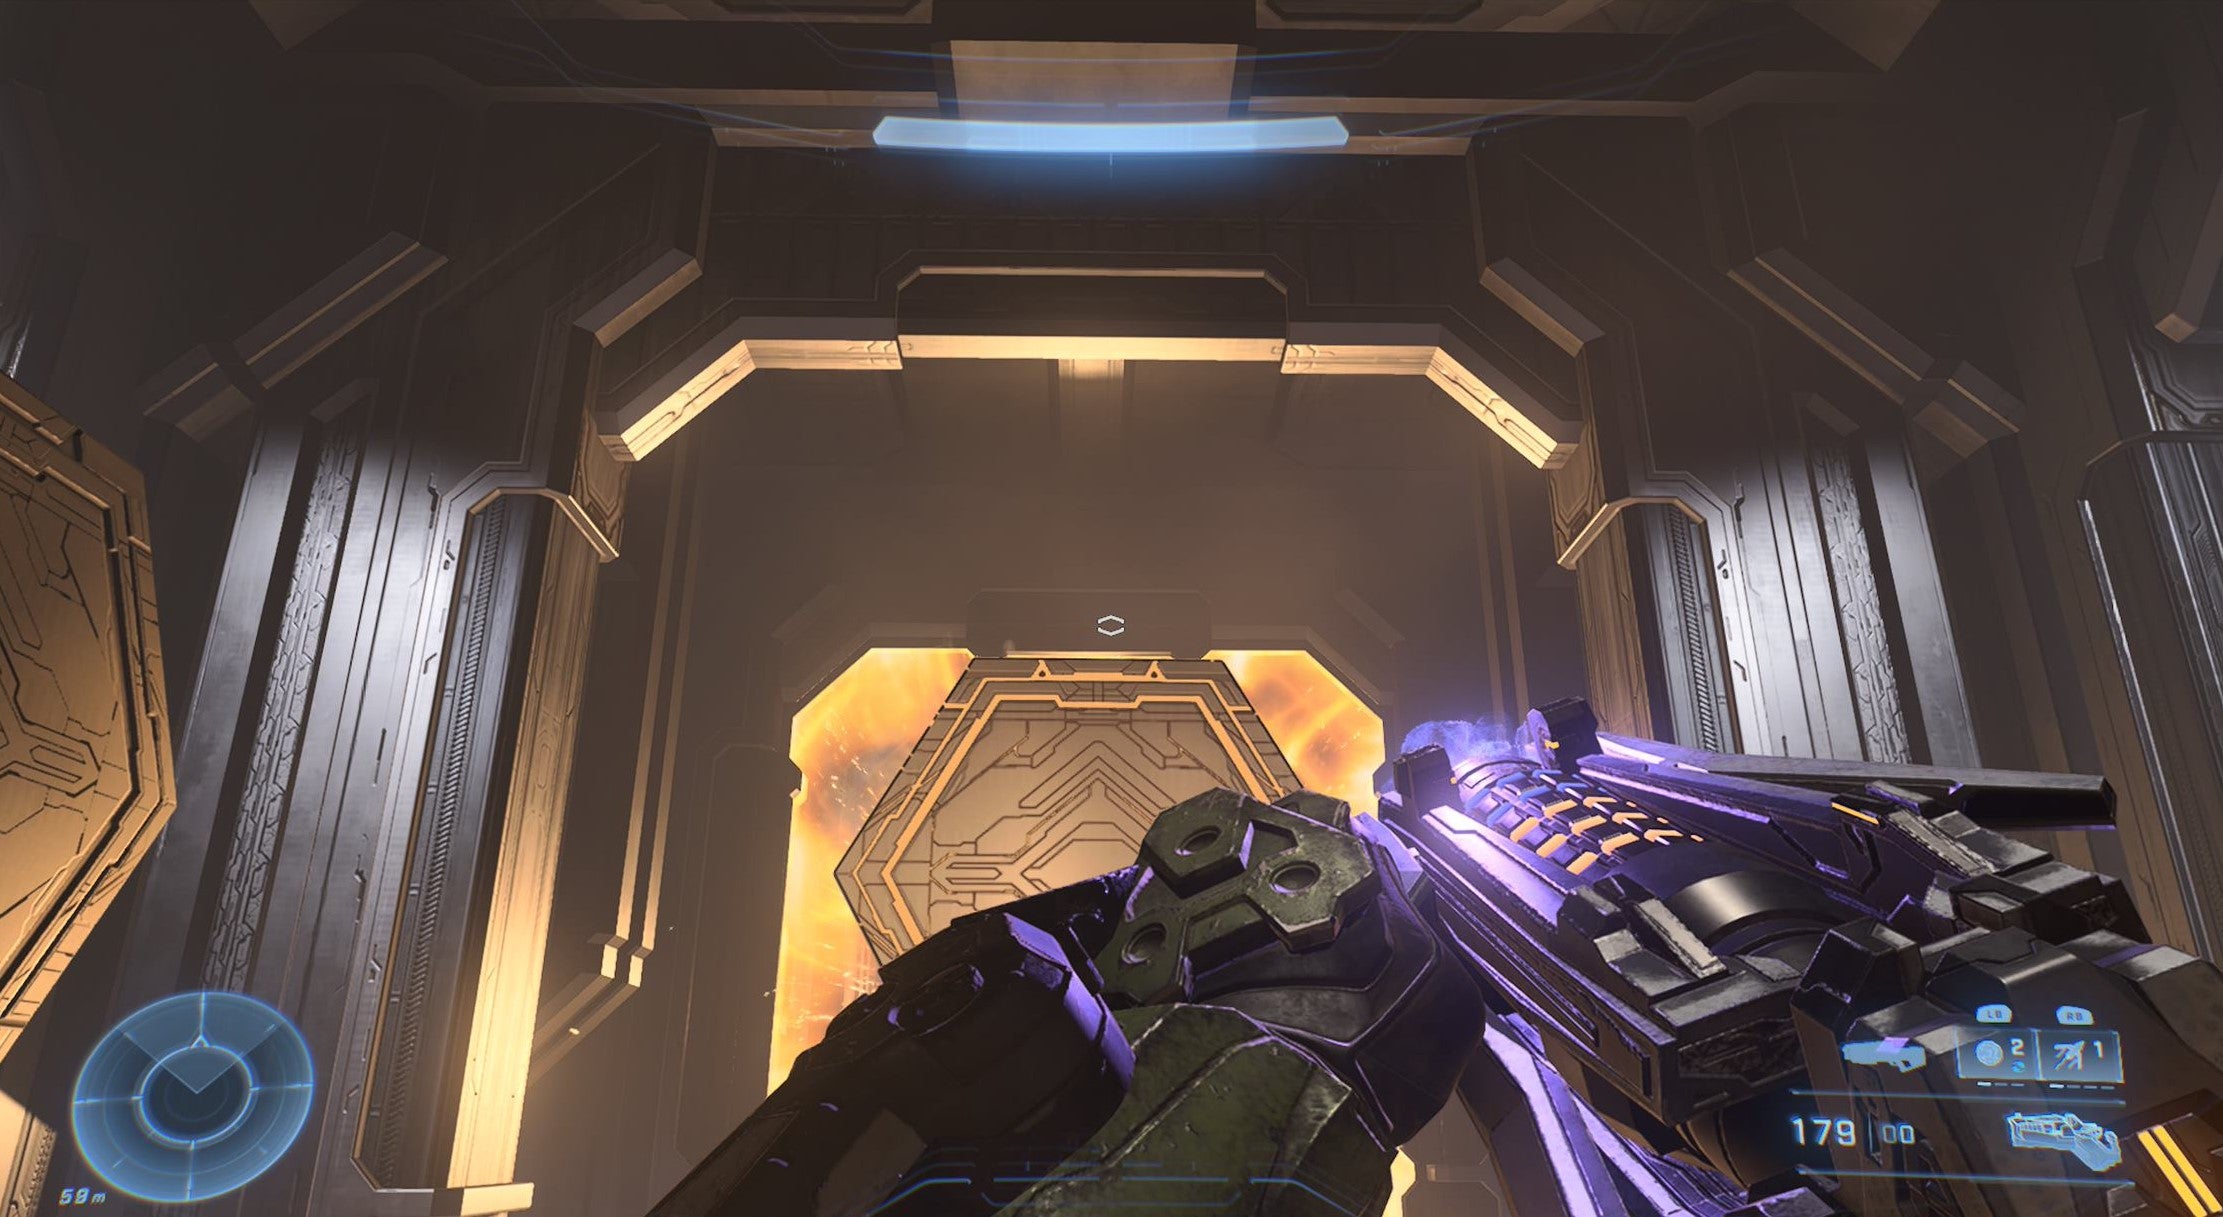
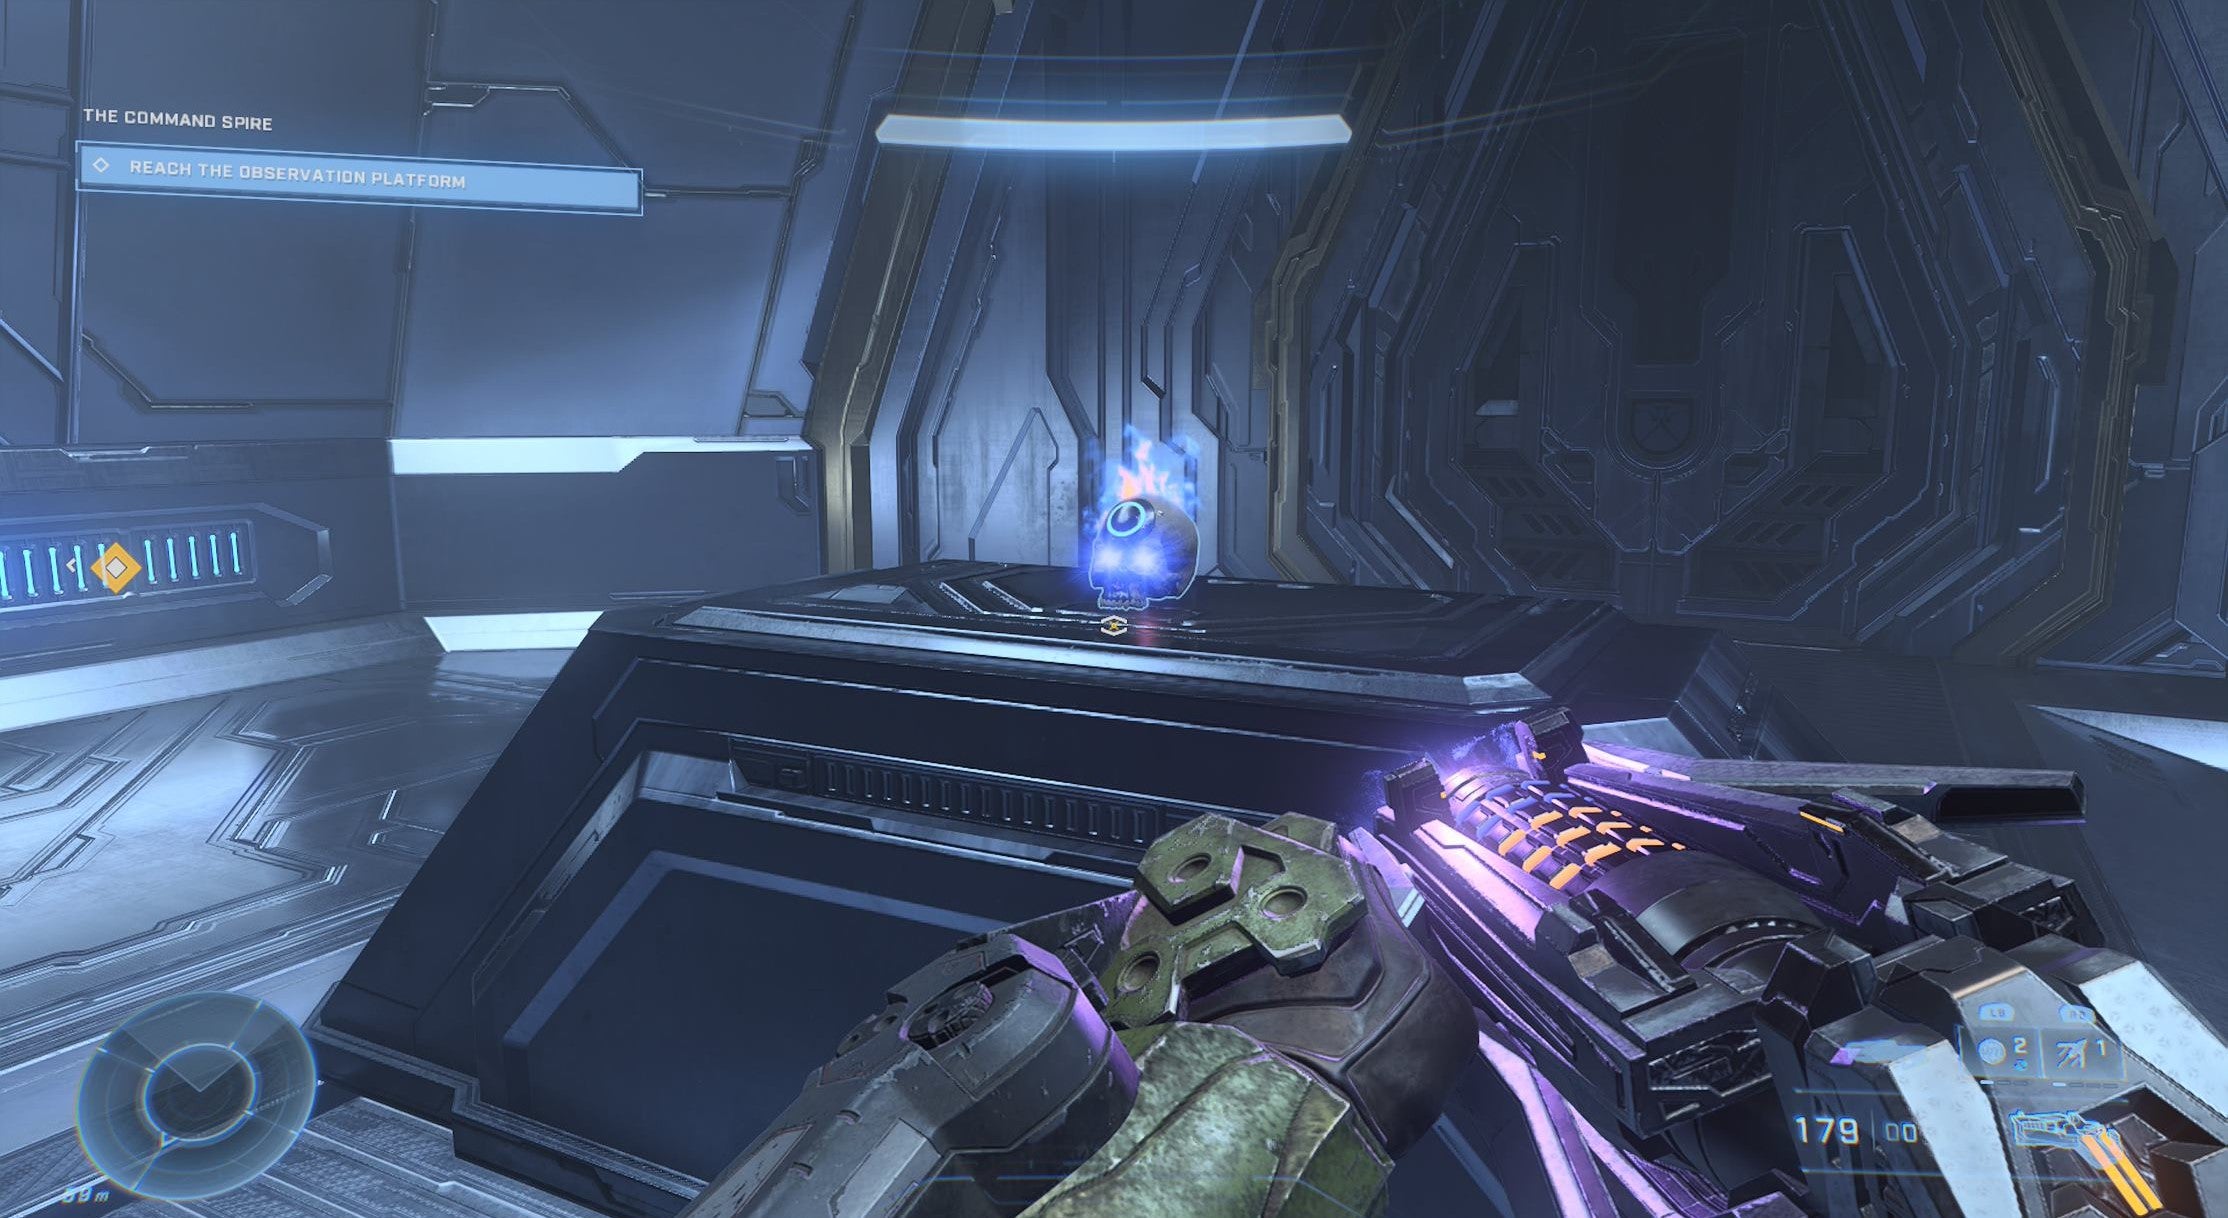
In the mission called: “The Command Spire”, there’s a Skull available once you reach the golden-lit room with hexagons passing through the air. Defeat the enemies as you come in, then make your way over to the other side of the room where more enemies spawn next to some purple lights on the way. Here, turn around then use the pillar to grapple on top of one of the hexagons as it passes. Immediately look up, then grapple to the gap in the ceiling above you. Next, grapple up again to the next layer of platform, then go through the door. The Skull is on an altar here.
Repository Skull Location
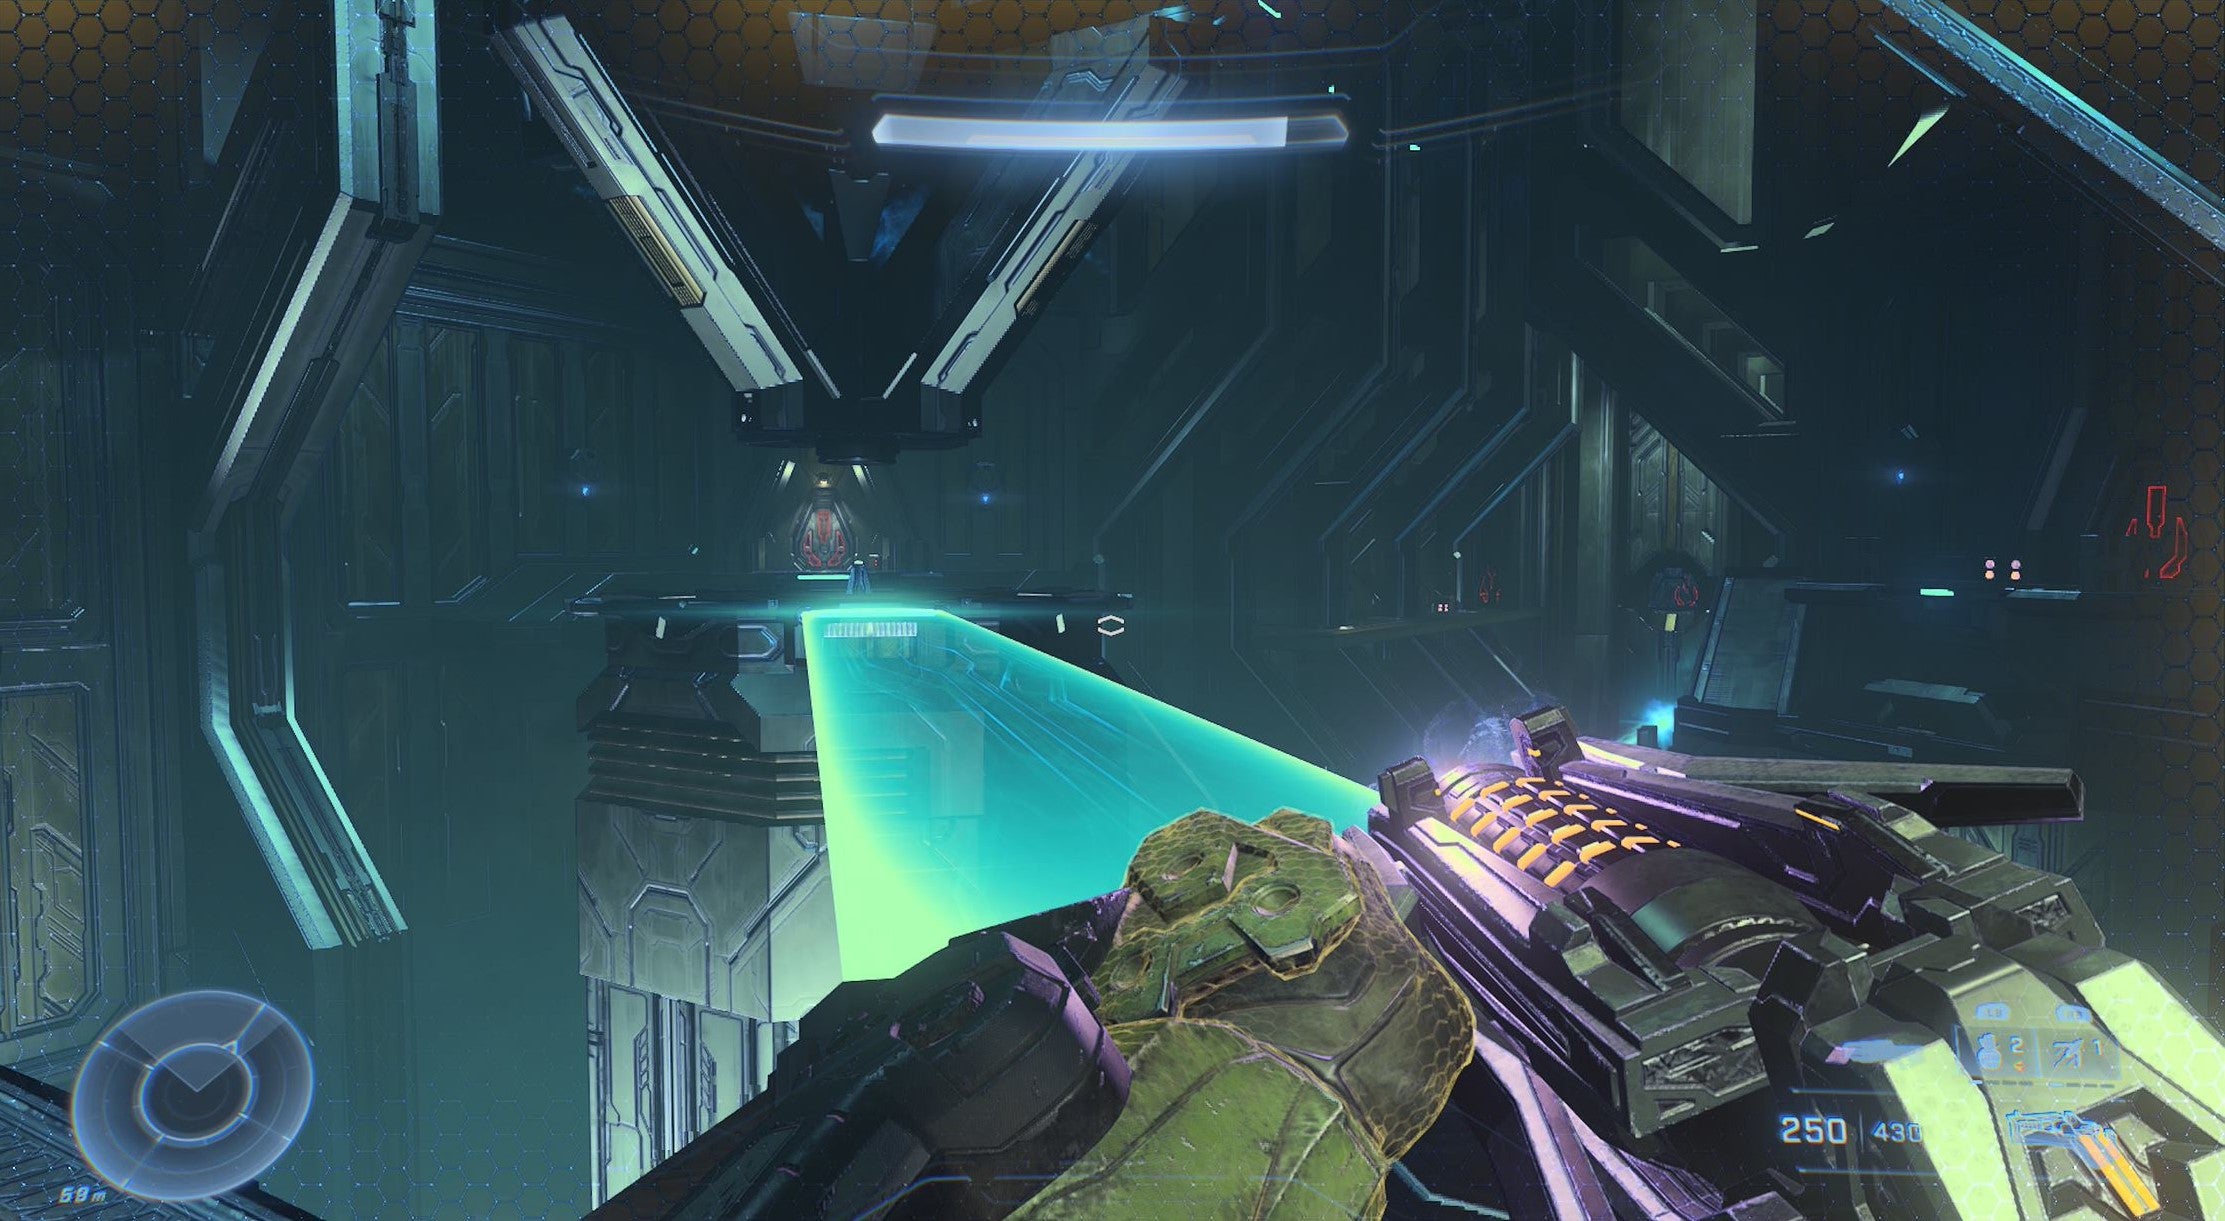
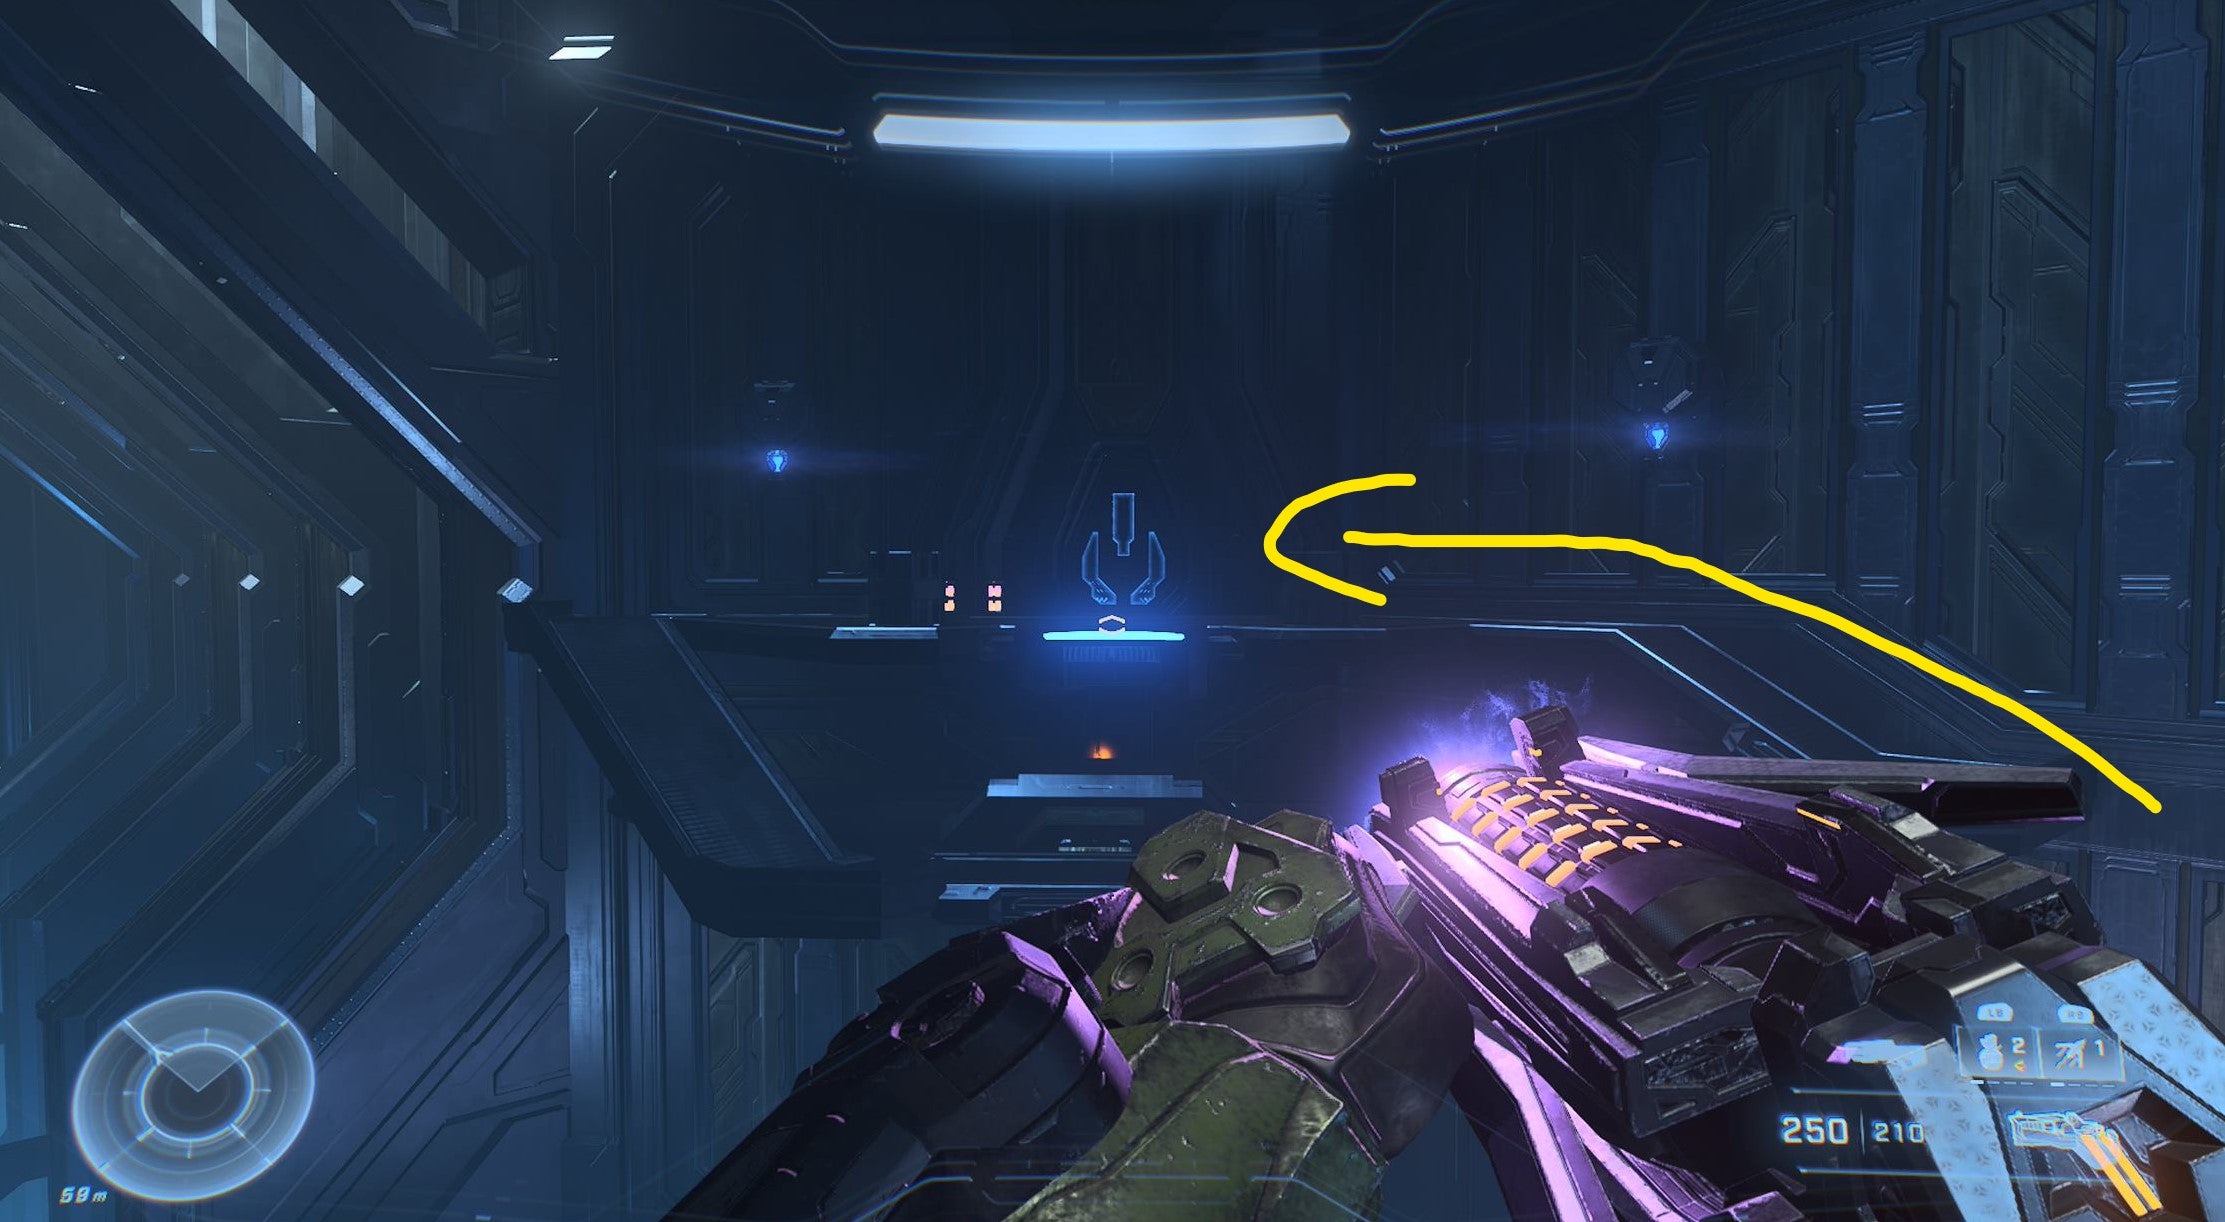
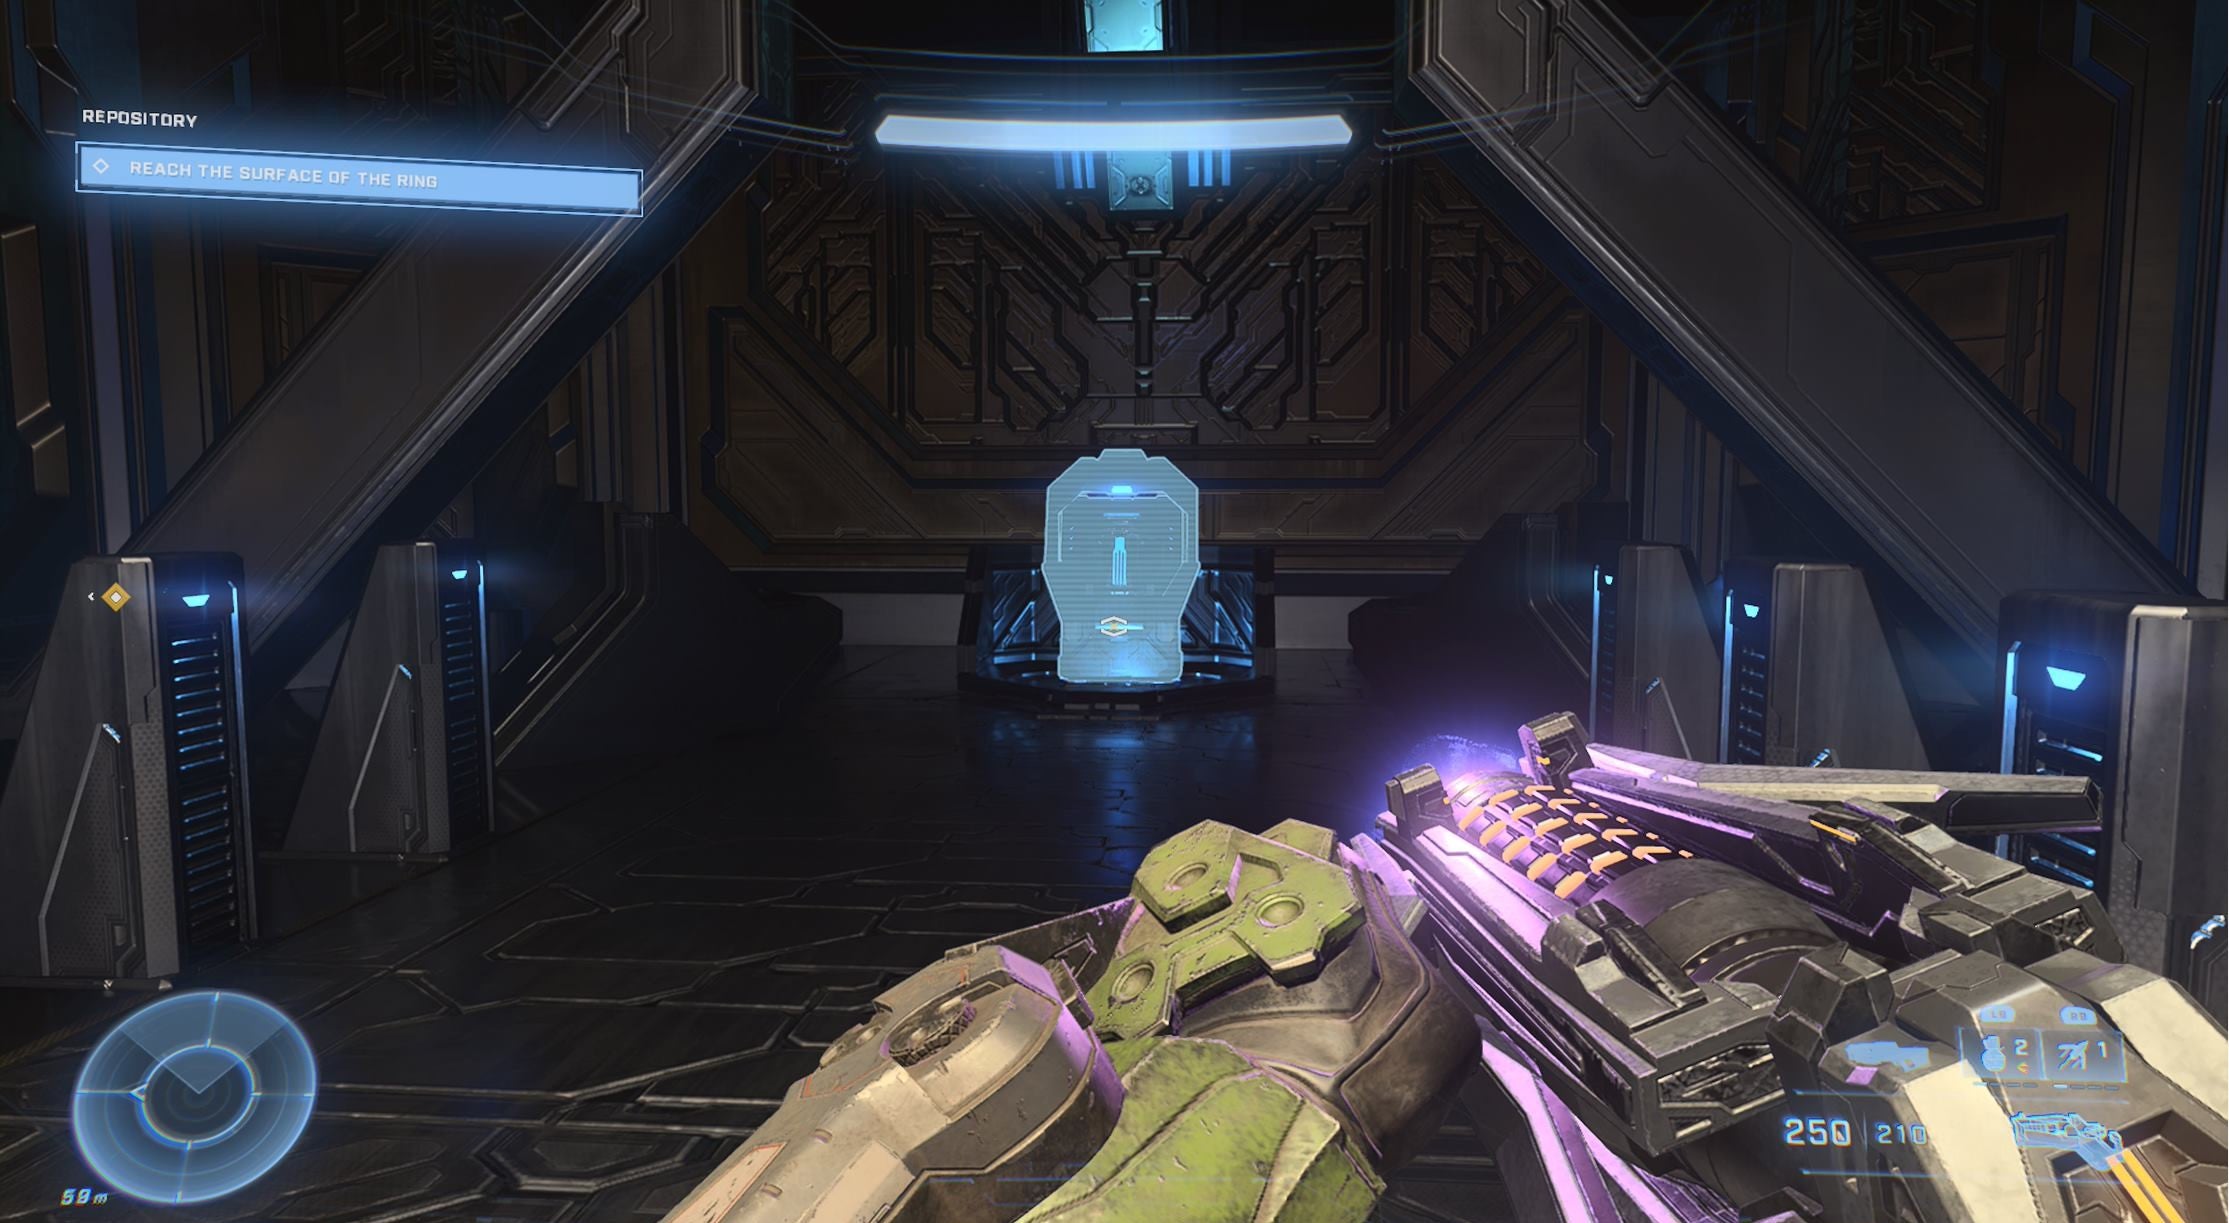
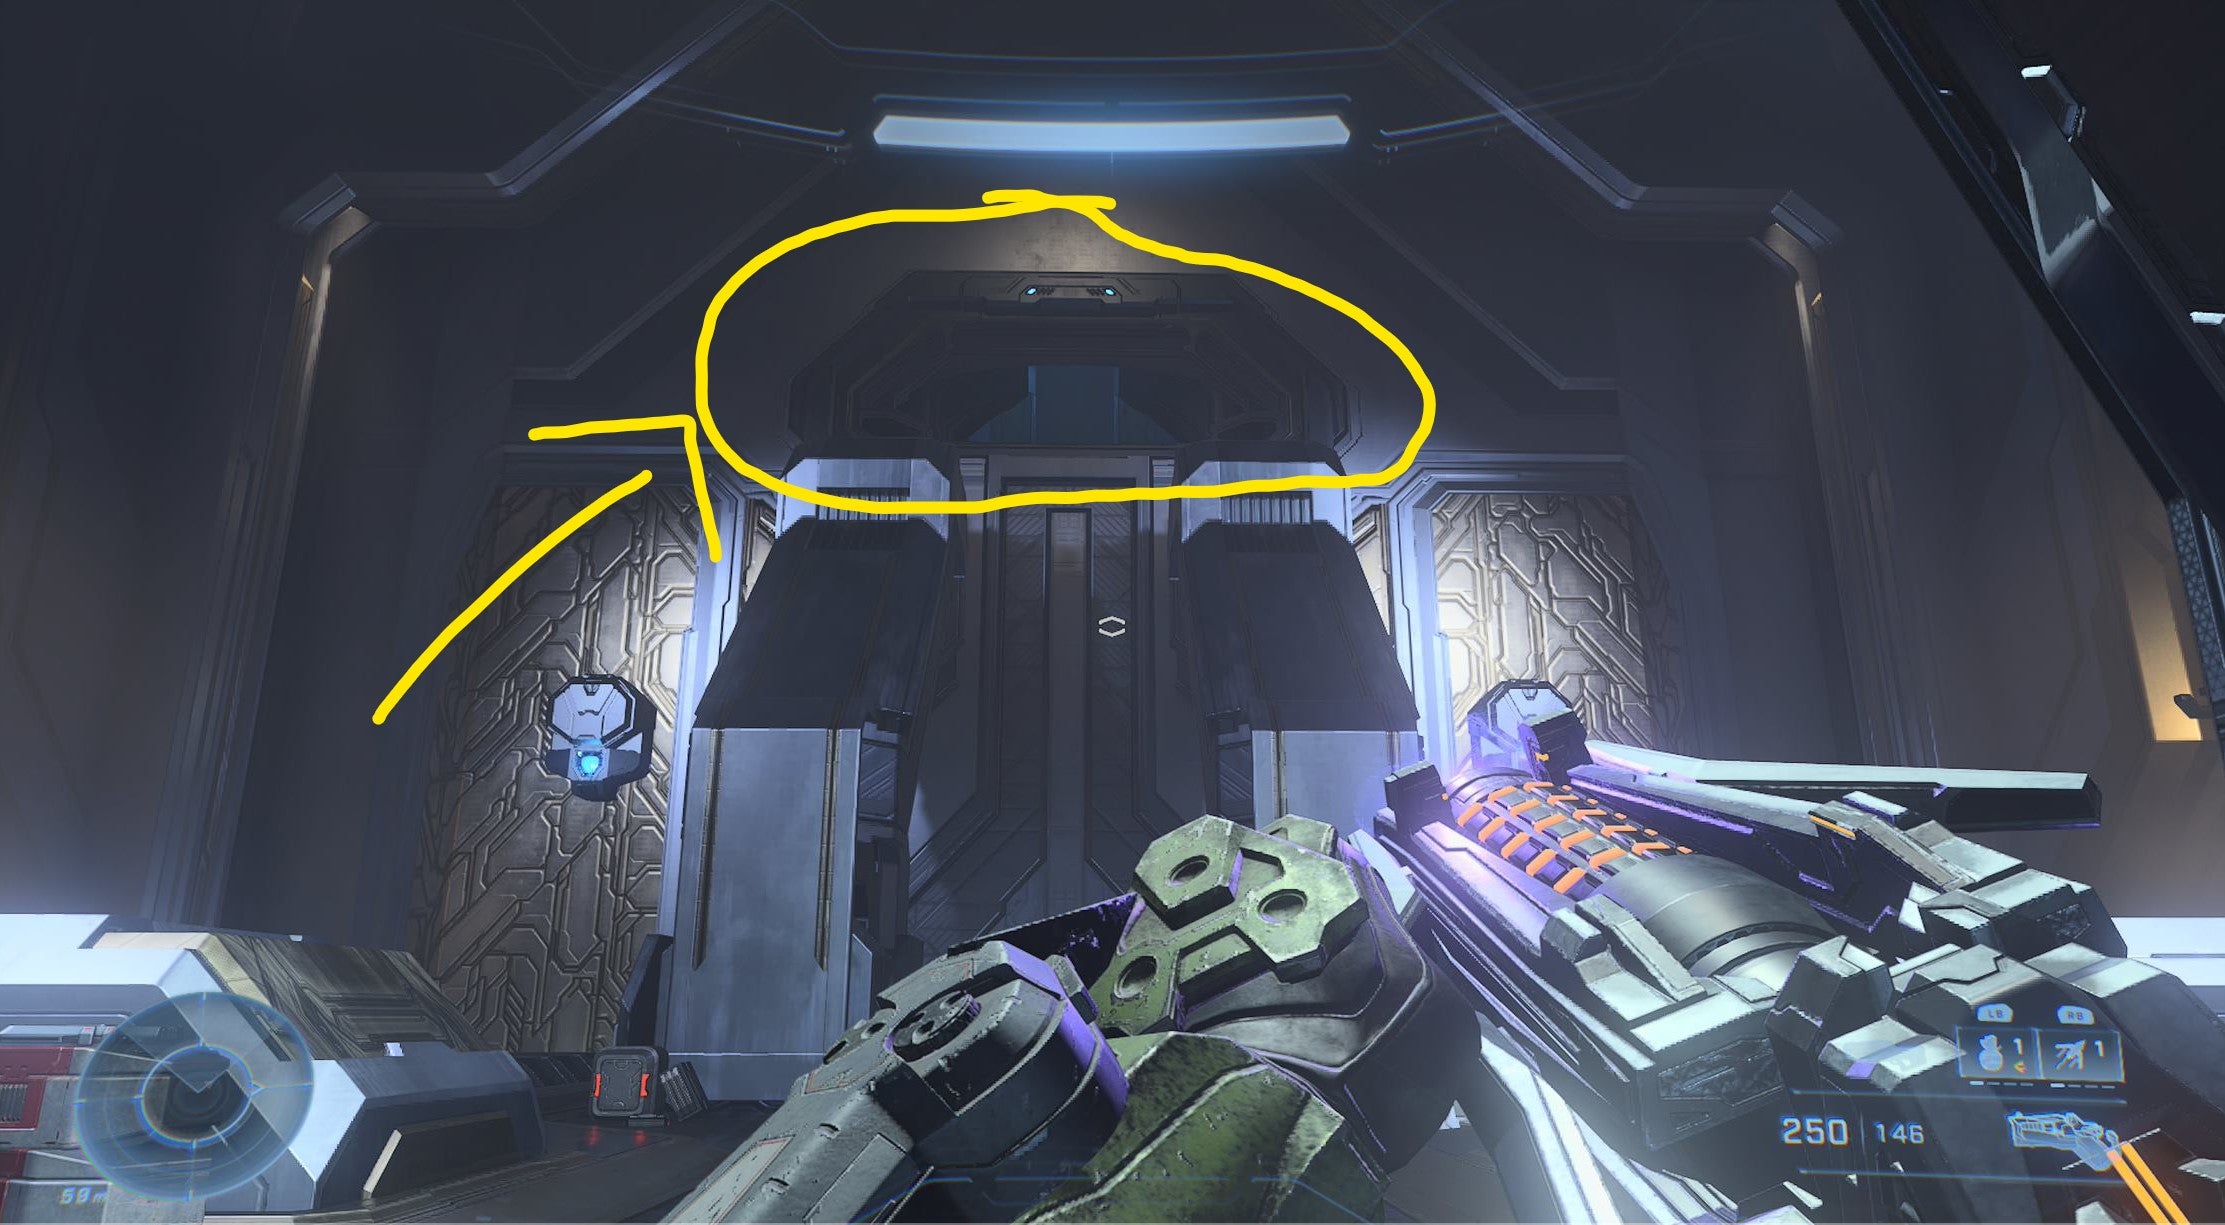
In the Repository, make your way through the level until you reach a large chamber with two light bridges and a terminal you interact with in the middle. After you’ve interacted with the terminal, you will be attacked, but before you advance, look to your right. There’s a door you can grapple to here - the easiest way is to go along the wall on your right. Inside, you’ll find a Power Cell. Return to the central chamber and grapple across to the opposite side of the room, where you’ll find another door you can go through to deposit the power cell. If you didn’t clear out the enemies here, it’s very easy to forget and lose the power cell. If you do, it respawns where you found it. With the power cell deposited, continue with the level until you reach the room in the screenshot above with two large pillars flanked by purple lights. Above the pillars is a window you can now enter, inside of which - along with some Elites - is the Skull.
Silent Auditorium Skull Location
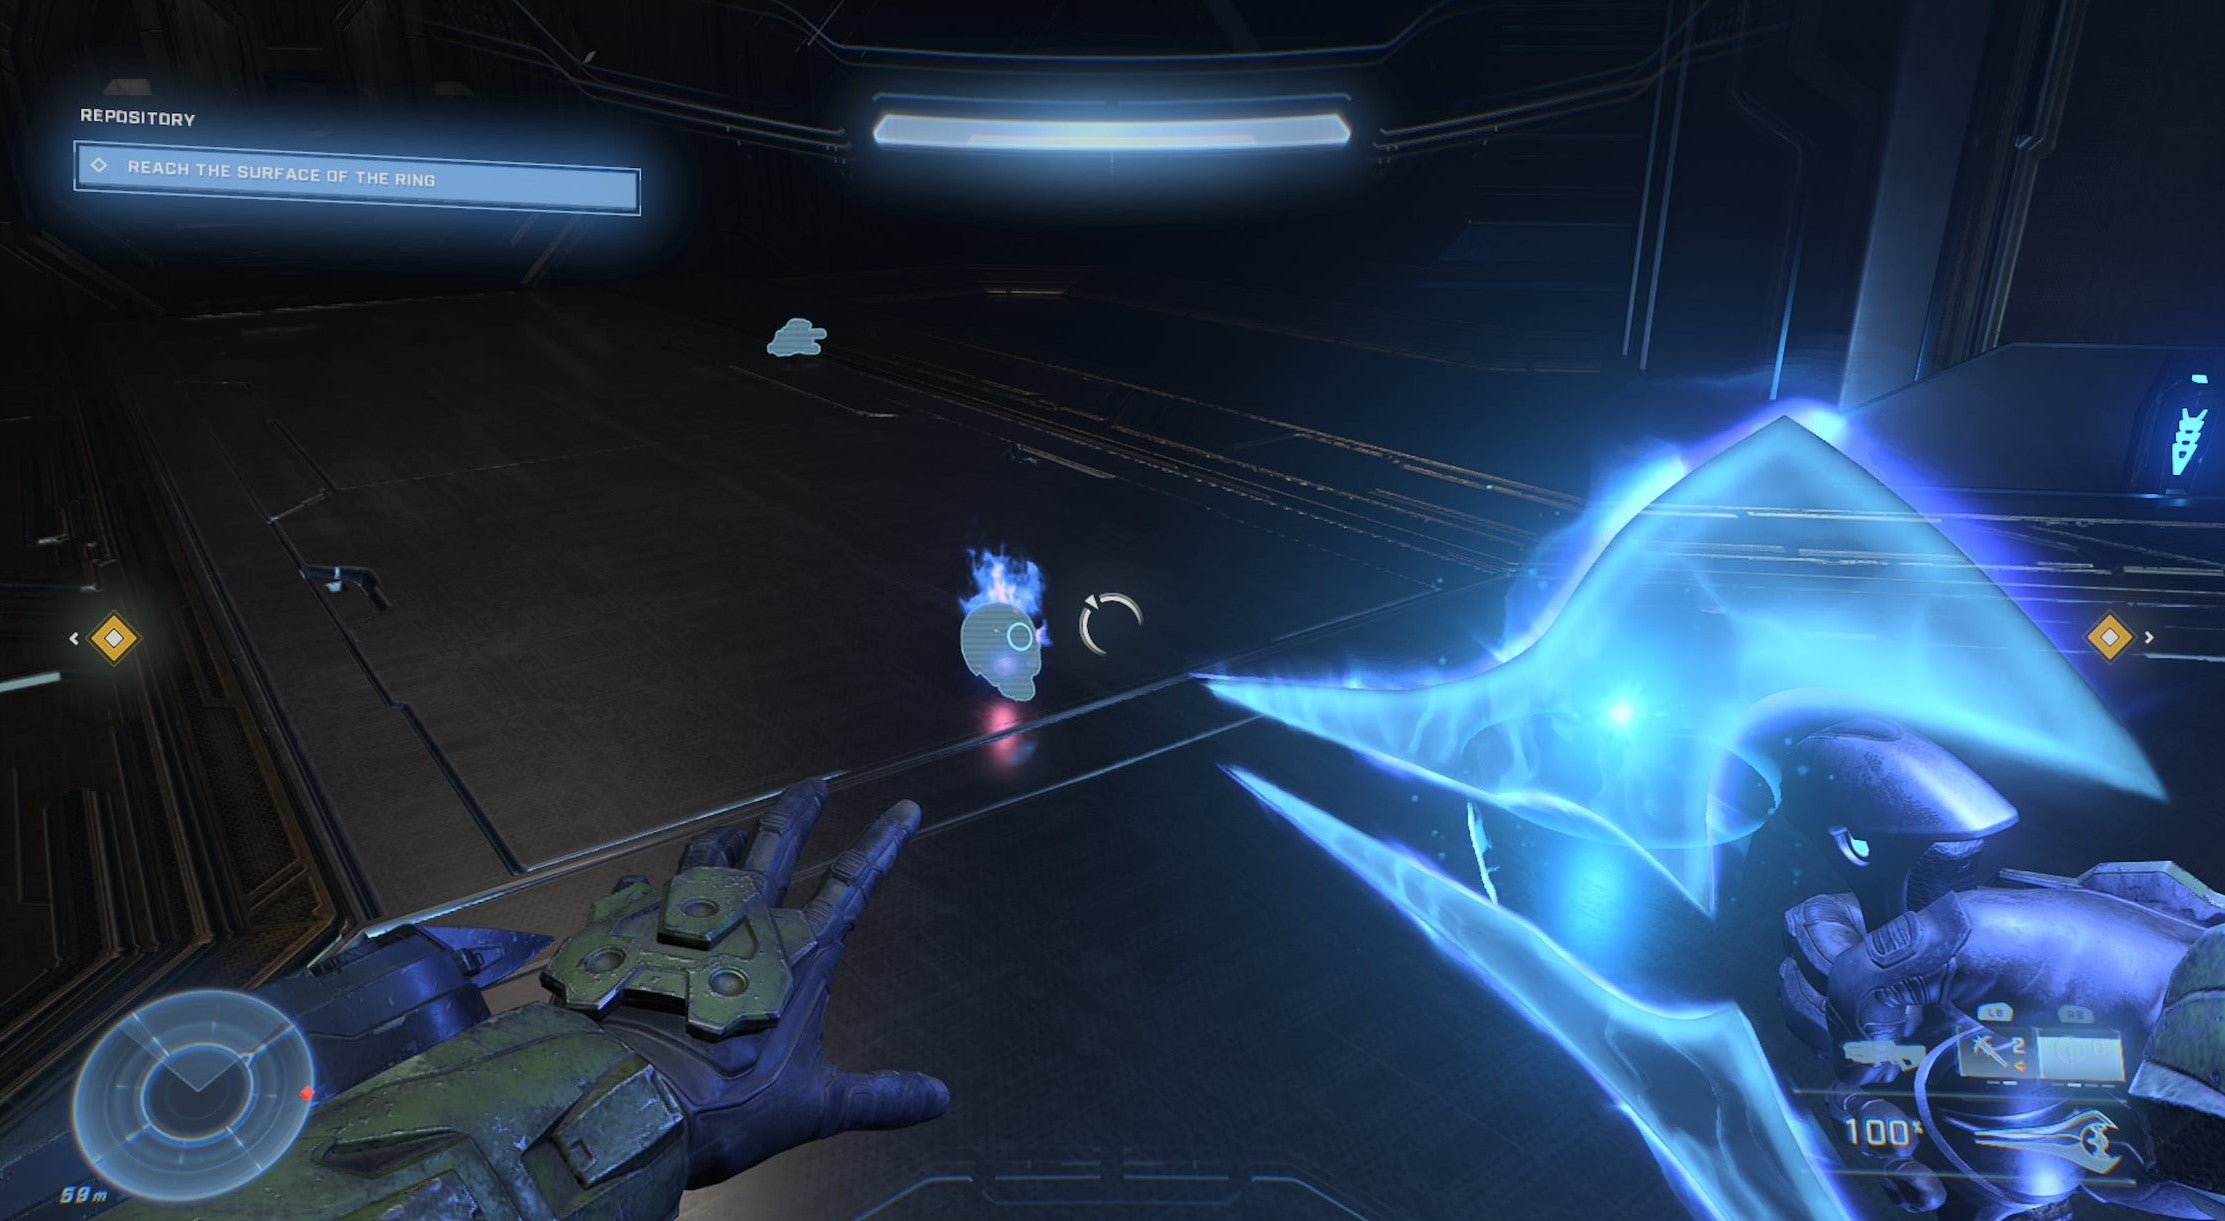
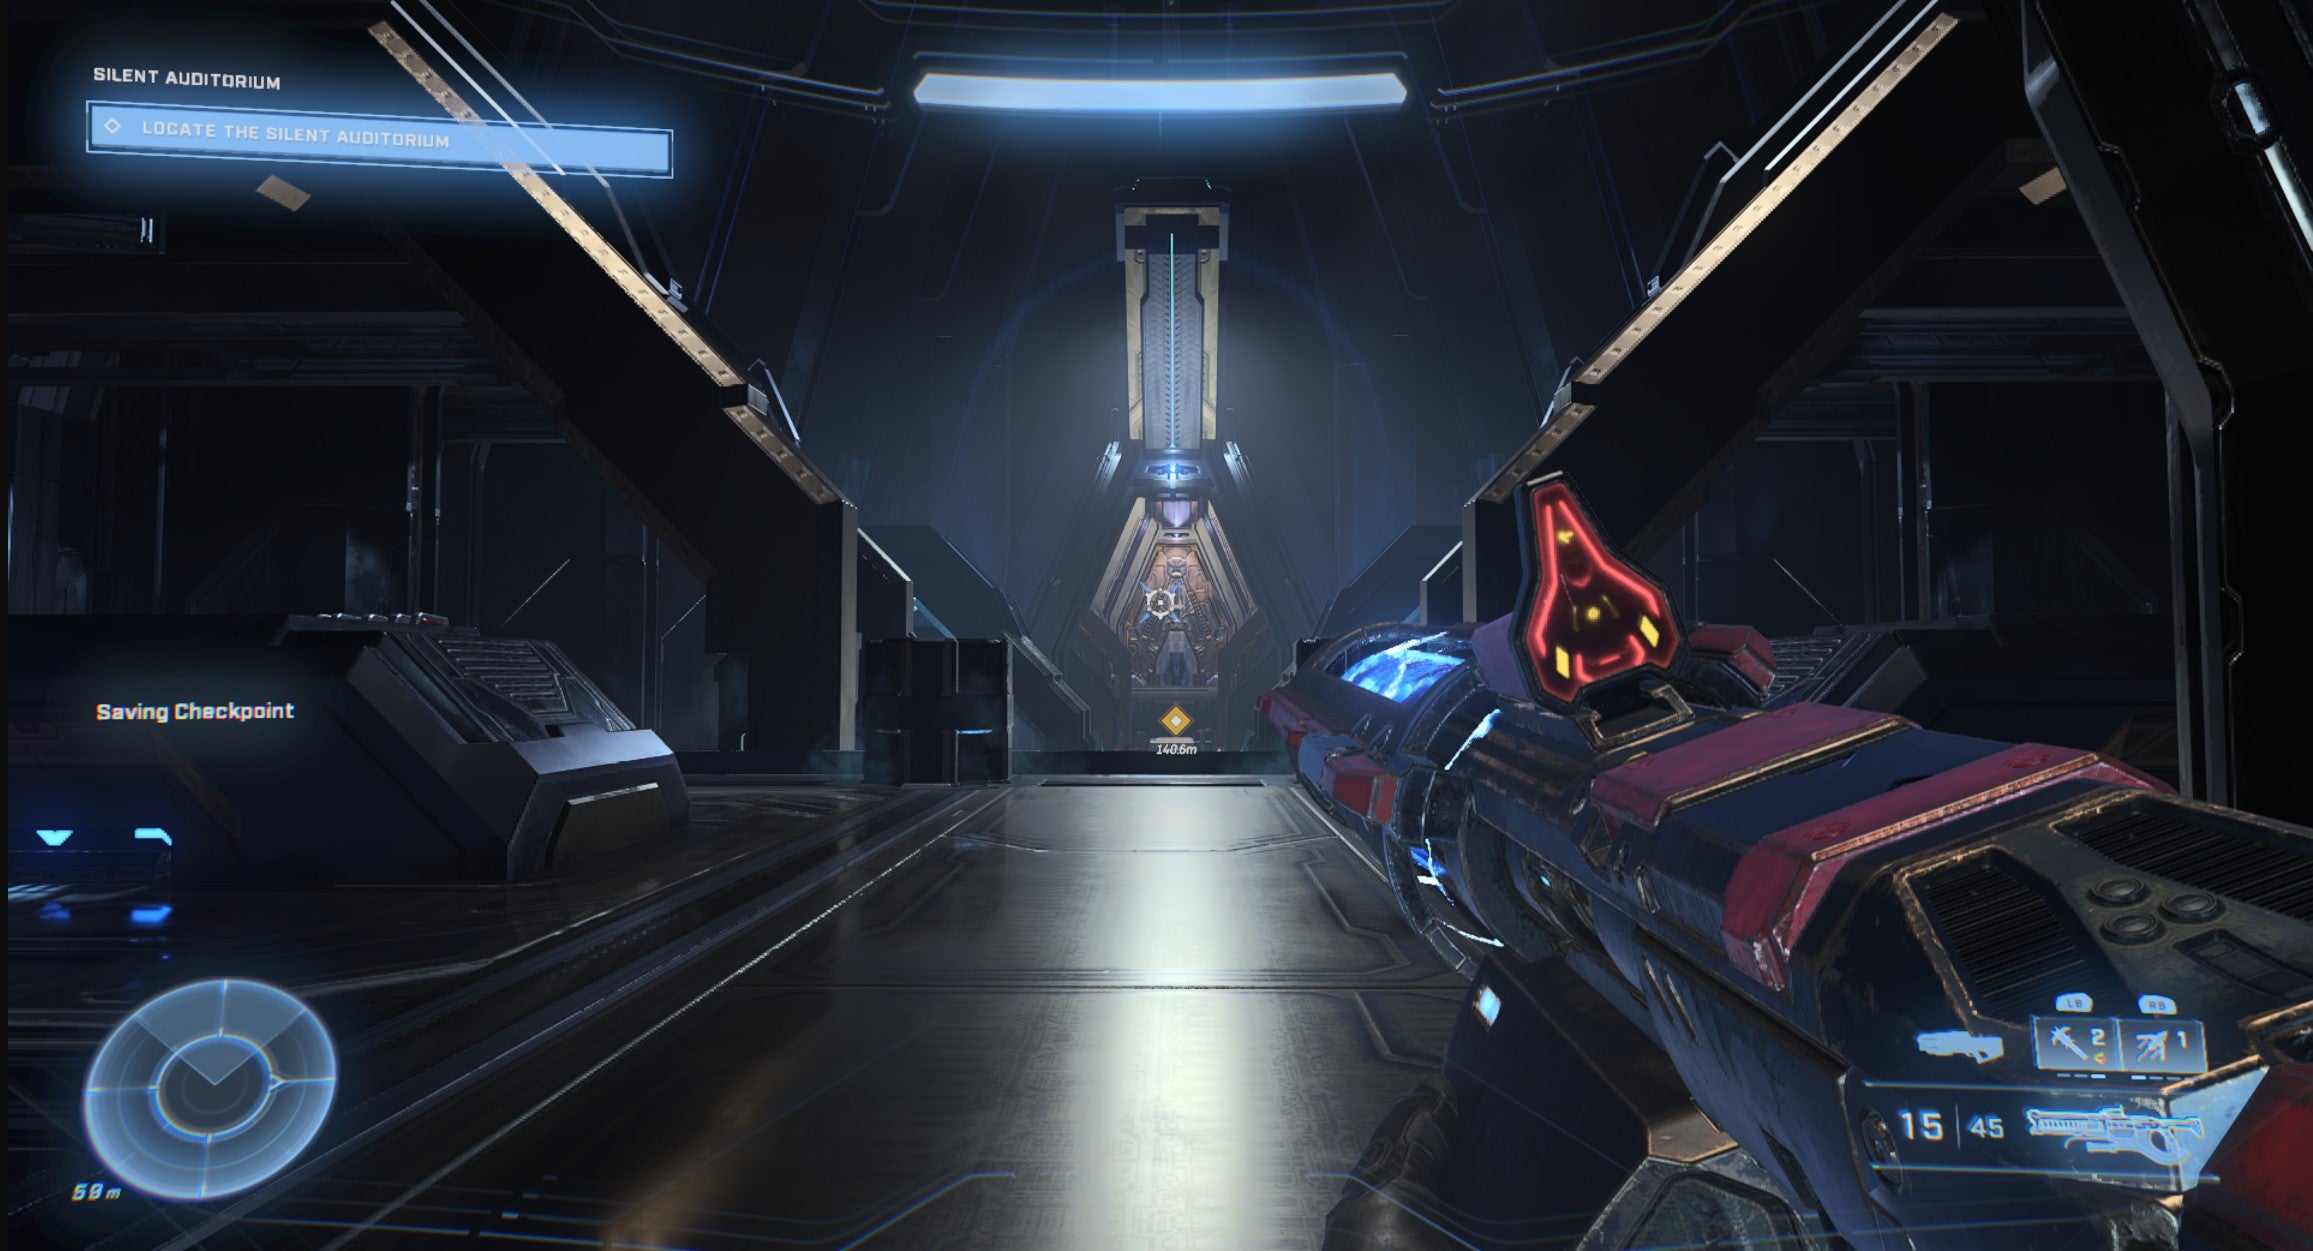
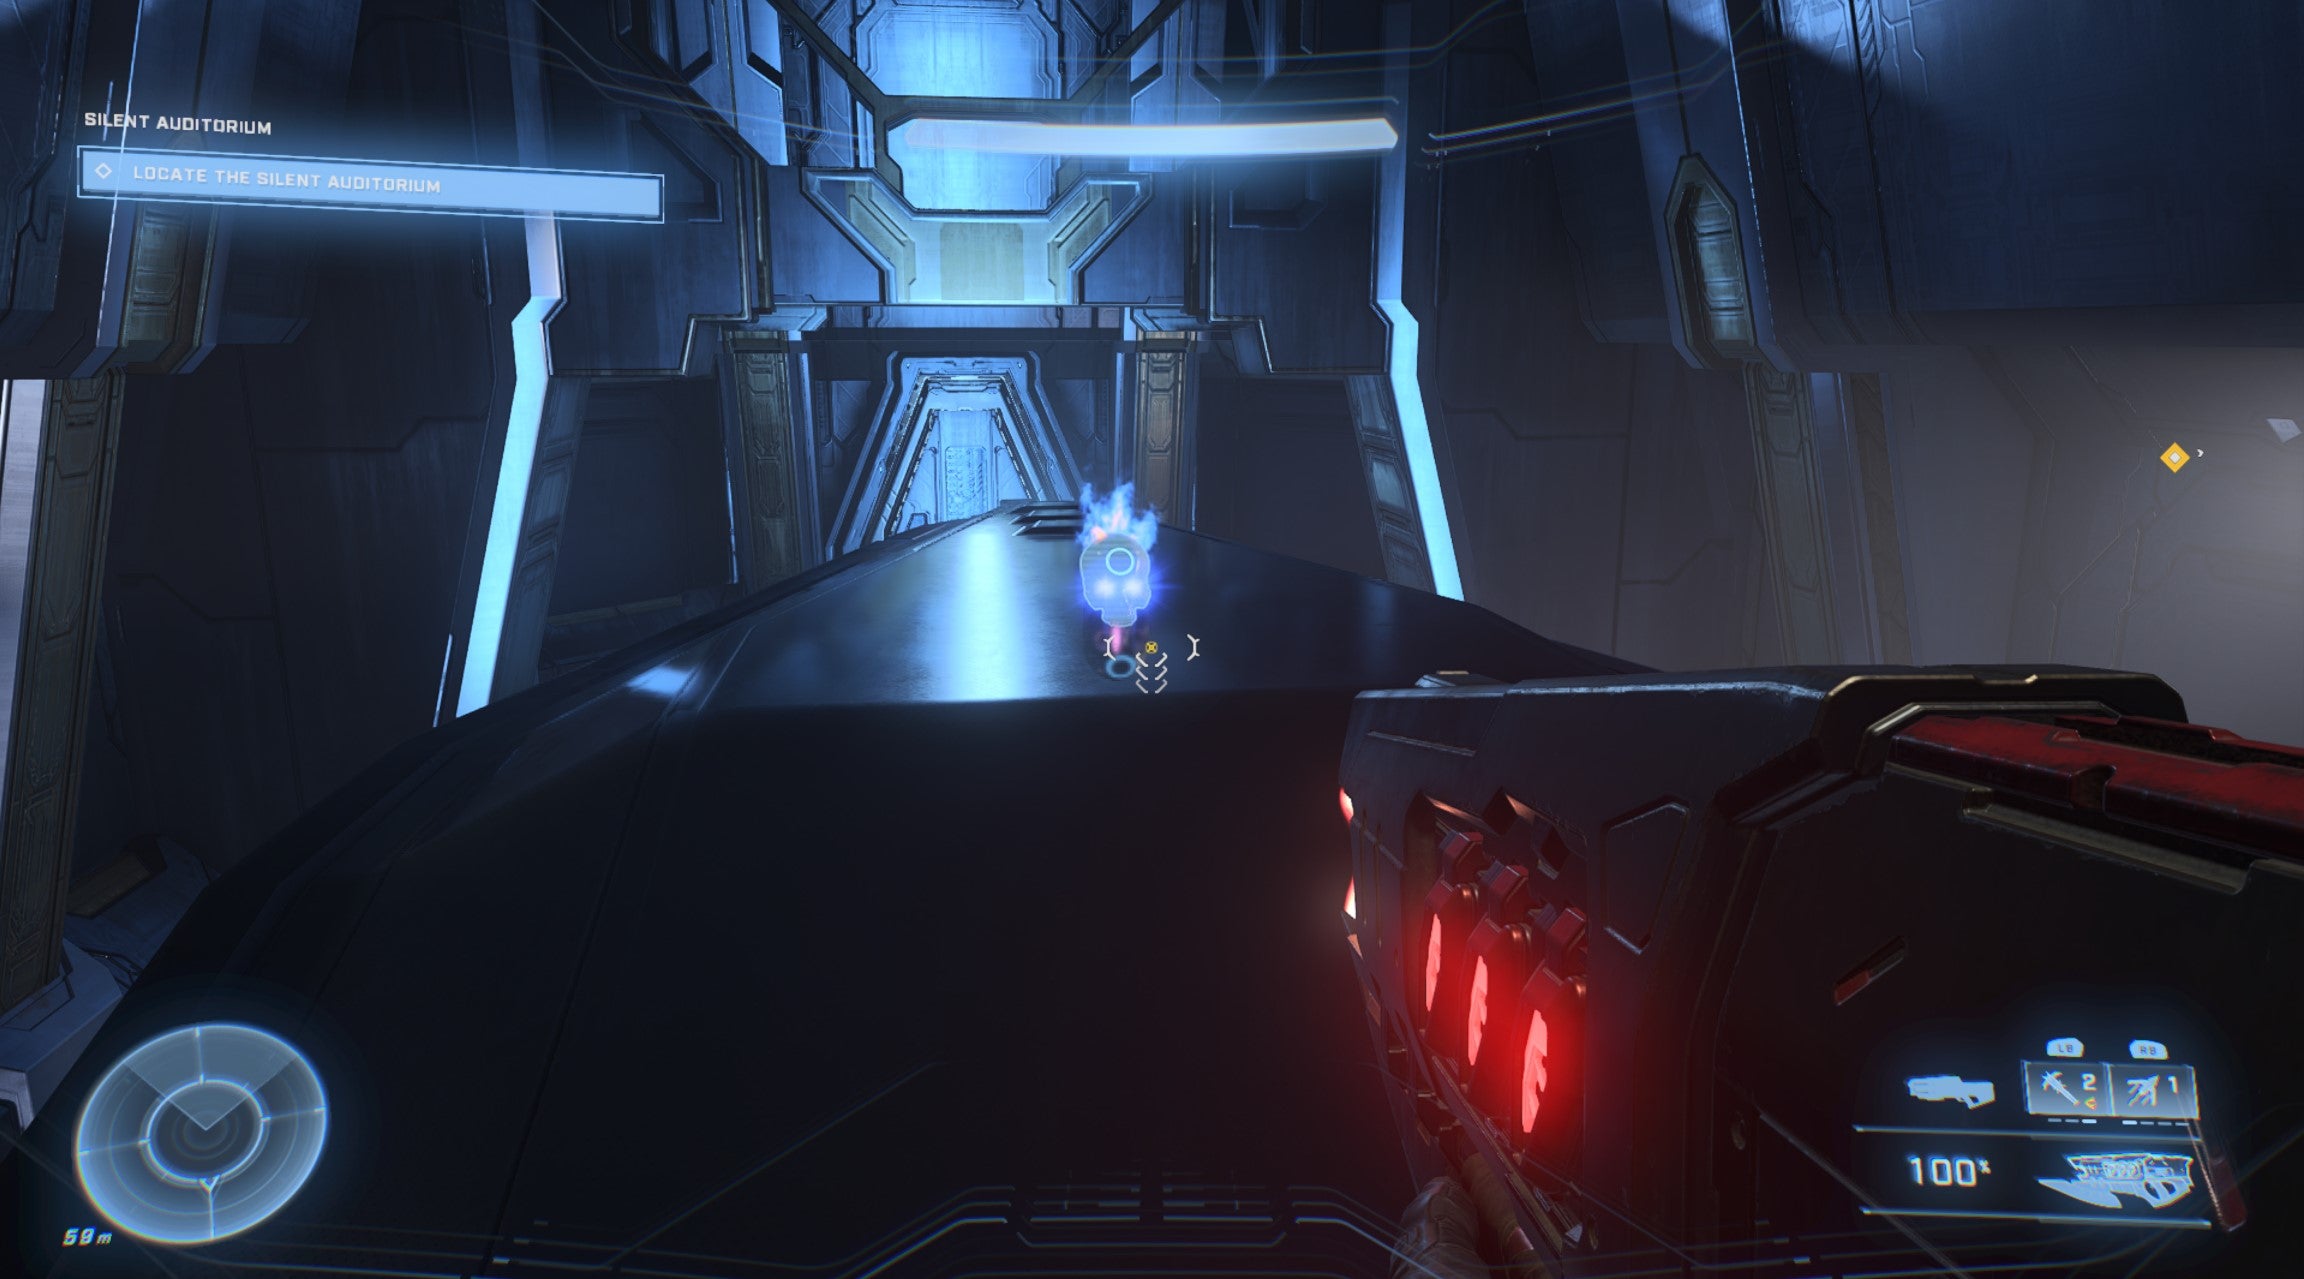
The final Skull is a funny one, because it involves running through some areas without defeating any enemies. First, play through the level until you reach the large chamber where two Sentinels - the flying beam enemies - rise up in front of you. From here, don’t kill anything else and run through this room and the couple of rooms after it. This should be relatively easy if you just sprint and grapple towards the objective marker. Eventually, after some story beats, you will reach a chamber with two light brigdes right next to each other. Grapple over the gaps and go through the door on the other side - the final Skull is inside! For more on the collectibles in Halo Infinite, here’s where to find Spartan Cores and which upgrades are the best!
